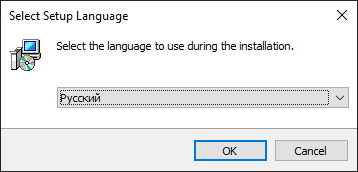
When launching the installer, select the language:
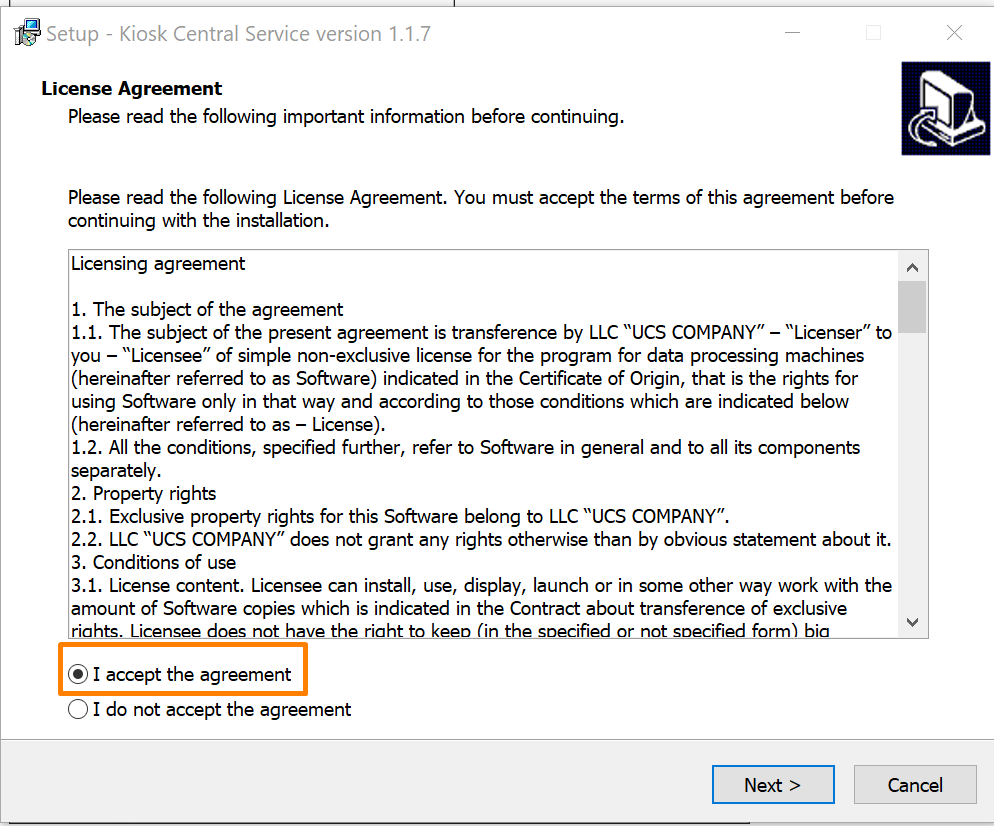
Accept the terms of the license agreement and select the installation path:

After installation, set up connections to the r_keeper XML interface:

Check the connection, if everything is successful, then click “Next”.
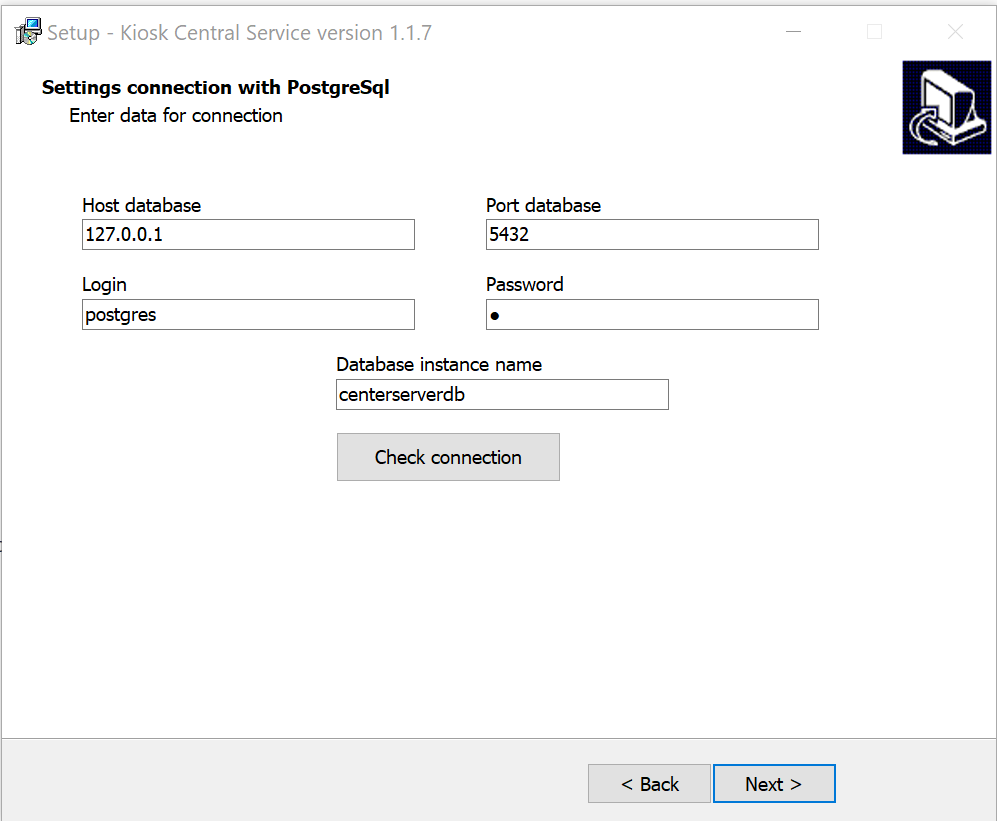
Set up the database settings, enter the IP address where the database will be located, the port, login, password and instance name:
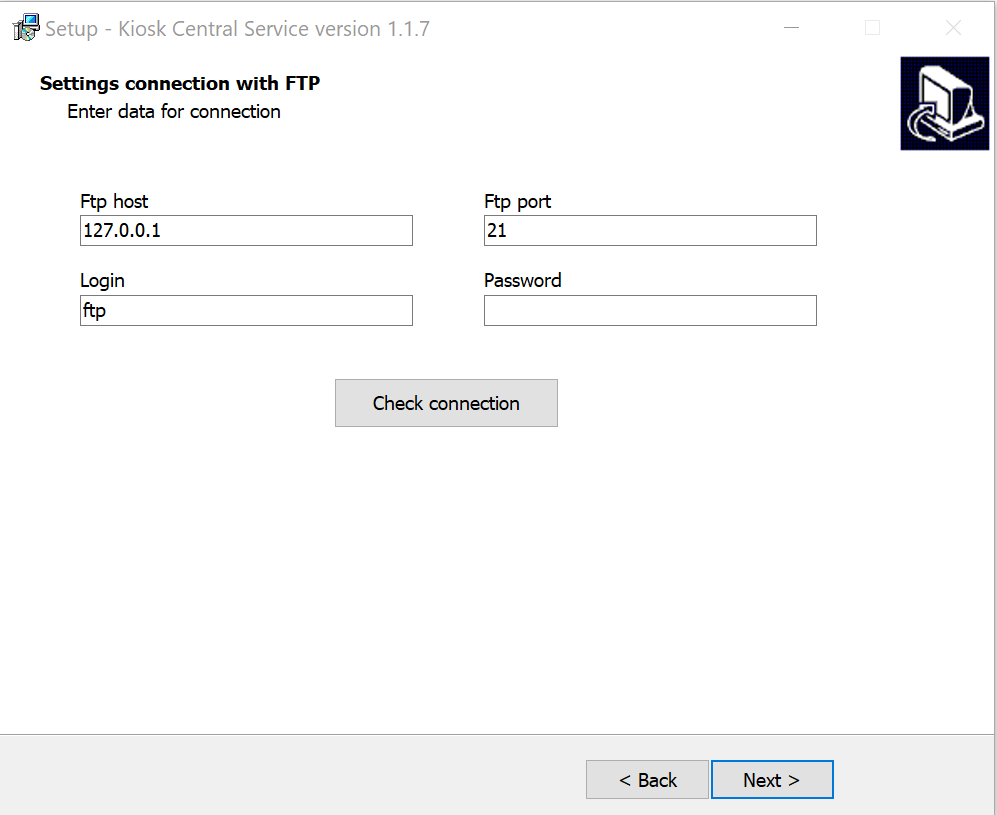
Set the FTP settings. Similarly set the data and check the connection
At the last stage, set the centralization port and the tcp port for the first kiosk:
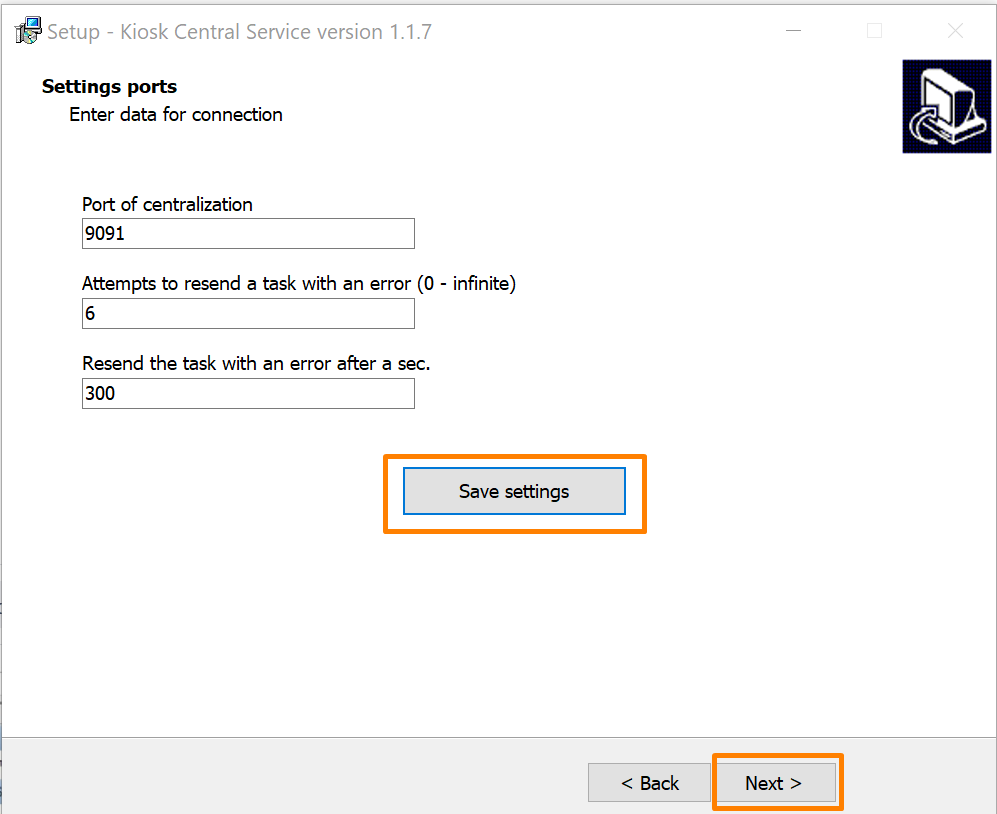
Save the settings, click "Next," and the service installation begins.
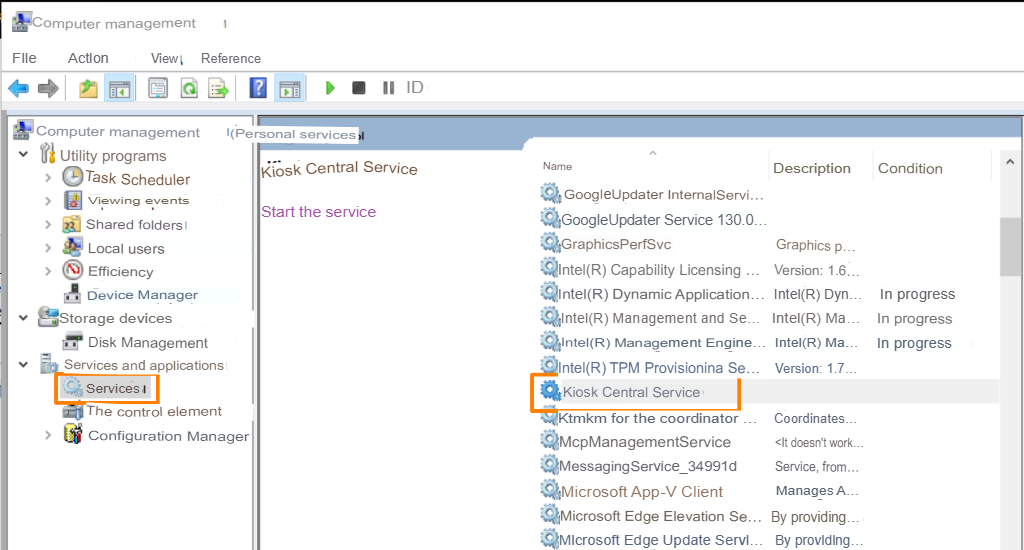
To start the service, you need to go to Computer Management - Services, find the Kiosk Central Service and start the service.
If the assembly is archived, you need to specify the ref-server settings in the appsettings.json file:
xmlRk7Host – ref-server ip address
xmlRk7Port – ref-server port
xmlRk7Login – central office employee login
xmlRk7Password – central office employee password
connection String – Postgres connection settings in the form:
"Host=172.18.5.40;Port=5432;Database=kiosk_central_service;Username=center_user;Password=0"
In the hosting.json file, specify a free port for running the centralization server.
Open exe file as administrator.
In order for the CC to be launched by the service, you need to create a shortcut from ServerApi.exe, add install as a launch parameter, and also add launch as administrator. After launching the shortcut, the CC will appear in the list of services, where it will be called Kiosk Central Service.