Installing the Kiosk through the installer
Before you begin installation, review the system requirements and order the necessary licenses.
Installing a kiosk using the installer is possible for r_keeper versions starting from 7.6.4.488 and 7.6.5.412. You can use preset settings in the r_keeper manager panel (service menu) or your own preset file.
Presets in r_keeper 7
When using predefined settings in the r_keeper manager panel (service menu), you need to:
1. Create and configure a restaurant, cash server and printing station.
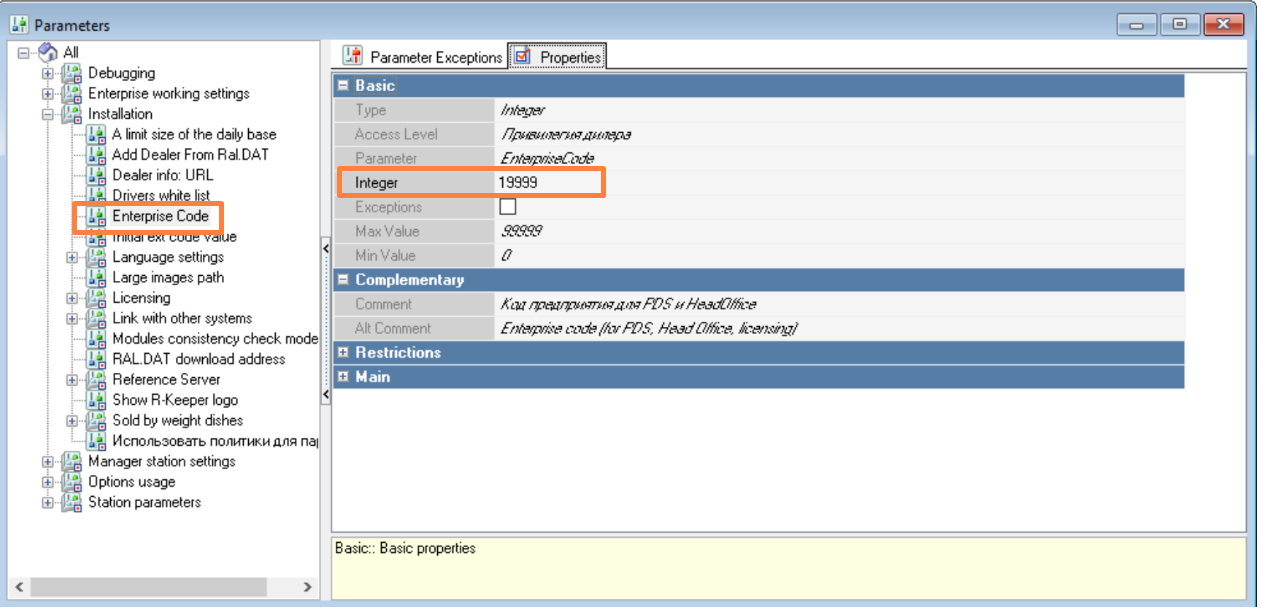
2. Change the enterprise code (Settings > Options > Settings > Enterprise code).
3. Create dishes and add them to the menu tree.
4. Activate the pre-installed floor plan, Self-service Terminals and Kiosk table (Settings > Tables and Rooms > Floor plans and Tables). You can transfer it to your restaurant.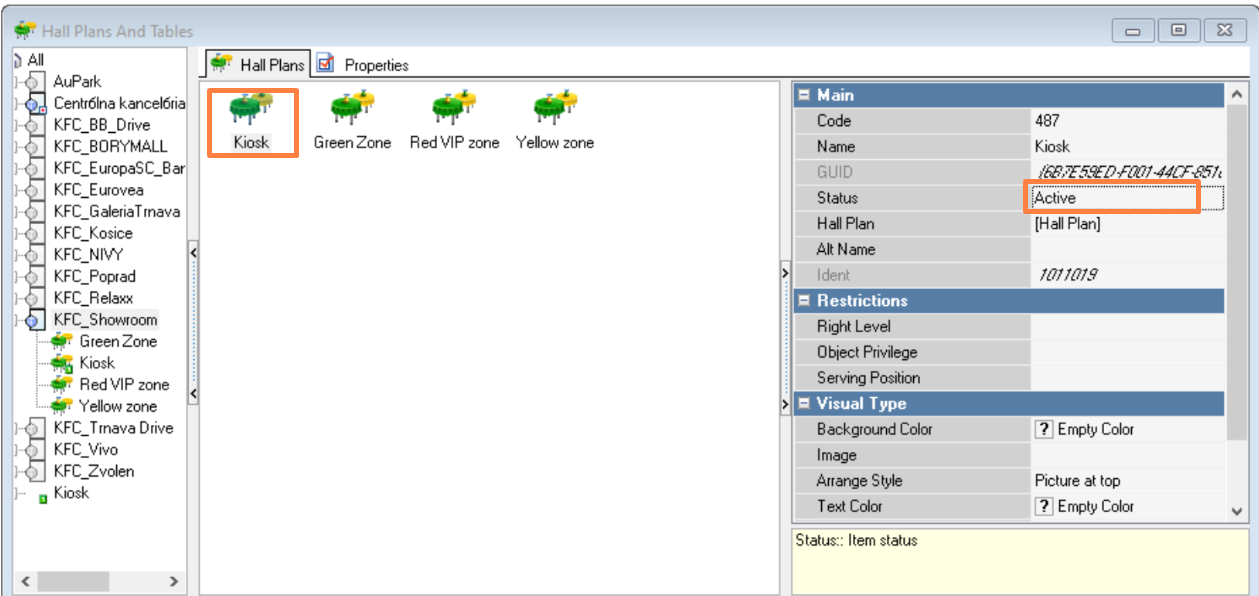
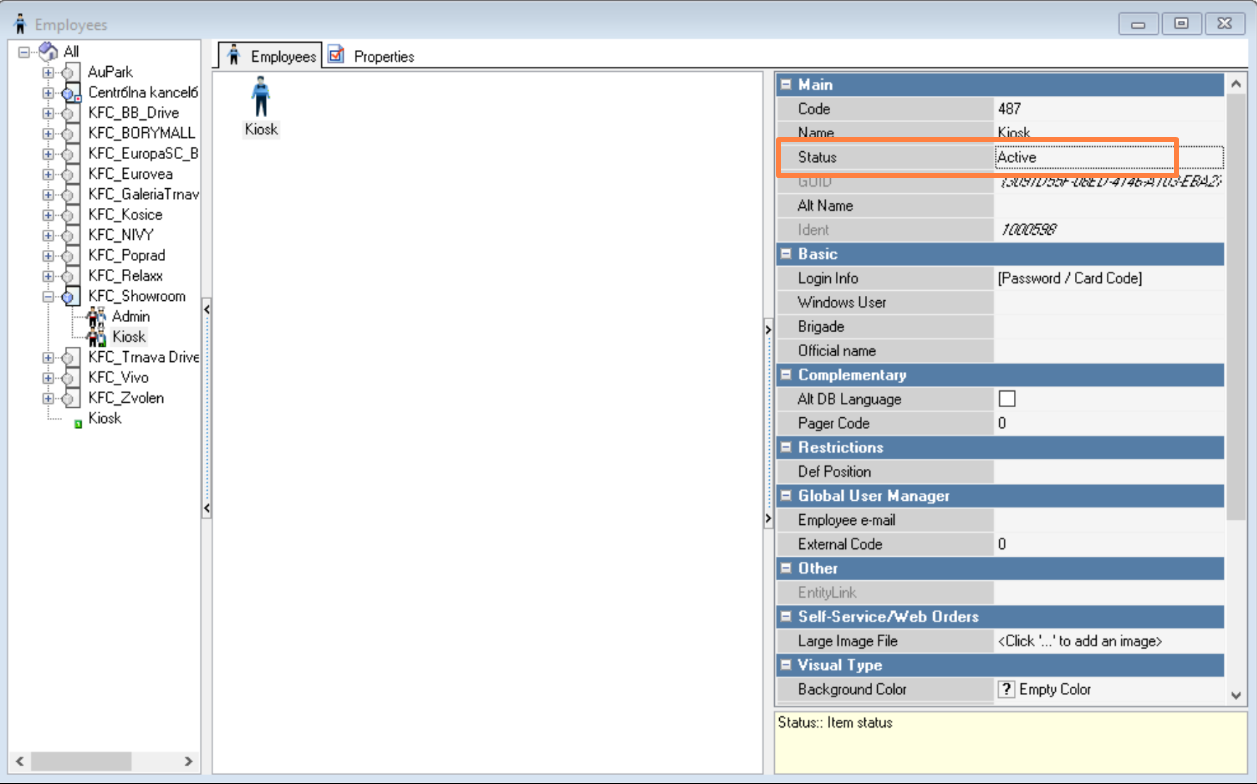
5. In the Personnel - Emploees section in the central office, activate the Kiosk group and the Kiosk employee.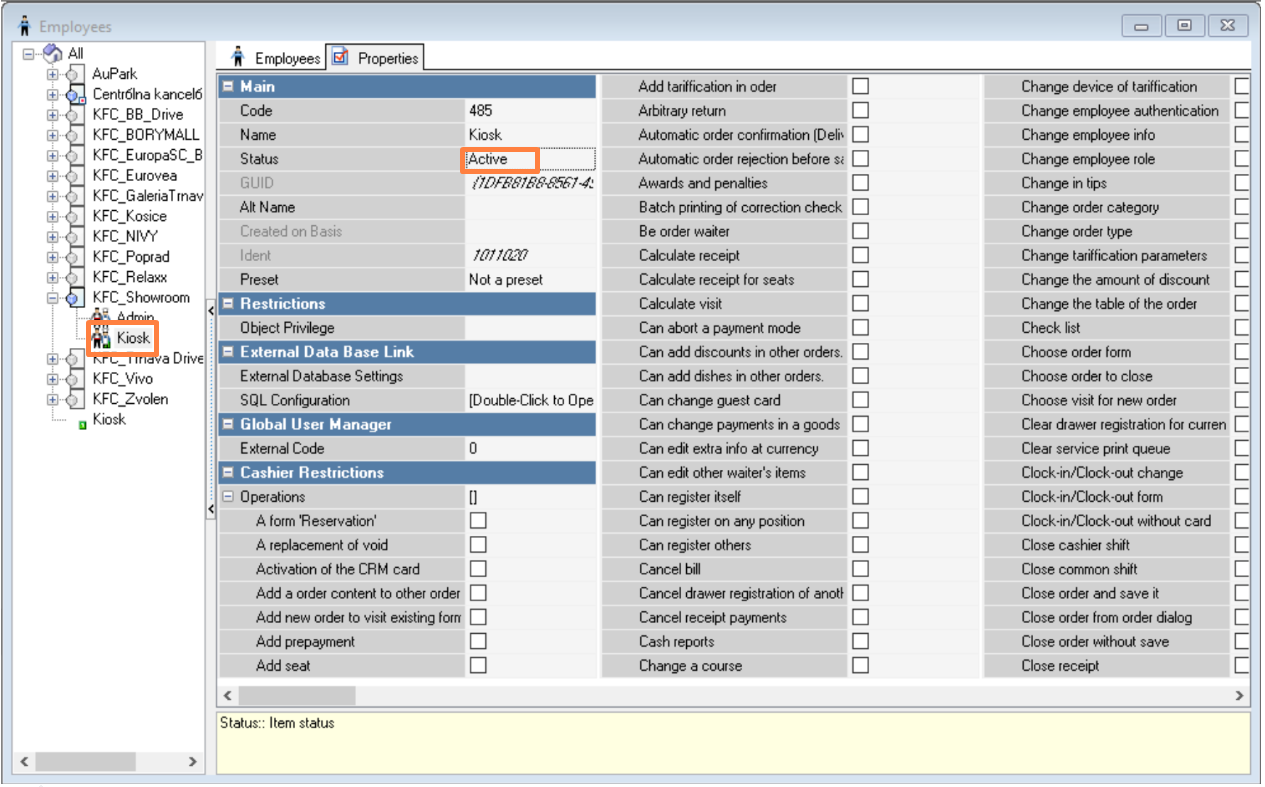
6. The option Reason for deletion, kiosk (Order - Reason for deletion) must be activated.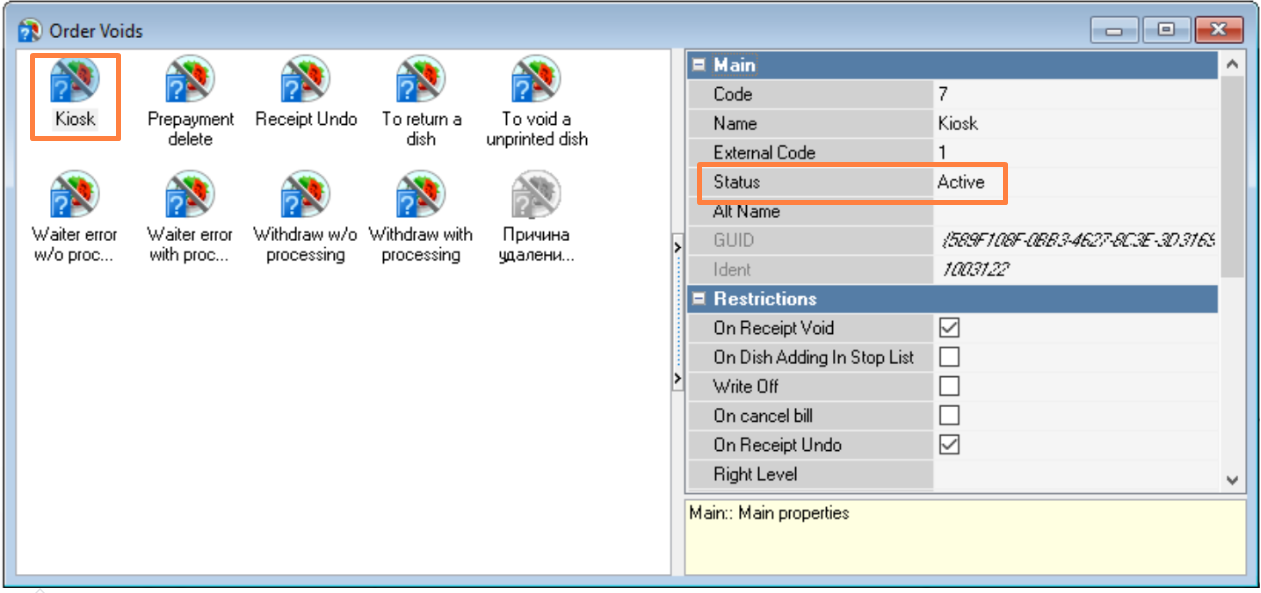
7. Activate order types Dine-in (Kiosk), Takeout (Kiosk) in the Order > Order Types section.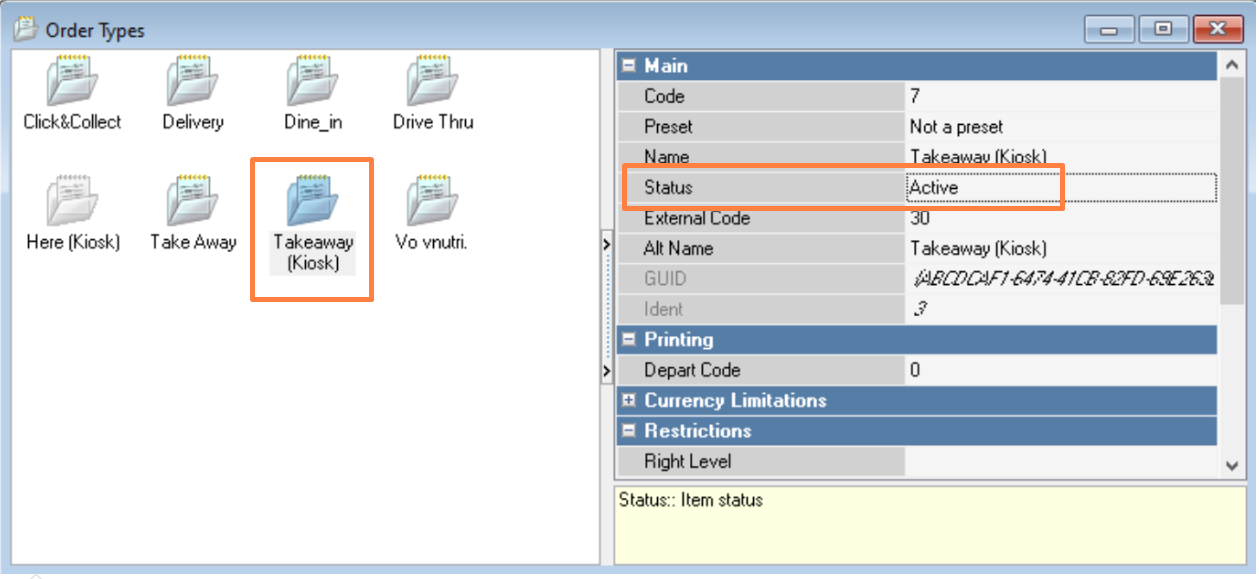
8. Add activated order types to the current order category (Order > Order Categories).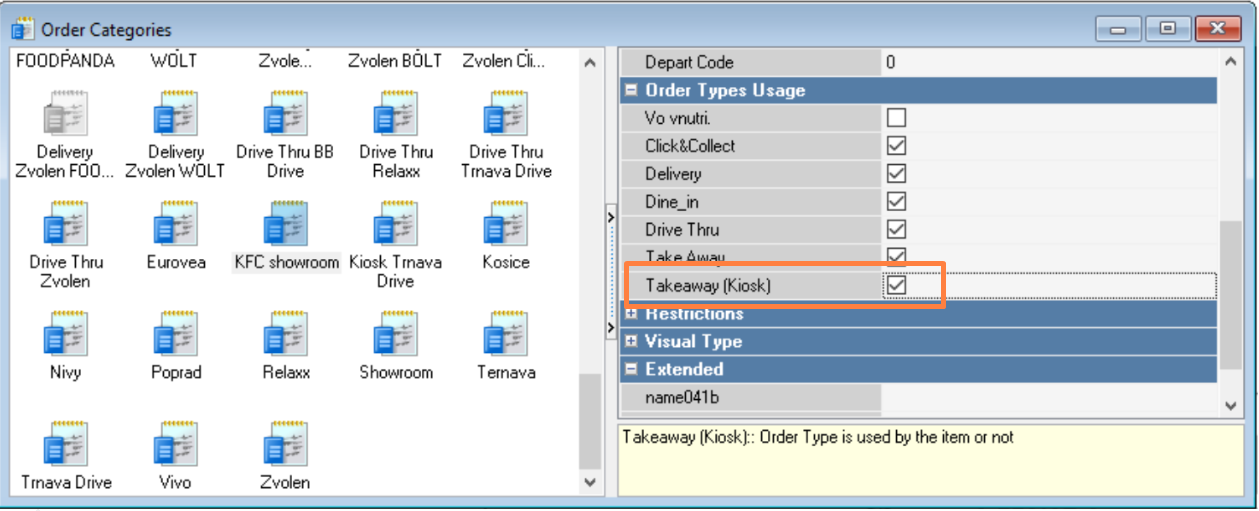
9. Activate the Hidden Dishes selector (Menu > Menu Tree).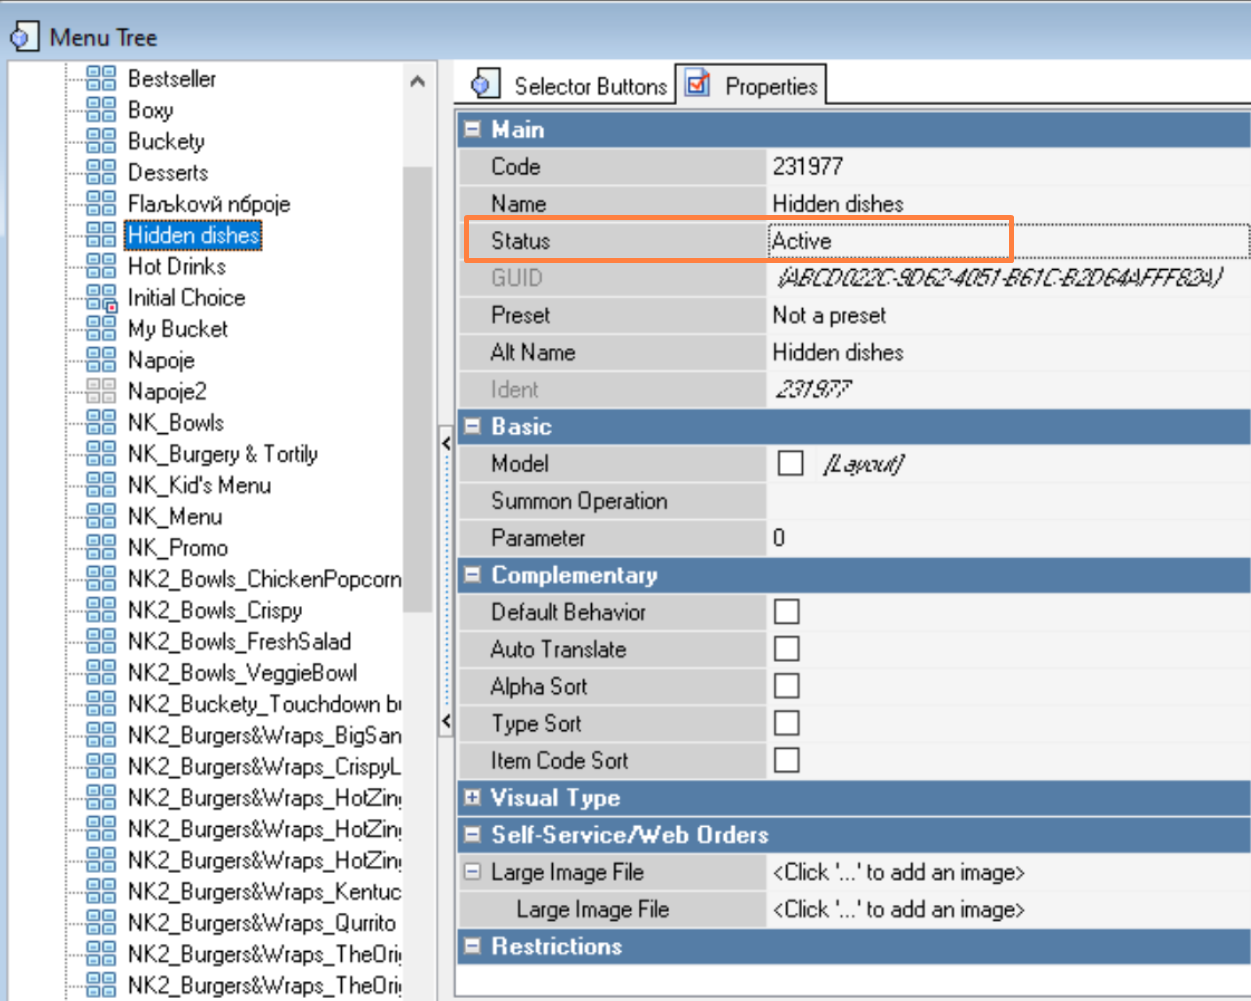
10 In the print scheme (Settings > Printing > Print schemes) activate the following elements:
- Receipt for Kiosk
- Delete receipt for Kiosk
- Test layout for Kiosk PRO
- Order number Kiosk PRO
Preliminary steps when using your own preset file
You need to create a preset file (with manually entered settings parameters).
Requirements for your own preset file:
- extention - .properties
- example file content:
waiterIdent = 9010
tableIdent = 1
voidIdent = 9
currencyIdent = 4
orderTypes = 2,3
hiddenSelectorIdent = 231977
zReportMaketIdent = 25
xReportMaketIdent = 21
defaultSelectorIdent = 11048
maketIdent = 213
delReceiptMaketIdent = 214
printerTestMaketIdent = 215
printerOrderNumberMaketIdent = 216where
- waiterIdent - ID of the employee from whom orders are created
- tableIdent - ID of the table from which orders are created
- voidIdent - order deletion reason identifier
- currencyIdent - non-cash currency identifier
- orderTypes - list of order type IDs available at the kiosk
- hiddenSelectorIdent - selector ID for hidden dishes
- zReportMaketIdent - view ID for Z report
- xReportMaketIdent - view ID for X report
- defaultSelectorIdent - ID of the initial selector in the menu tree
- maketIdent - receipt printout identifier
- delReceiptMaketIdent - receipt deletion view ID
- printerTestMaketIdent - view ID for printer test
- printerOrderNumberMaketIdent - print view ID for printing the order number.
The functionality is being finalized, after which it will be possible to use the .json file obtained as a result of exporting settings as your own configuration file.
Installation
- Download the installer at ftp://5181@ftp.ucs.ru/rk7/INSTALL/RK7_KioskPro/Install/ (opens via Explorer).
- Install the Kiosk using the installer.
The procedure for installing Kiosk using the installer:
1. To the question Do you want to install Kiosk? answer Yes.
2. Select the language for the Kiosk (English), click OK.
3. Click Next.
4. Read the license agreement, select I agree to the terms of the agreement, and click Next.
5. Select the type of preinstallation file (with settings):
- Preinstallation file from the installer (with configuration parameters preset in r_keeper).
- Custom preinstallation file (with manually entered settings parameters).
6. Select the kiosk installation directory. Click Next.
7. Select Kiosk installation sets (all modules are currently required for installation). Click Next.
8. Set your screen resolution settings. Click Next.
9. Enter the cash server settings. Click Next.
10. Enter your email settings. Click Next.
11. Select logging level settings. Click Next.
12. Click Next to start the kiosk installation.
13. Once the installation is complete, click Next.
14. Installation completed successfully. Click Completed.