...
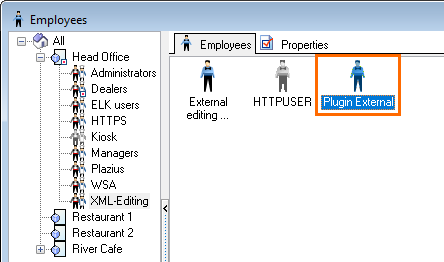
- To launch the plugin, Plugin External user's data is used. Do not delete the Plugin External user.
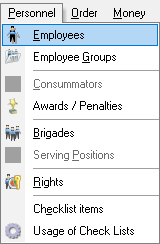
- In the manager station, go to Personnel > Employees
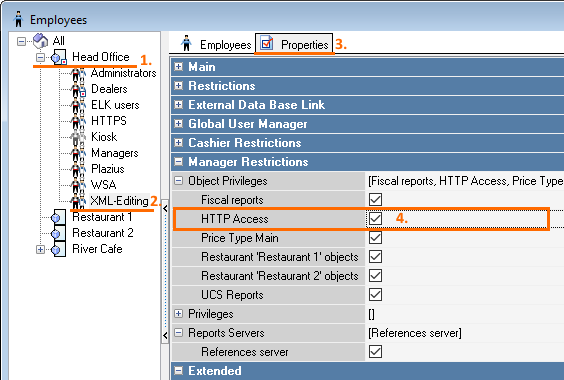
- Go to Head Office > XML-Editing > Properties
- in the Manager Restrictions, check the HTTP Access box
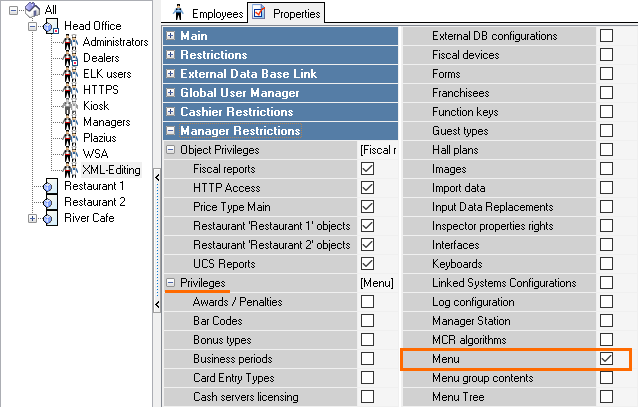
- in the Priveleges block of the Manager Restrictions section, check the Menu box
- in the Manager Restrictions, check the HTTP Access box
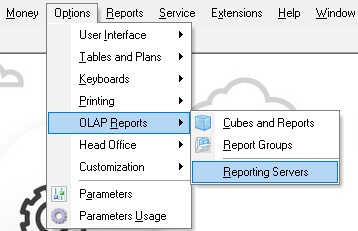
- Go to Options > OLAP Reports > Reporting Servers
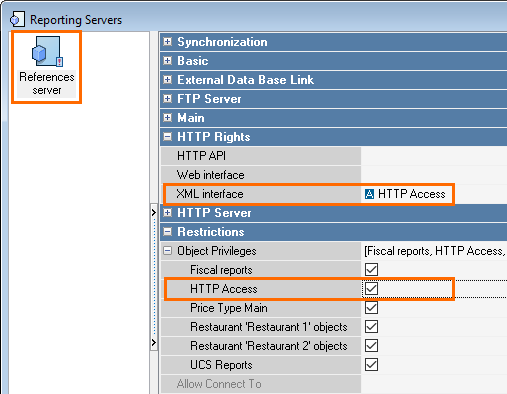
- Click on the References server:
- In the XML interface line of the HTTP restrictions section, select HTTP Access
- In Restrictions, check the HTTP Access box
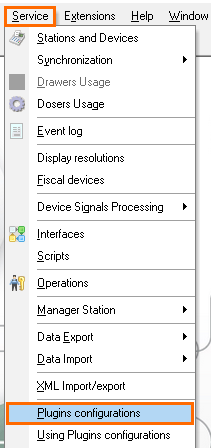
- Go to Service > Plugins configurations
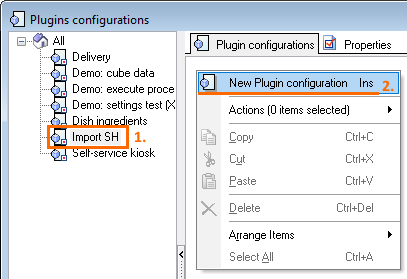
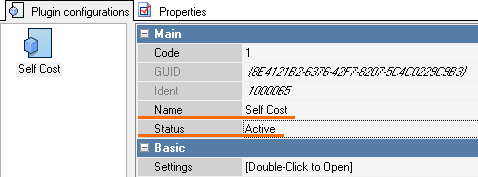
- Select the Import SH plugin. Right-click in the blank space and select New Plugin configuration
- Specify the configuration name and change the status to Active
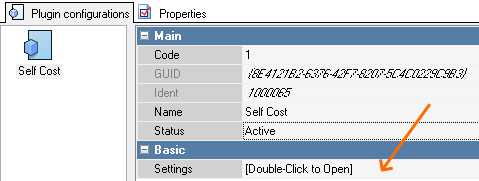
- Double-click in the Settings line of the Basic block
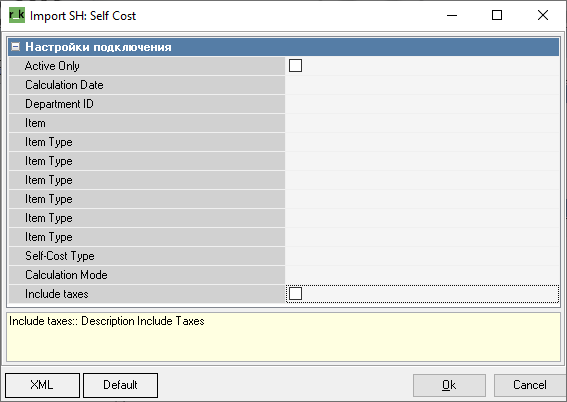
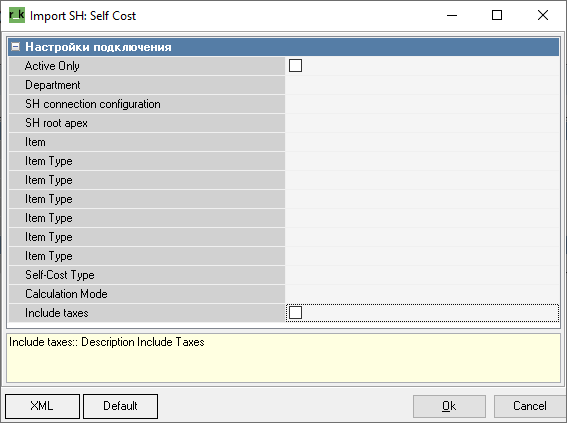
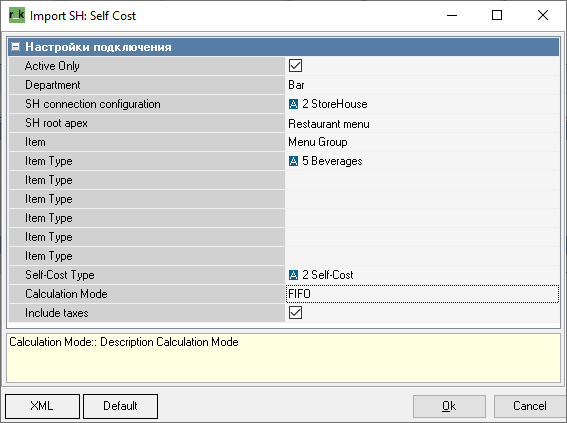
- The plugin configuration window will open
Fill in the following lines:- Active Only: to import self costs only for active elements of r_keeper 7 reference
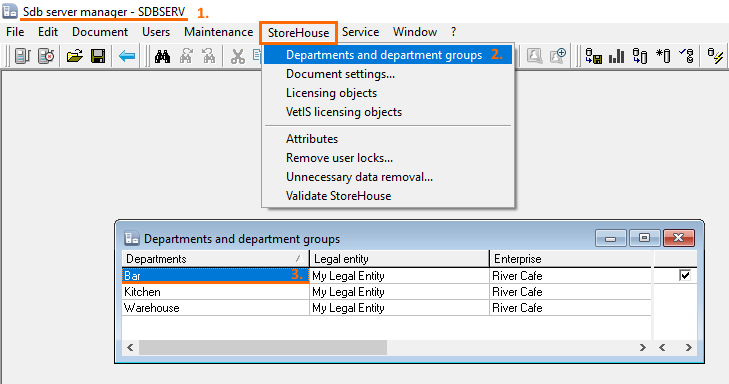
- Department: specify the department name as in StoreHouse. To see the name, start SDBman and go to StoreHouse > Departments and department groups
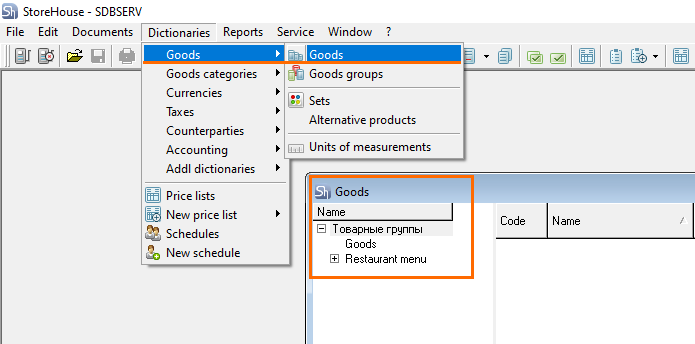
- SH root apex: the name of the root group in StoreHouse, from which the data will be imported
- Item: the item to be imported. Depending on the value, the corresponding type of item will be imported.
- Item type (first line): item of menu group, where self costs will be imported to
- Self-Cost Type: the self-cost type created earlier
- Calculation Mode: the way of self cost calculation
- Include taxes: the self cost will include taxes
The plugin is configured.
If needed, you can create several plugin configurations. For example, if you need to import self costs from different StoreHouse departments, create the corresponding number of events.
Periods Settings
Periods for the plugin define the start time of self-cost import. Create and configure the period.
| Expand | ||
|---|---|---|
| ||
The periods are configured. |
Events Settings
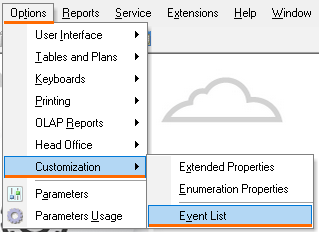
- In the manager station, go to Options > Customization > Event List
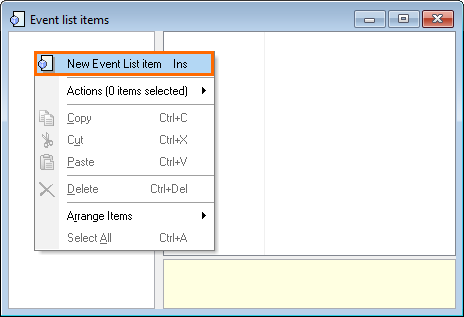
- Right-click in the blank space and create a new event
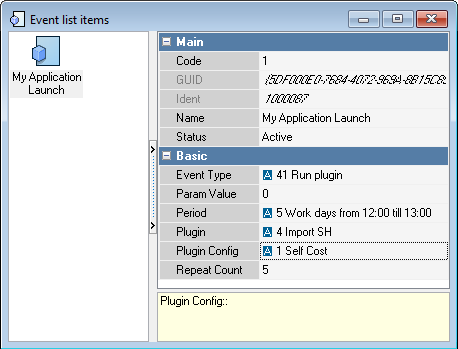
- Fill in the following fields:
- Name: specify the event name
- Status: change it to active
- Event Type: select Run plugin from the drop-down list
- Period: select the previously created period
- Plugin: select the previously created plugin for import
- Plugin Config: select the corresponding plugin configuration
The plugin is configured.
After the start time, the records will appear in the event log.
| Info | ||
|---|---|---|
| ||
Sets with specified self costs should be created in StoreHouse |
In the manager station, in Menu > Menu, the self cost imported from StoreHouse will appear.
Logging
pluginISBadEntries.data — the records, the requests for which were failed.
rkCroner-Log.txt — rkcroner logs for r_keeper version 7.7.0.56 and higher. Contains records on how the event has worked.
importSH — the records of errors during the import. When 2 copies are launched, a temporary log file is created in the folder with the plugin.
After the log path is received from the configuration, the old log copies the data from the configuration into a new one and is deleted after that.
If 2 copies of importsh are launched simultaneously, 2 files will be created: importsh.exe-0.log, importsh.exe-1.log
