In essence, "coupons" are a search for a menu item by a given code. The code is the menu item Сode from its properties in the Main section.
To connect coupons:
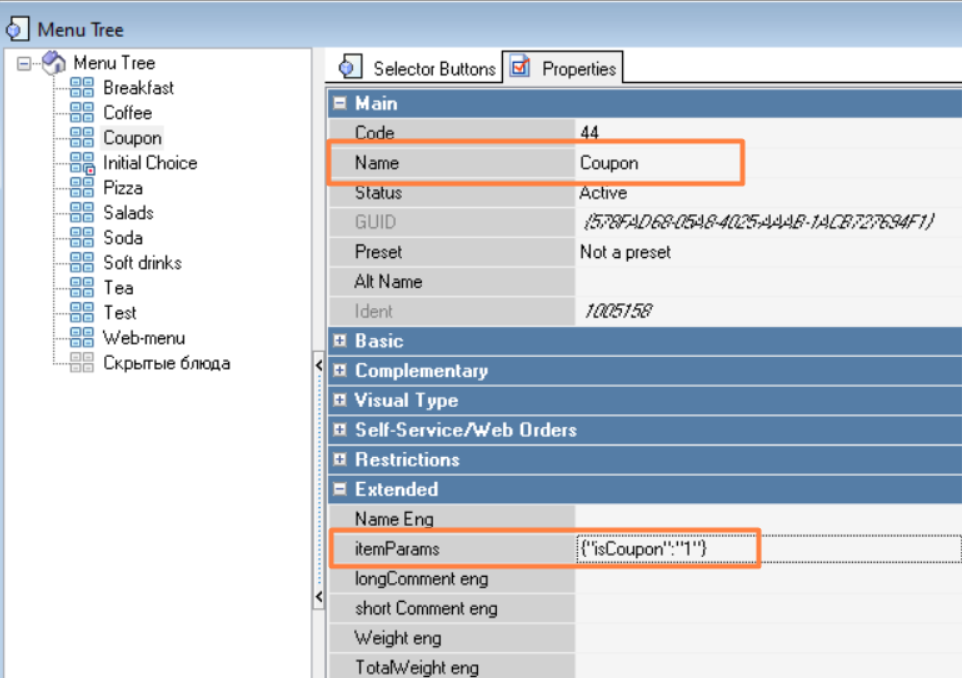
- Create a menu item named Coupon. In the menu item properties, specify the Base price as "0". And assign the value {"isCoupon":"1"} to the extended property itemParams.
The coupon dish is not a dish as such, but acts as a “container” through which the transition to the keyboard is made to enter the code for the dish indicated in the guest’s coupon. - In the menu tree, create a Coupons selector page. In the group properties, specify the name, status, and assign the value {"isCoupon":"1"} to the extended property itemParams. The Coupons group is added to the Initial Selection selector (or any other one intended by marketers).
Add a Menu Item Coupon to the Coupons Selector Page
- In the kiosk Service menu, under Settings > Basic settings:
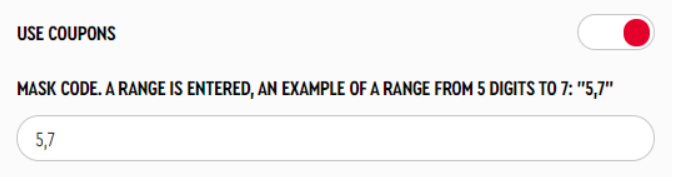
- turn on the USE COUPONS option
- in the RANGE OF CHARACTERS WHEN ENTERING A CODE MASK parameter, specify the number of digits of the coupon code value. An example with a limitation of 5 to 7 digits is “5,7”. That is, the number of characters to be entered is specified. You cannot enter more characters than specified in the mask. If the menu item code has fewer digits than specified in the mask (see below), zeros are added before the digits of the menu item “Code”.
In the kiosk itself, to proceed to entering the coupon code, the guest selects the Coupons group, after which a keyboard for typing appears.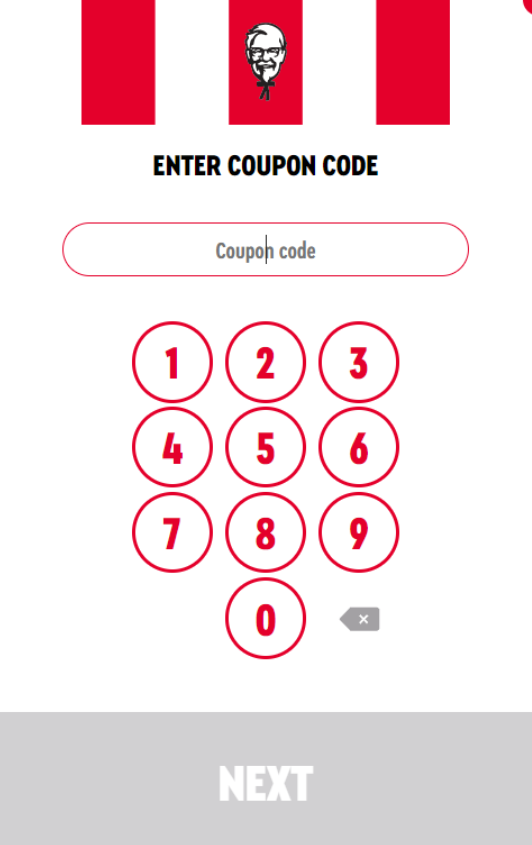
After entering the numbers indicated on the coupon, you will be prompted to add the promotional item to your order.
The search is performed across all active menu items.
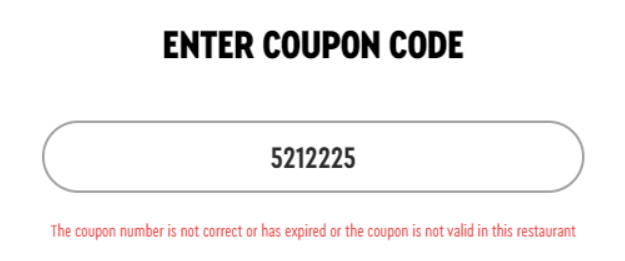
If the menu item could not be found (the code was entered incorrectly), the following message will appear: