The Scene List section displays information on scenes for kiosks.
The table displays the following information on scenes:
- "Scene Name" - the name of the scene; active link to edit the scene;
- "Scene Type" - scene type;
- "Scene Description" - a brief description of the scene;
- "Last Modified" - the date and time of the last change to the scene.
Adding a scene
To add a new scene you need to:
1. Click on the "Add scene" button;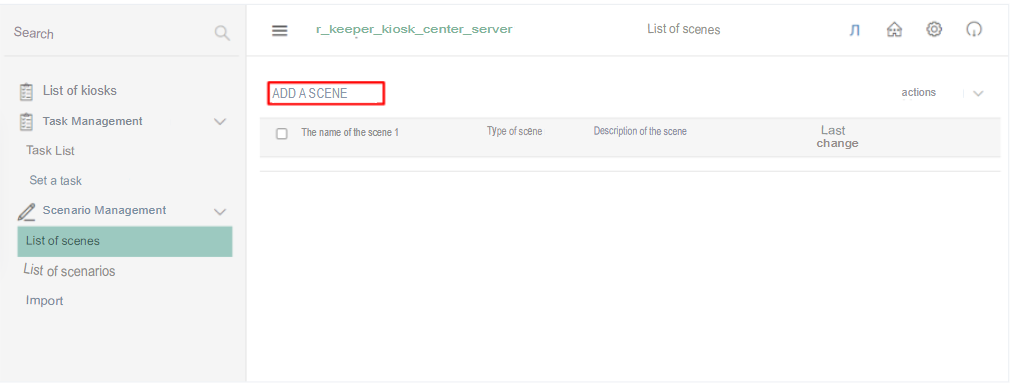
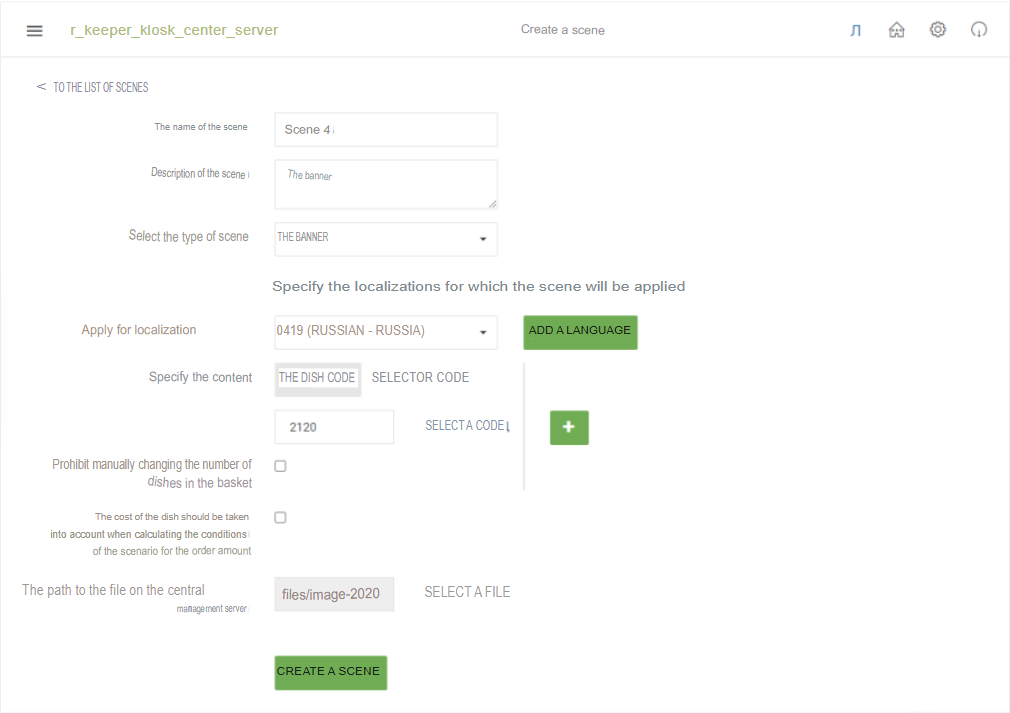
2. Fill out the form that appears.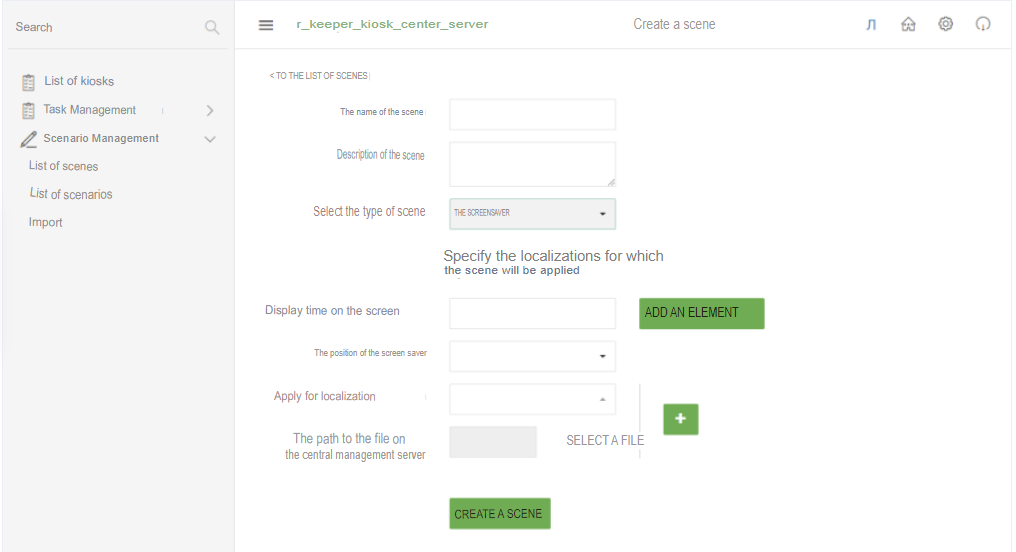
2.1 Fill in general information about the scenes:
- "Scene Name" - fill in the scene name;
- "Scene Description" - fill in a short description of the scene;
- "Select scene type" - select the scene type ("Screensaver", "Gallery", "Banner", "Suggestion Panel");
- "Apply for language pack" - select the language pack for which the scene will be applied; to apply the second and subsequent language packs, you must click the button
 .
.
2.2 Fill in the settings depending on the scene type:
Scene type "Screensaver"
- "On-screen display time" - set the display time on the screen, in seconds; if you need to select multiple files to display, click the "Add item" button; to remove an additional file display, click the "Delete" button.
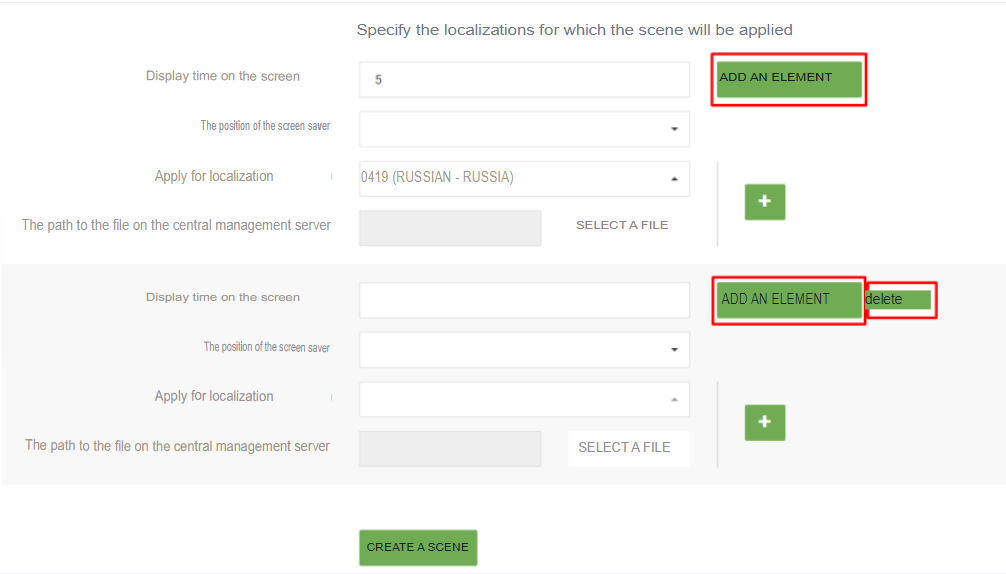
- "Screensaver Position"
- select "Fill" to fill the entire space without distorting the image
- Select 'Stretch' to fill the space, distorting the image proportions if they do not match the kiosk screen size.

- "Path to file on central management server" - select a file on the central management server
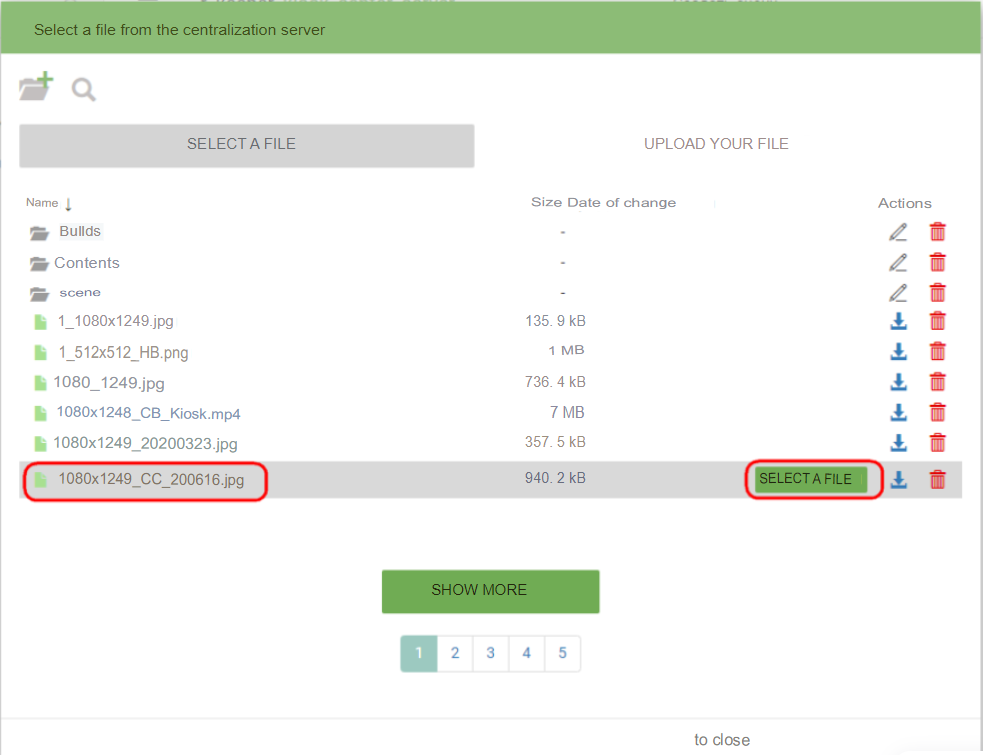
or downloaded from your computer.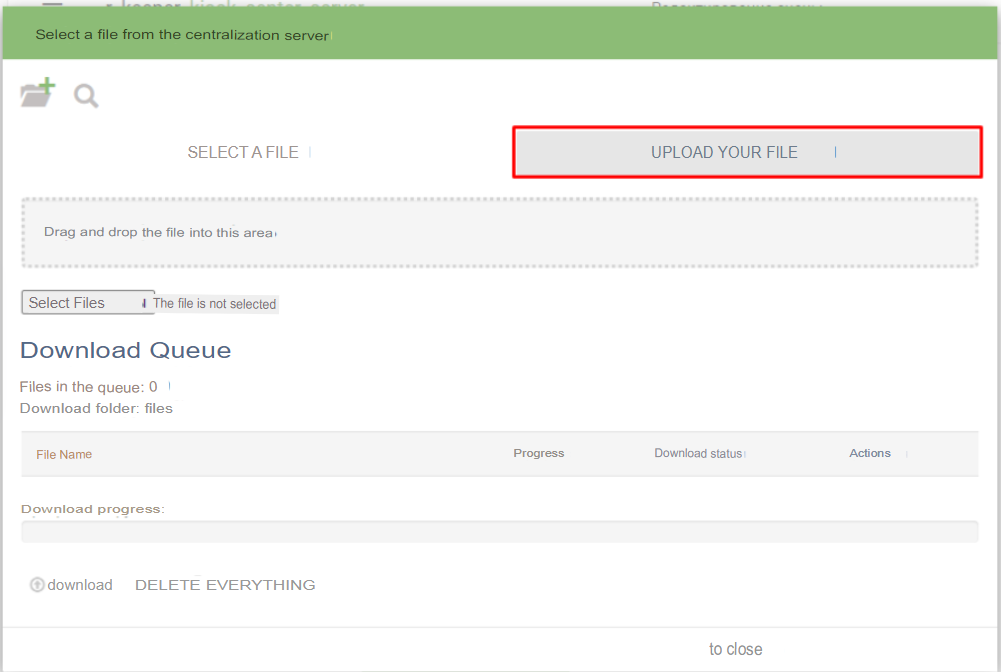
Next, click on the "Create Scene" button.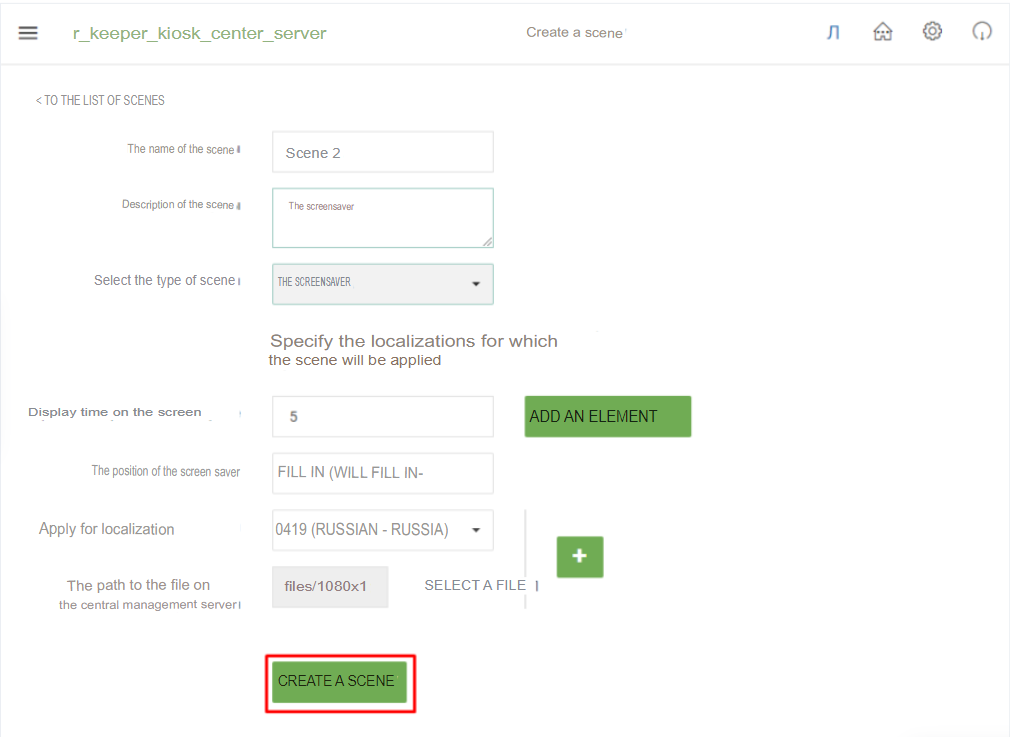
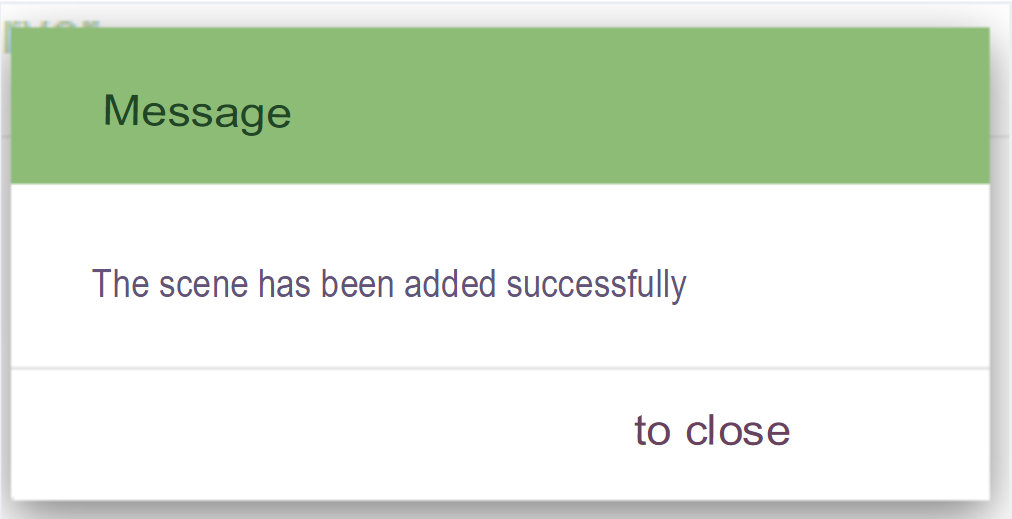
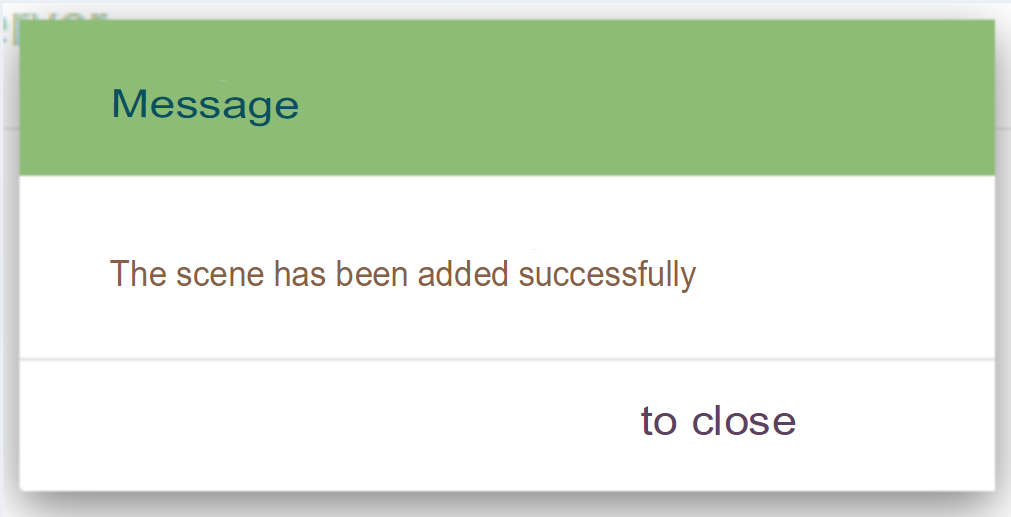
A message will appear: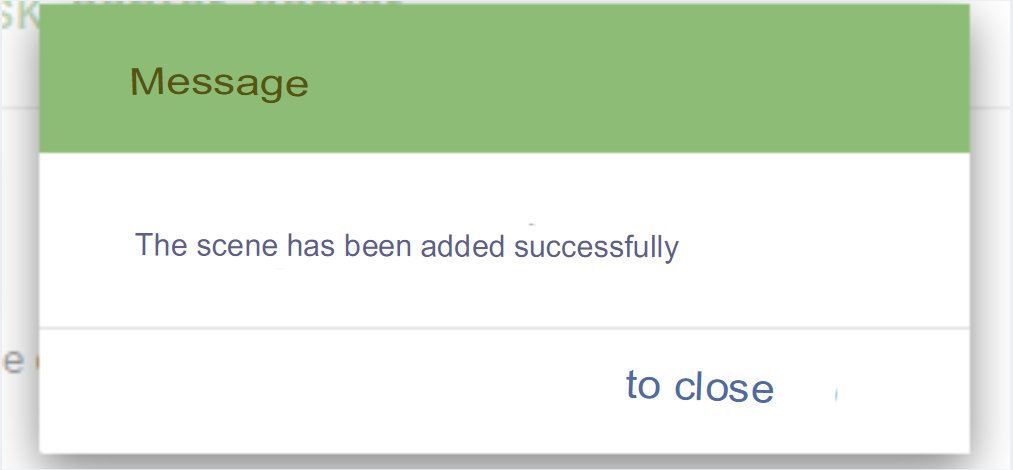
And the scene will be added to the list of scenes.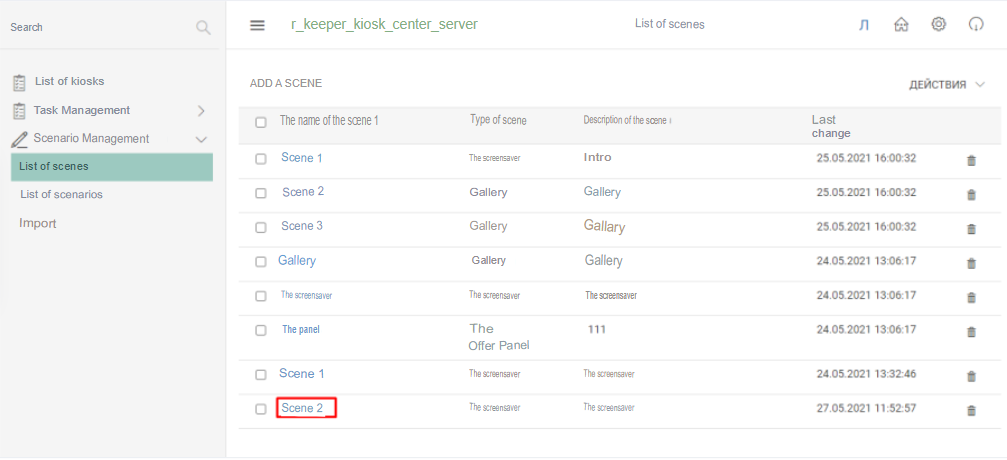
Scene type "Gallery"
- "Title" - enter the title of the window (for example, Try our new products!);
- "Specify Content" - select what will be displayed in the scene:
- "Dish code" - select a dish code from the list to appear in the dish scene or "Category code" - select a selector code from the list for a link to a selector with dishes to appear in the scene;
To add more content, click , to delete content, click  .
.
- "Dish code" - select a dish code from the list to appear in the dish scene or "Category code" - select a selector code from the list for a link to a selector with dishes to appear in the scene;
- "Prohibit manual change of quantity of dish in cart" - check the box if you want to prohibit manual change of quantity of dish in the cart ("My order")
- "The cost of the dish must be taken into account when calculating the conditions of the script based on the order amount" - check the box if the cost of the dish must be taken into account when calculating the conditions of the script based on the order amount.
- "Path to file on the central control server" - select a file on the central control server to display a dish or selector;
Next, click on the “Create scene” button.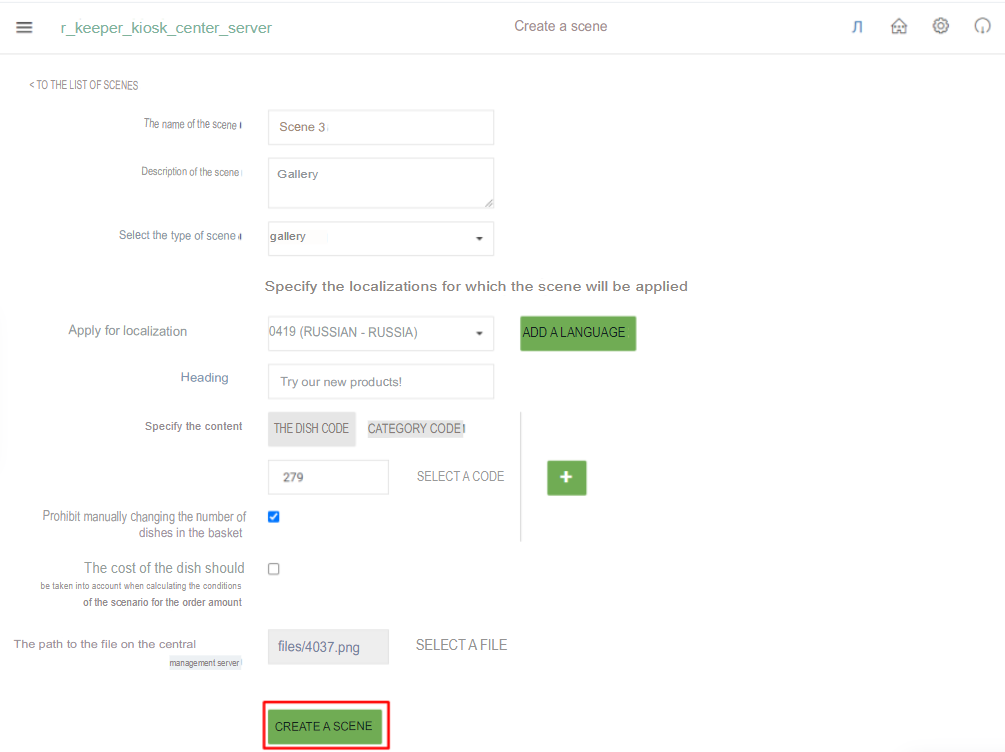
And the scene will appear in the list of scenes.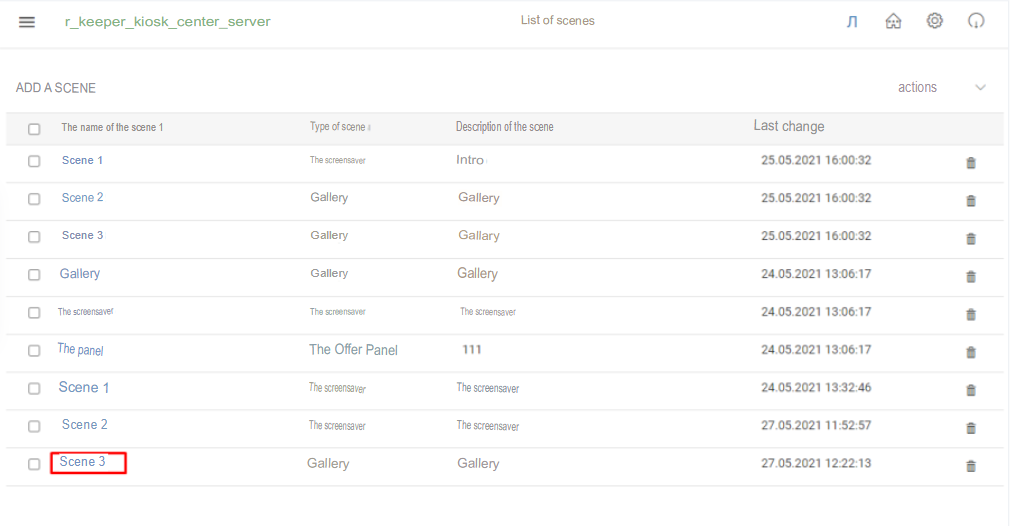
Scene type "Banner"
- "Specify Content" - select what will be displayed in the scene:
- "Dish code" - select a dish code from the list to appear in the dish scene or "Category code" - select a selector code from the list to appear in the scene a link to a selector with dishes;
To add content, click , to delete content, click  .
.
- "Dish code" - select a dish code from the list to appear in the dish scene or "Category code" - select a selector code from the list to appear in the scene a link to a selector with dishes;
- "Prohibit manual change of quantity of dish in cart" - check the box if you want to prohibit manual change of quantity of dish in cart ("My order")
- "The cost of the dish must be taken into account when calculating the conditions of the script based on the order amount" - check the box if the cost of the dish must be taken into account when calculating the conditions of the script based on the order amount.
- "Path to file on the central control server" - select a file on the central control server to display a dish or selector;
Click "Create Scene".
And the scene will appear in the list of scenes.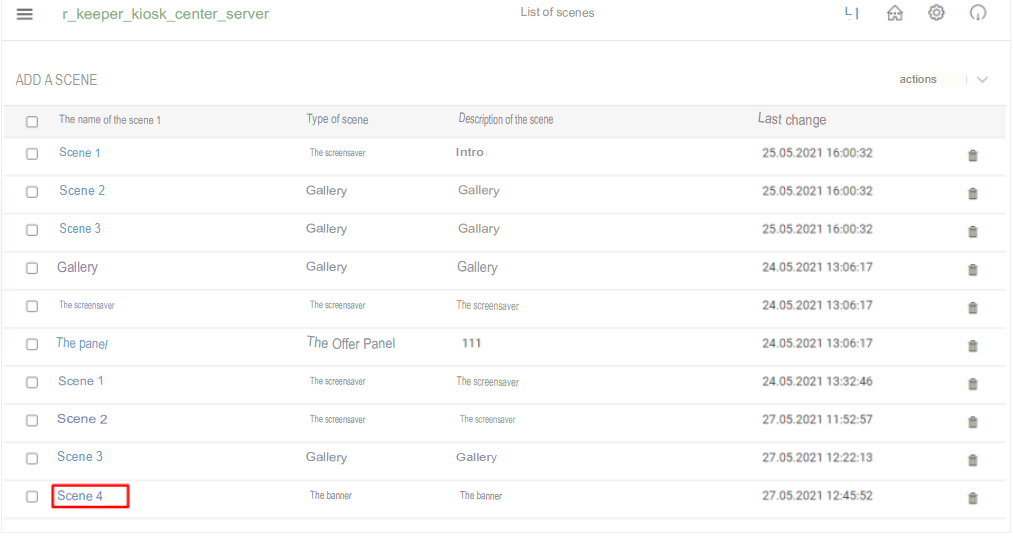
Scene type "Suggestion Panel"
- "Title" - enter a title for the window (e.g. Try some ice cream!)
- "Specify Content" - select what will be displayed in the scene:
- "Dish code" - select a dish code from the list to appear in the dish scene or "Category code" - select a selector code from the list for a link to a selector with dishes to appear in the scene;
To add content, click , to delete content, click .
- "Dish code" - select a dish code from the list to appear in the dish scene or "Category code" - select a selector code from the list for a link to a selector with dishes to appear in the scene;
- "Prohibit manual change of quantity of dish in cart" - check the box if you want to prohibit manual change of quantity of dish in cart ("My order")
- "The cost of the dish must be taken into account when calculating the conditions of the script based on the order amount" - check the box if the cost of the dish must be taken into account when calculating the conditions of the script based on the order amount.
- "Path to file on the central control server" - select a file on the central control server to display a dish or selector;
Click Create Scene.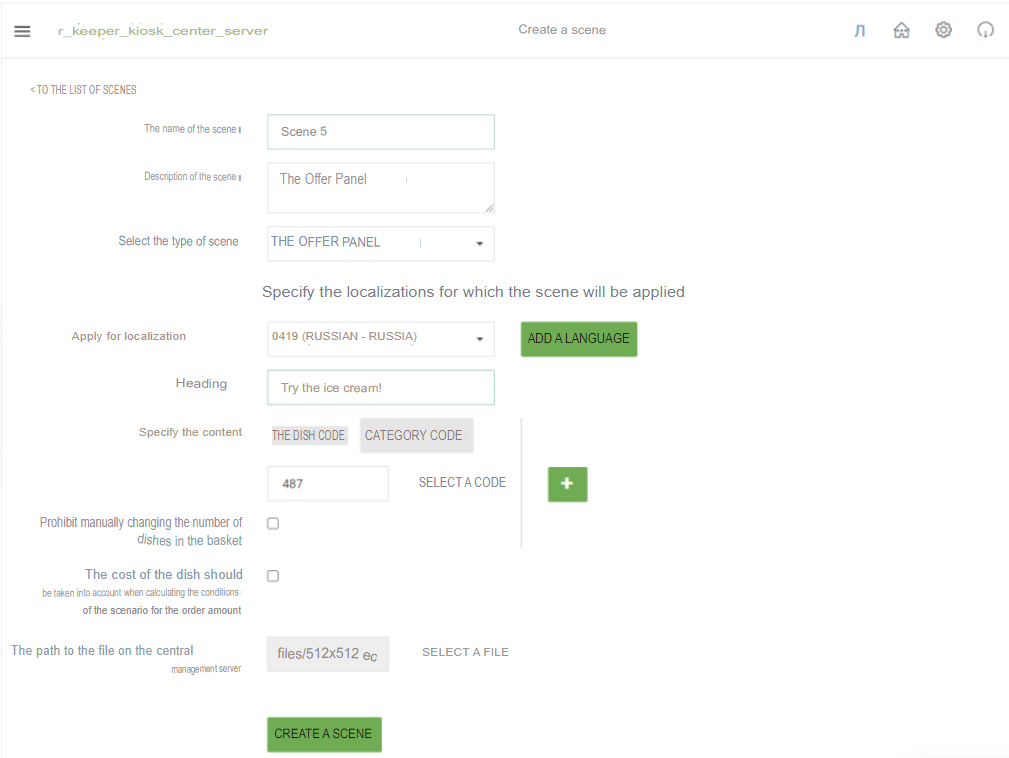
And the scene will appear in the list of scenes.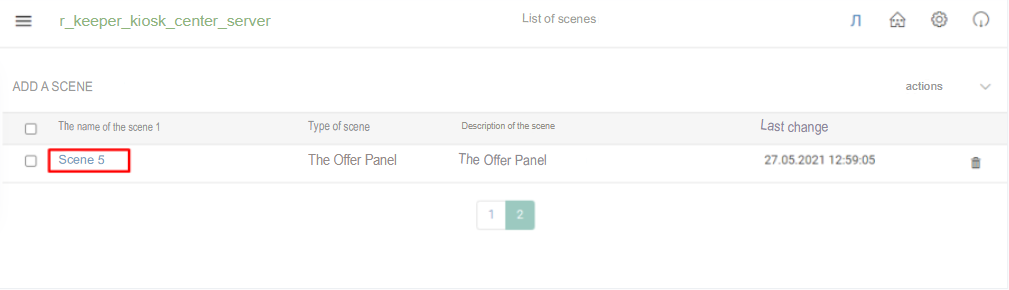
Editing a scene
To edit a scene you need to:
1. Click on the name of the desired scene in the "Scene name" column.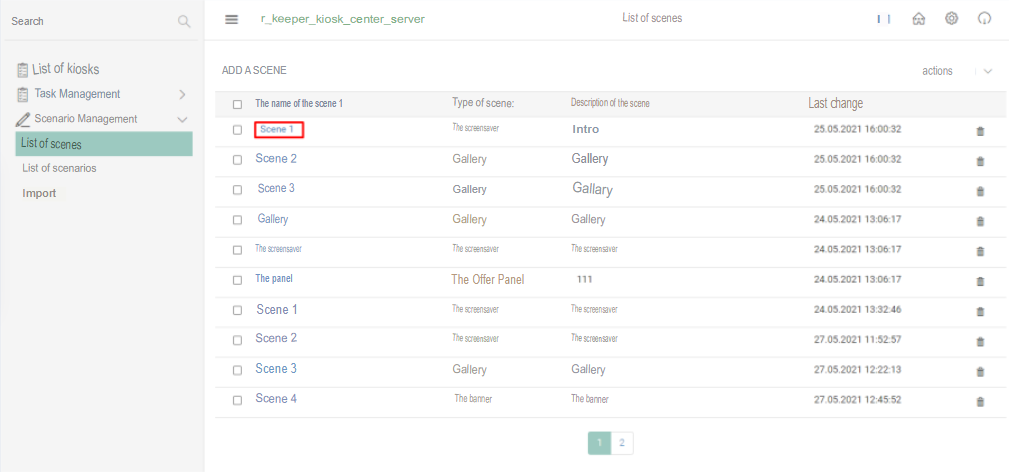
2. make the necessary edits
3. Click the "Save Changes" button.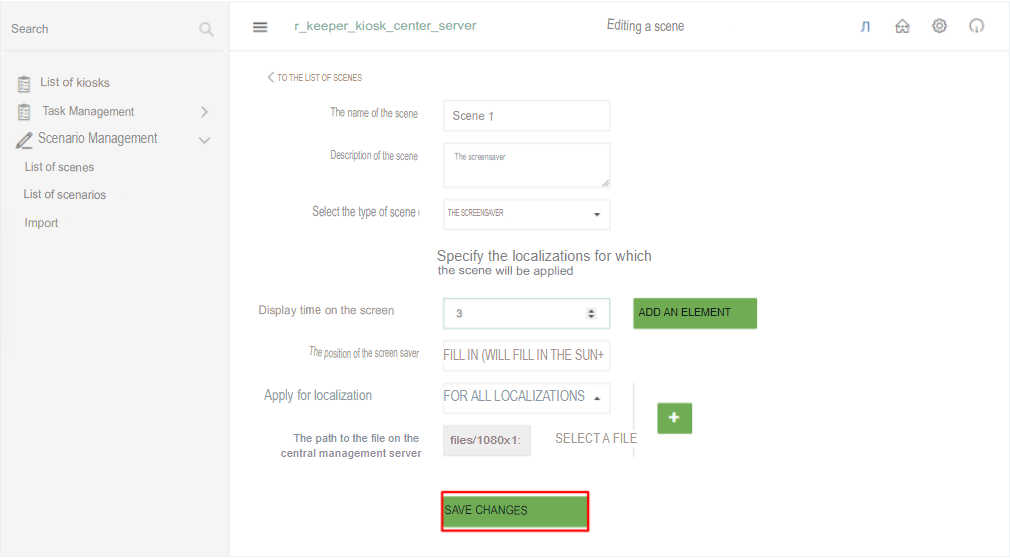
Deleting a scene
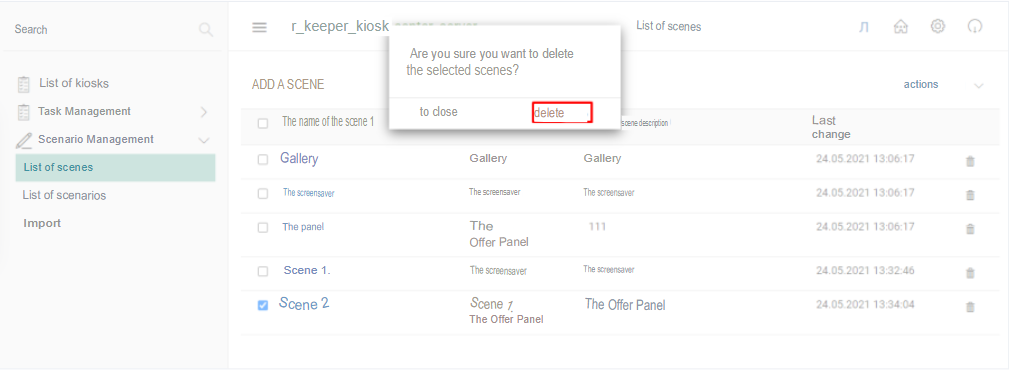
To delete a scene you need to:
1. Check the desired scene in the checkbox;
2. Click on the button ![]() in the corresponding line or “Actions”-“Delete scenes”.
in the corresponding line or “Actions”-“Delete scenes”.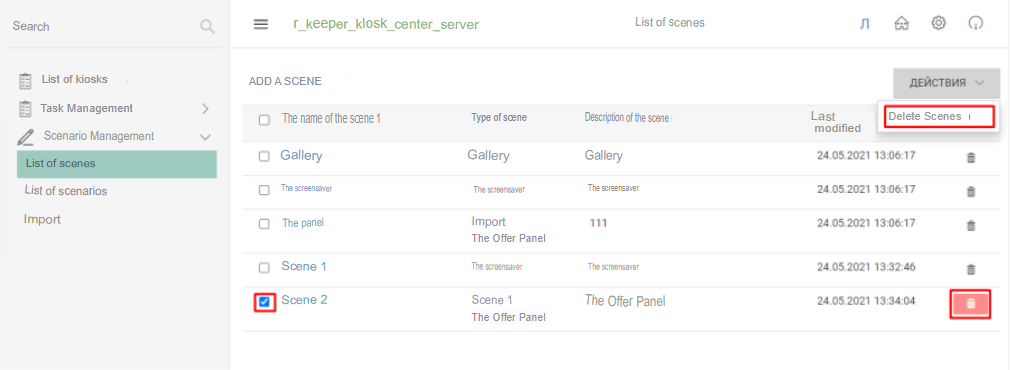
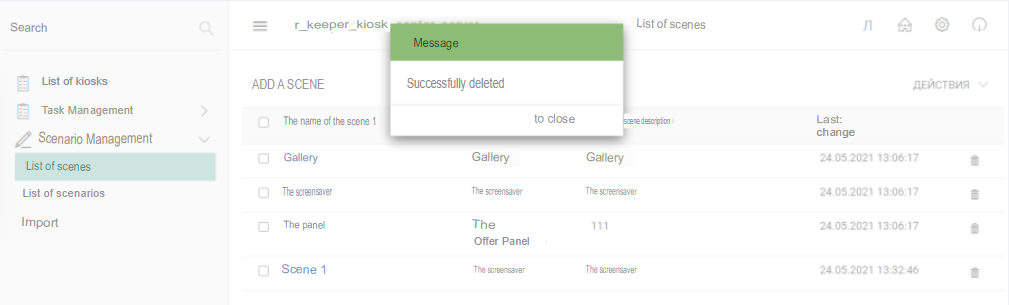
3. Confirm your actions.