This functionality is used in Quick Check mode. If an employee needs to interrupt order creation, they can save it on a table and return later to edit it.
In quick check mode at the cash register, tables will be used for deferred orders.
Configuration:
- In the dictionary Settings > Parameters, specify values.
Automatic Table Selection — Sequential.
Use Saved Comment — Do not use.
Use Guest Type — Do not use.
Use Guest Count — Do not use.
- Service Positions indicate Boolean checkbox.
- Set up Serving Position.
- Create a new serving position.
In the dictionary Settings > Tables and Halls > Serving Positions, highlight restaurant in the tree. On the Serving Positions tab, select New Serving Position from the context menu.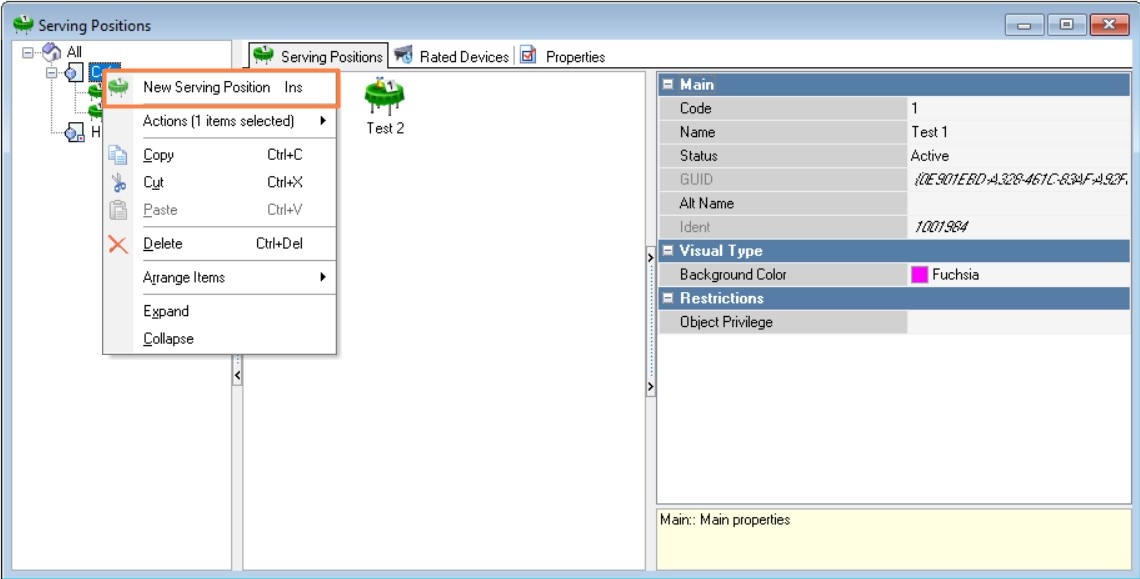
- Fill out essential properties: Name, Active Status.
- Create a new serving position.
Configure Hall Plan.
- In the dictionary Settings > Tables and Halls > Hall Plans and Tables, create a separate hall plan.
Highlight the restaurant, then choose New Hall Plan from the context menu.
- Fill out essential properties: Name, Active Status.
Assign previously created serving position.
- Add tables. Select the new hall plan, go to the Tables tab, and from the context menu choose New Table.

- Fill out essential properties: Name, Active Status, Maximum number of guests.
In the Mode of use a table property, specify – table for a deferred order.
Assign previously created serving position
- In the dictionary Settings > Tables and Halls > Hall Plans and Tables, create a separate hall plan.
If using N tables, create N+1 tables because one table gets occupied immediately when creating a quick check.
- Configure Employees.
- In the dictionary Personnel > Employees, highlight employees. Assign the previously created serving position.
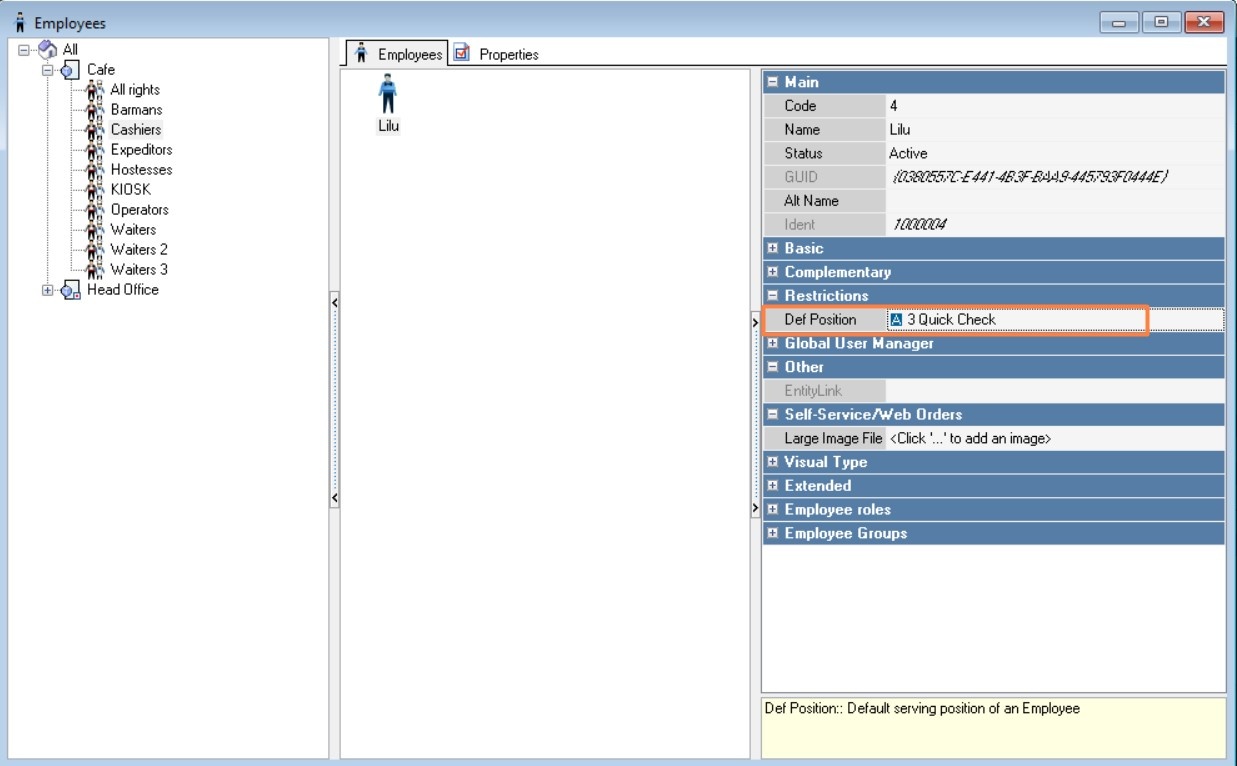
- In the dictionary Personnel > Employees, highlight employees. Assign the previously created serving position.
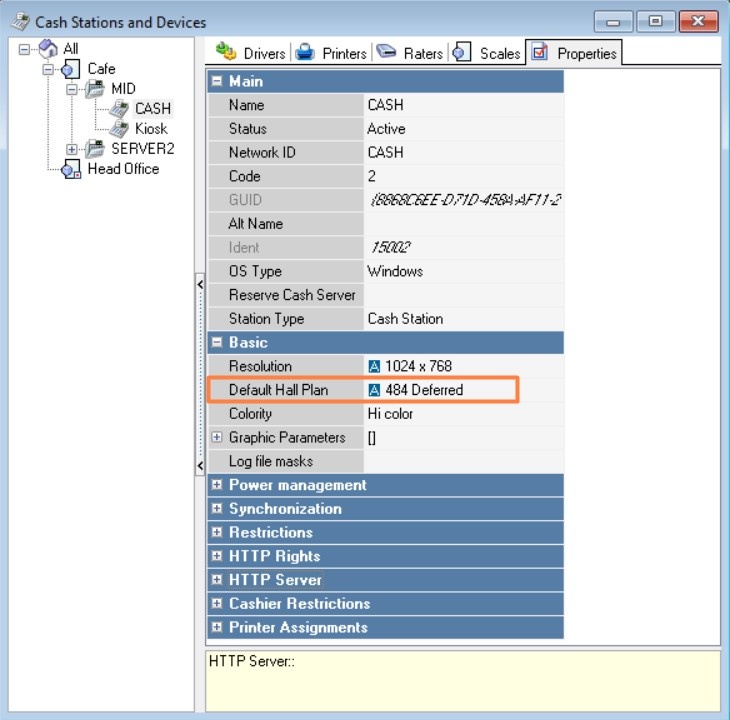
- In the dictionary Services > Cash Stations and Devices, under Cash Register Properties, set Default Hall Plan to the previously created hall plan.
- Configure Form Schemes.
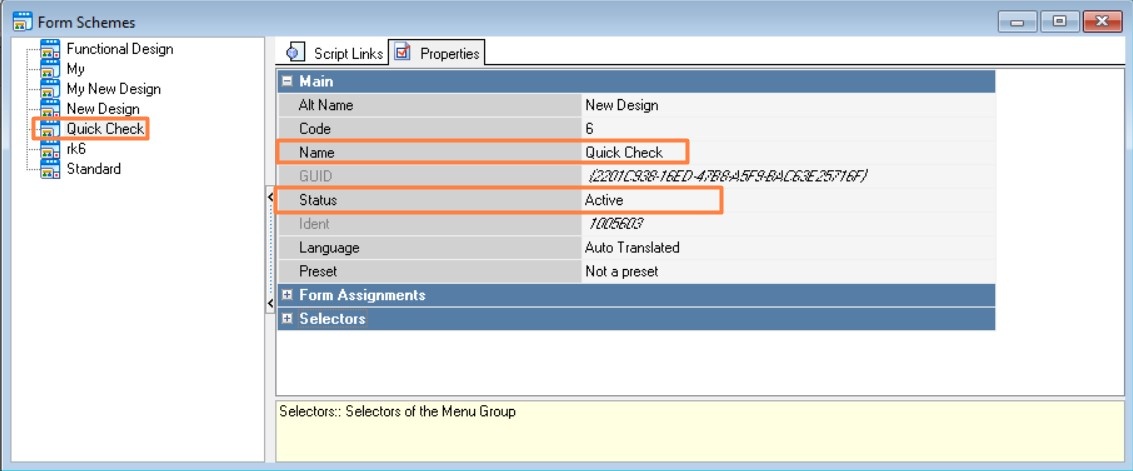
- In the dictionary Settings > Graphic Interface > Form Schemes, add a new form.
Highlight an existing form, then from the context menu select "Copy" and "Paste".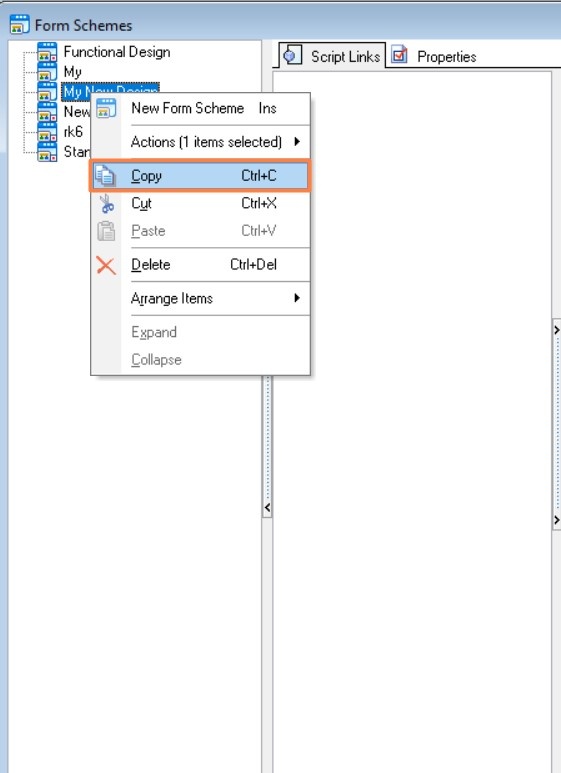
- Rename the scheme, mark as active.
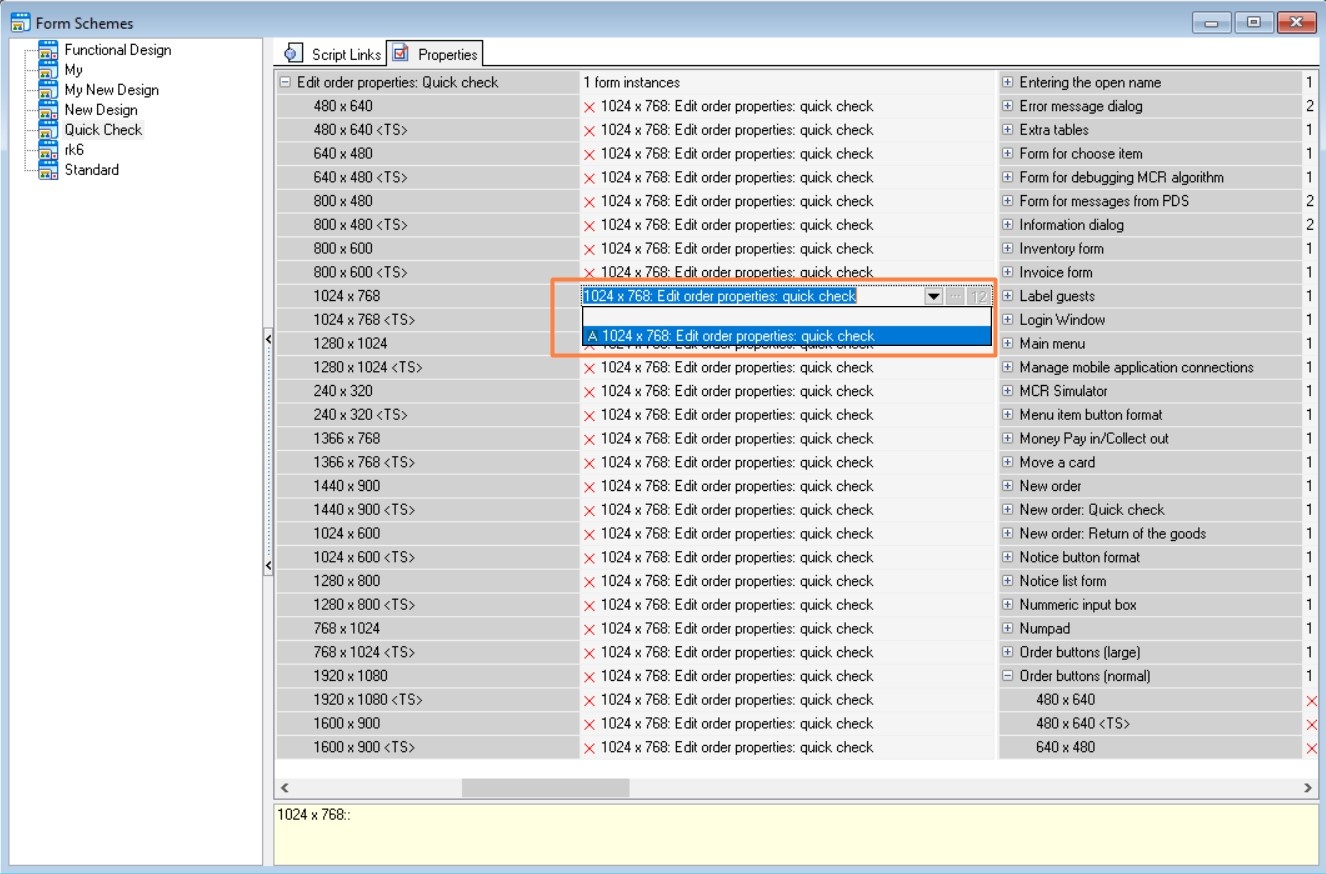
- In the form's Editor order properties group (Quick Check), select Editor order properties (Quick Check + List of Tables).
- Set Up Usage of Form Scheme.
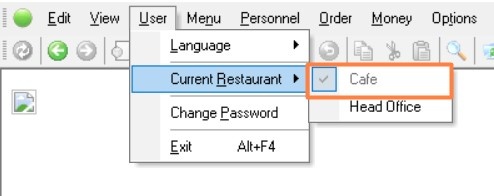
- Under User > Current Restaurant, select the restaurant for which you're configuring deferred tables.
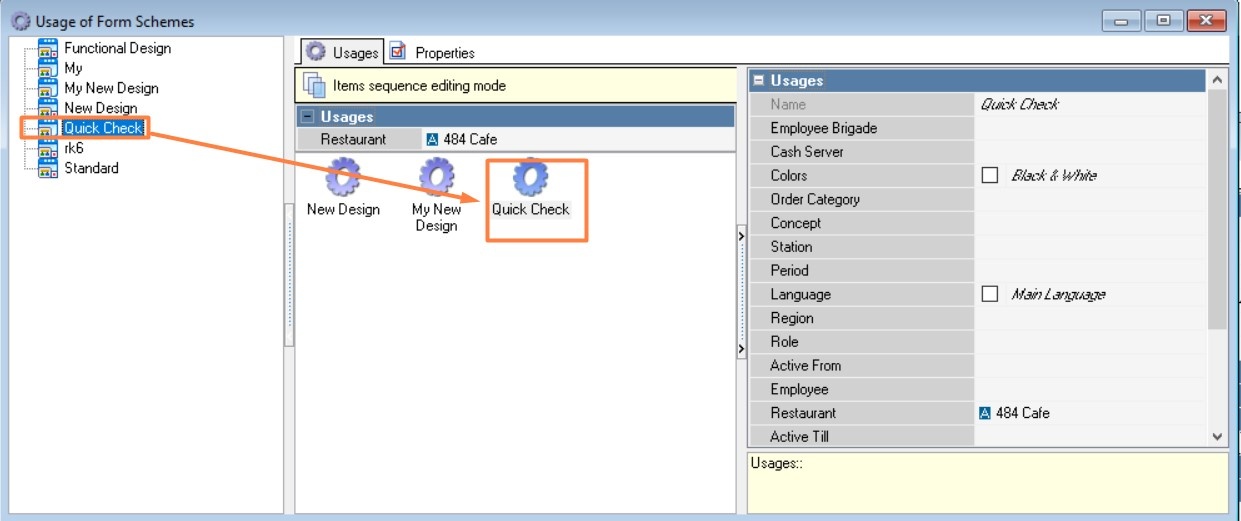
- In the Forms Schemes dictionary, highlight the previously created scheme, click on the Usage icon.

- The Usage of Form Schemes directory opens. Drag the form from left to right onto the Usages tab.
- Under User > Current Restaurant, select the restaurant for which you're configuring deferred tables.
- In the dictionary Settings > Graphic Interface > Form Schemes, add a new form.
To start using the new Form Schema, restart the cash register. After this, tables for deferred orders will appear in Quick Check mode.