Ethernet printer IP-address configuration
1. Ethernet printer IP address configuration general information
1.1. You need GK3tools utility to set UCS interface. Version of “GK Tools” should be at least 3.0.7.014.
1.2. This software can be downloaded from UCS FTP server (/dealers/r-keeper/Tools/GK3TOOLS/).
1.3. By default IP address of UCS ethernet board is 172.31.32.1. You can change address using application “GK Tools”.
1.4. Original boards utility you have to get from supplier.
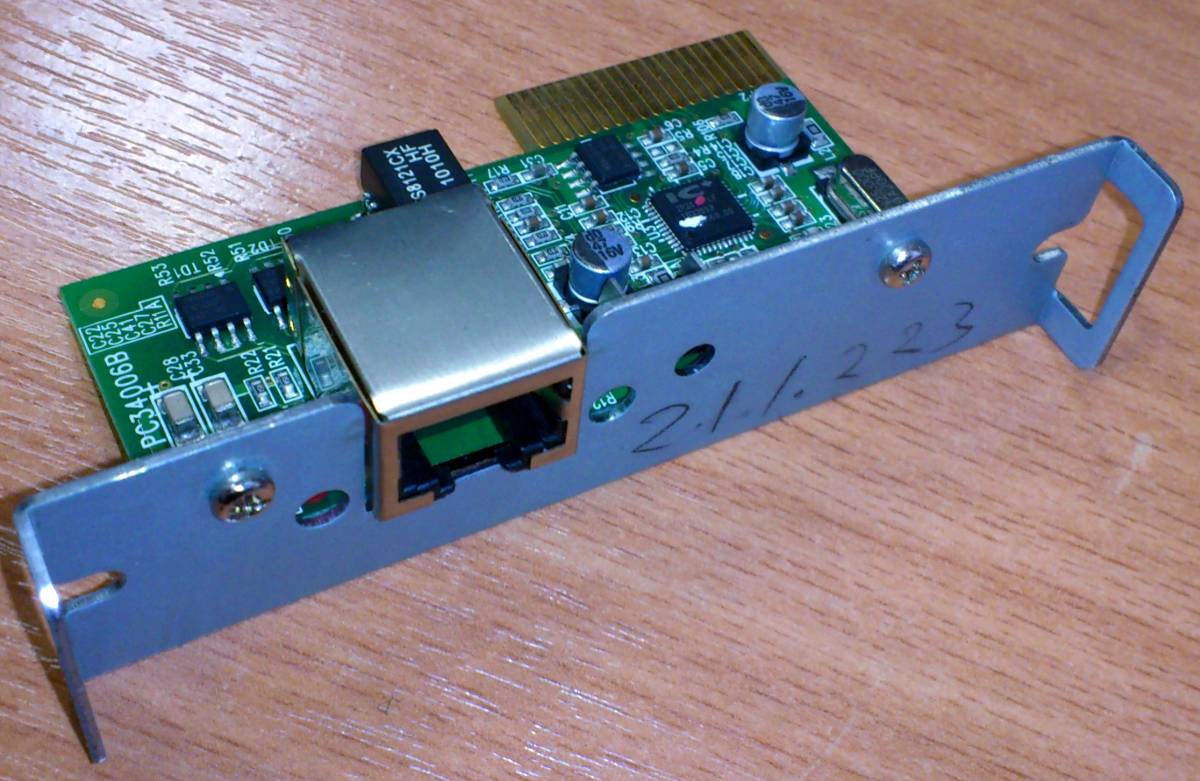
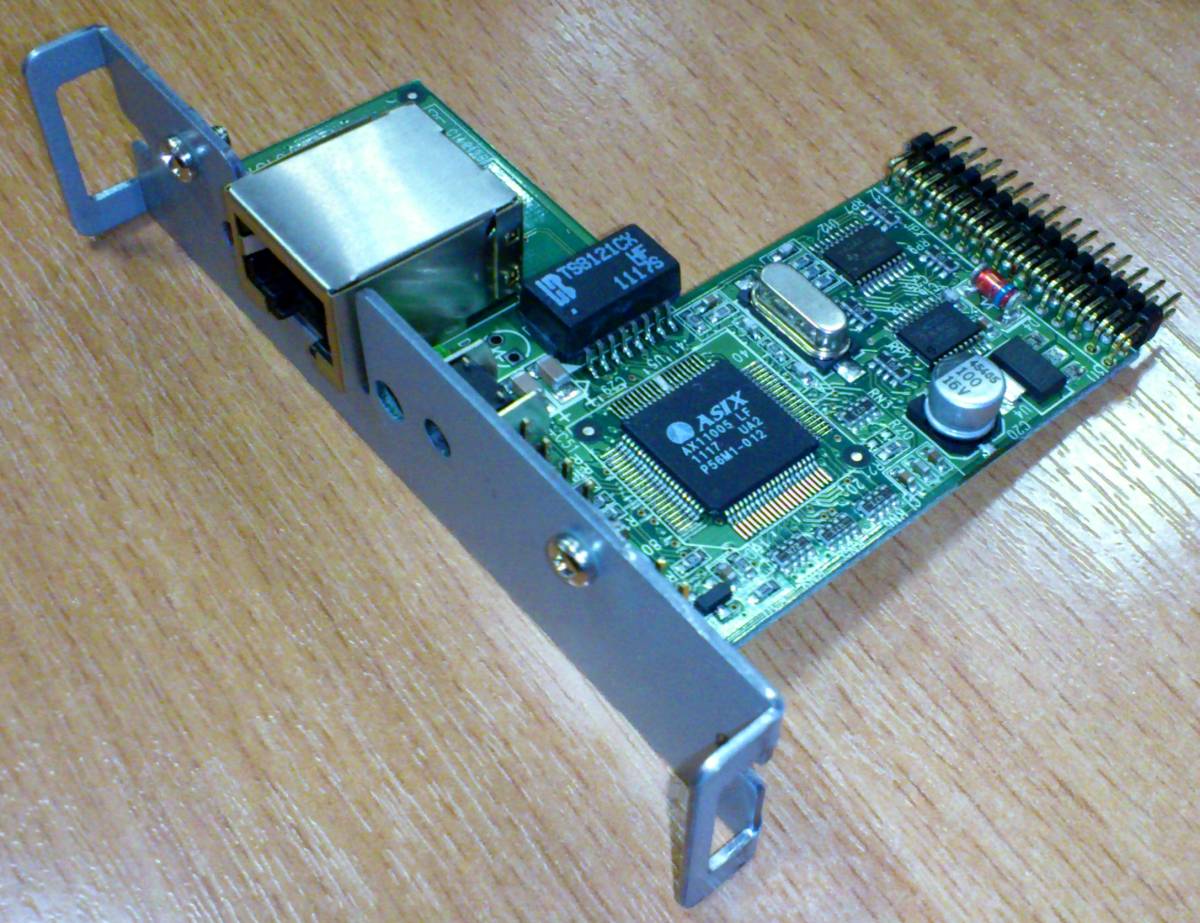
2. UCS interface board (UDP)
2.1. Copy downloaded “GK3tools" files from UCS FTP to some folder.
2.2. Set IP address of the PC, where “GK3tools” is being used, to match subnet 172.31.32.0/16 (for example: addr 172.31.32.30, mask 255.255.0.0).
2.2.1. If you also need to work with your old network you can set two IP addresses on one adapter. To do that open properties of TCP/IP protocol, set static IP (for example 192.168.1.30), then press Advanced and in new window add additional IP (for example 192.168.32.30).
2.3. Set gk3Tools.ini file. Open gk3Tools.ini (in “GK3tools” exe working folder), and set following parameters:
| ip = 172.31.32.30 port = 18252 net = 172.31.0.0 mask = 255.255.0.0 |
2.3.1. "ip" is an additional IP address, which subnet matches the subnet of current IP address of Ethernet interface.
2.4. Connect one printer with Ethernet interface to the network. Make sure that only one UCS Ethernet device (with default address) is connected to network at the same time.
2.4.1. NOTE:You cannot ping printer just to be sure that it connected properly (it utilises UDP, not TCP), but you can use EPRINTER utility form our FTP (dealers/r-keeper/Tools/EPRINTER) to send simple text message to printer. If connection is normal, text will be printed instantly.
a) start application (message about COM-port will appear – ignore it and press OK).
b) find the field with value 18252 and change it to 18251.
c) find the field with IP address (198.154.196.250) and change it to IP from your printer.
d) press SendFileToEthernet and select small text (*.txt) file. Printer will print it instantly. Its OK.
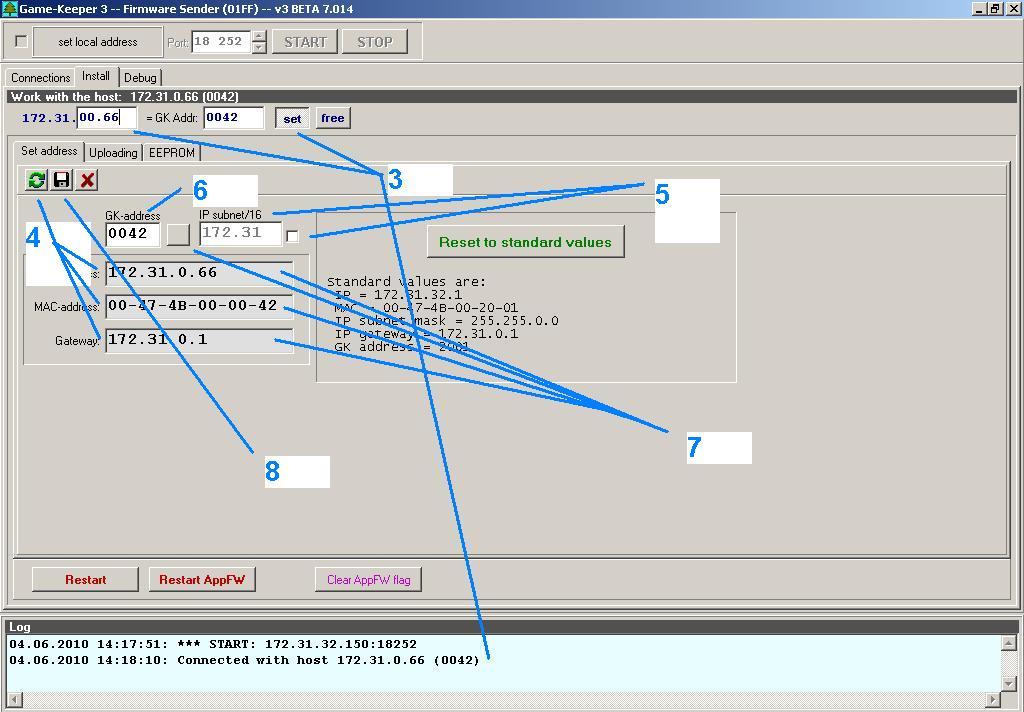
2.5. Start GK3Tools_ver.exe
1) Make sure that IP you wish to assign is not occupied by another device, ping it in network or find it somehow.
2) Turn printer OFF.
3) In application, in the [install] tab “Work with the host” section type in your printer IP (172.31.xx.xx), then press SET.

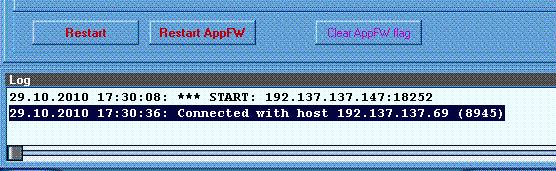
After that turn printer ON. IP info will be printed on printer. And in the blue field on bottom of “GK3tools” should appear message “Connected with host 172.31.xx.xx” with the same your printer IP address.
4) Press REFRESH, current printer info will appear below.
5) If you need to change subnet address, enable check box next to IP subnet field. Set new subnet address (for example 192.168.).
6) In GK-address field set last 2 new IP address numbers. THESE NUMBERS SHOULD BE IN HEX.
For example, if you want to set .1.45, then you should enter 012D.
To calculate from decimal to HEX use standard calculator built in Windows, just switch it to developer mode.
7) After addresses are set, press small grey square between addresses. IP and MAC-address will be changed.
8) If addresses are correct press, SAVE and "restart" printer.
2.6. For additional IP-address monitoring you can use gk3NetMonitor application from same folder. Here you can see all USC devices in network. If for some reason printer IP is not shown here, try to restart it.
2.7. There is J1 pins on printer interface board. If locked it will use default IP address always. Normal mode is open.
2.7.1. If your new address after setting like above haven't saved (showing default) it is possibly because of J1 locked.
3. Original boards (TCP)
3.1. For TM200 printer ethernet interface you have to use DeviceServerManager.exe utility.
3.2. For TM200PLUS ethernet interface you have to use VCOM utility.