Setting up the menu tree
- Creating Selector Pages
- Structuring Selector Pages
- Choosing dishes on the page
- Additional options when forming a menu structure
- "Hidden Dishes" selector page
- “Blocked dishes” selector page
- "Coupons" selector page
In the menu tree, you configure the order of access to the menu structure (to groups and dishes) on the screen of the self-service terminal.
For the correct display of dish images on the kiosk, their size must be 512x512 pixels.
In the Menu Tree reference book, all menu groups that should be available to the guest for selection must be defined. That is, all groups and subgroups of all groups.
Groups and subgroups of dishes in the Menu Tree are created in the form of selector pages.
All selector pages must be on a single level – the first level including the preset selector page Initial Selection.
To create a hierarchical menu structure, pages of the next level are embedded in the pages of the previous level as selector buttons.
For instance, if the menu group Main Courses contains subgroups Soups and Salads, then the selector pages for Soups and Salads should be embedded in the selector page for Main Courses.
Dishes for the Menu Tree are created in the Menu reference and then selected onto the necessary selector pages of the second level as selector buttons.
Selector buttons are the names of selectors or dishes embedded in the selector page (i.e., these are the names of groups of dishes or dishes that will be available to the guest for choosing dishes from the menu).
With standard settings, the Menu Tree has a maximum three-level structure, and dishes are placed only on the second level of selectors. However, using the extended property itemParams ({"isMixedView": "1"}) allows for an infinite nesting of selector pages and placing dishes at any level of selectors (excluding the "Initial Choice" level), including the joint placement of both dishes and selectors on one selector page.
To build a three-level Menu Tree structure, you need to do the following:
- Create pages for selectors (dish groups) of the first and second levels.
- First-level selectors should be embedded in the Initial Choice selector as button selectors, thus creating the first level of the hierarchical menu structure.
- Second-level selectors should be embedded in the first-level selectors as button selectors, thus creating the second level of the hierarchical menu structure.
- Add all necessary dishes from the Menu reference to the appropriate second-level selectors as button selectors.
The initial selector in the kiosk can be any selector (not necessarily Initial Choice), then its identifier is entered in the Main Settings MENU SELECTOR IDENTIFIER FOR KIOSK IN THE MENU TREE parameter (IF NOT SPECIFIED, THE INITIAL CHOICE IS PERFORMED) or MENU TREE SELECTOR IDENTIFIER FOR ORDER TYPE (order type ID).
Creating Selector Pages
Open the reference Menu > Menu Tree.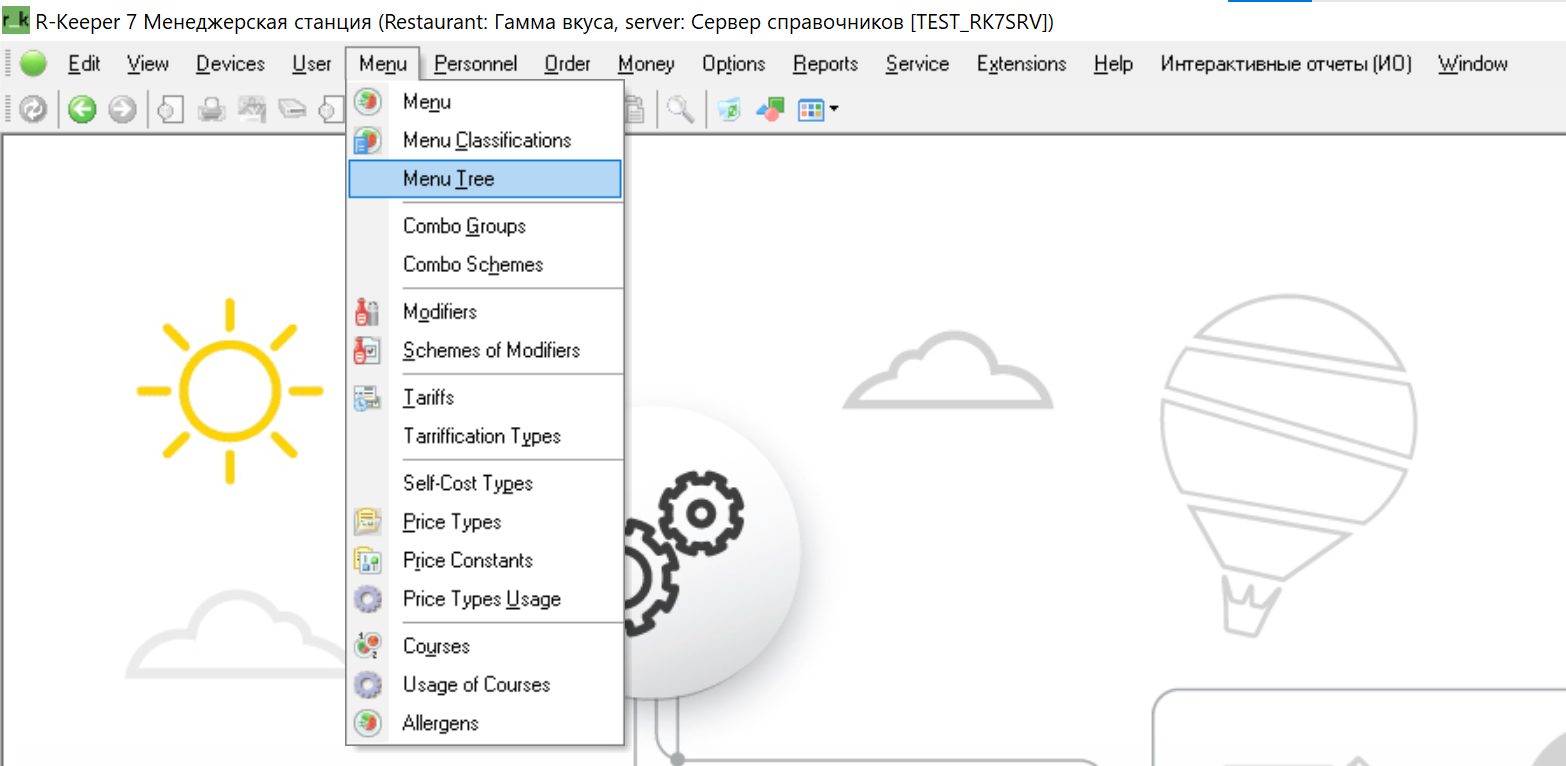
By default, the Menu Tree contains a preset Initial Choice selector page that cannot be edited.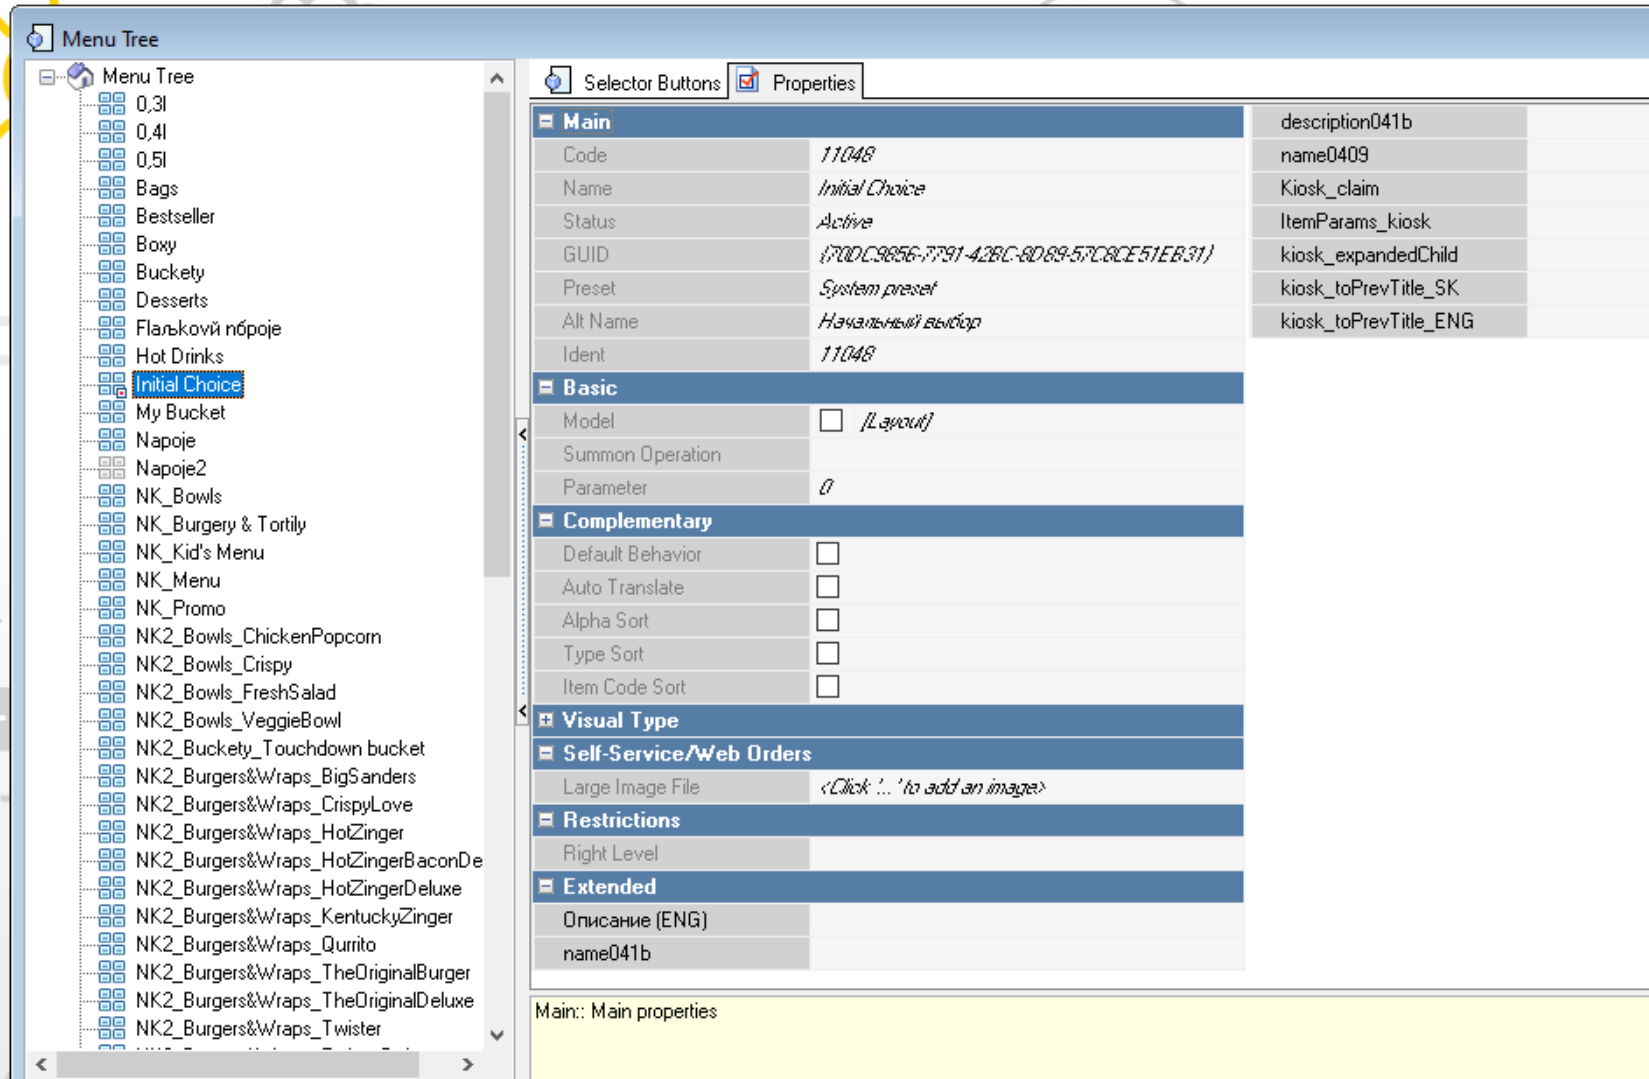
To create a new selector page, do the following:
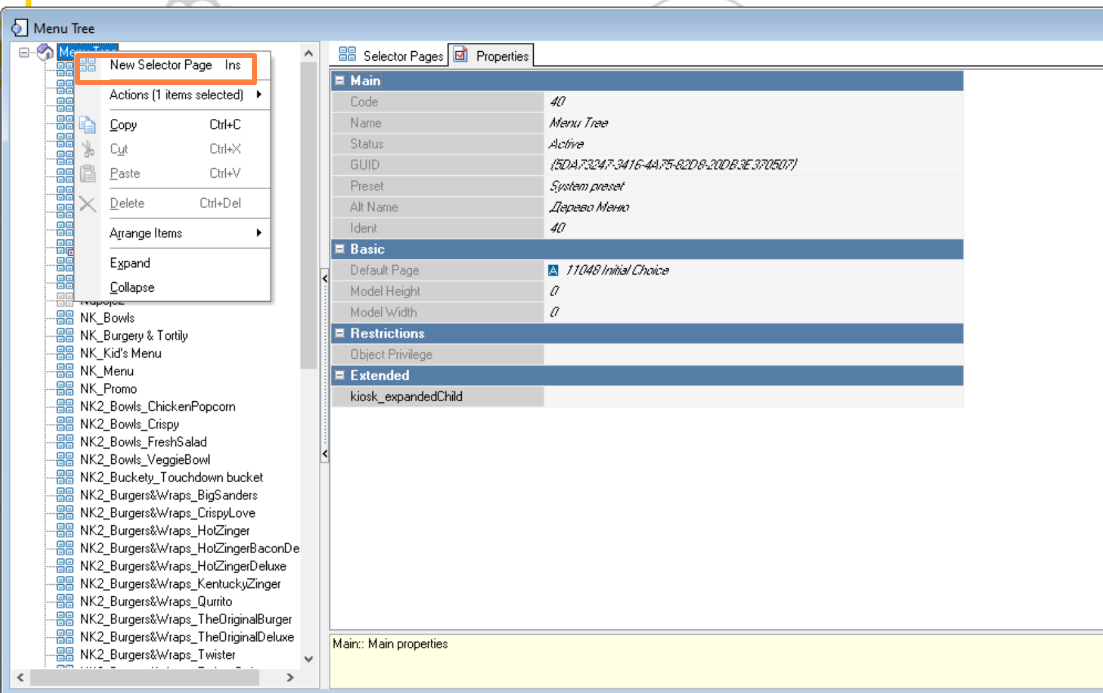
- select root directory Menu tree
- Right-click on it to open the context menu.
- select New selector page
- enter the name of the selector page and set the status to Active
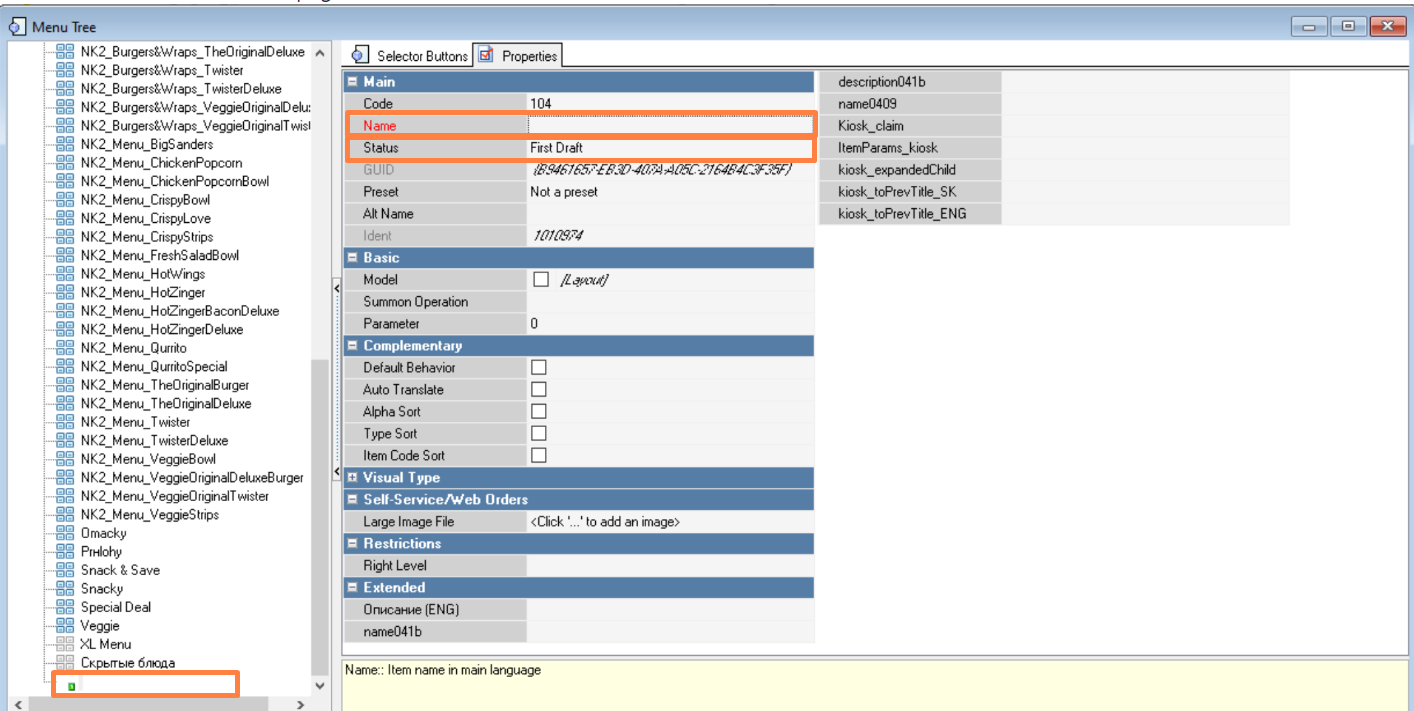
- Save the created selector page by clicking the Save button on the toolbar.
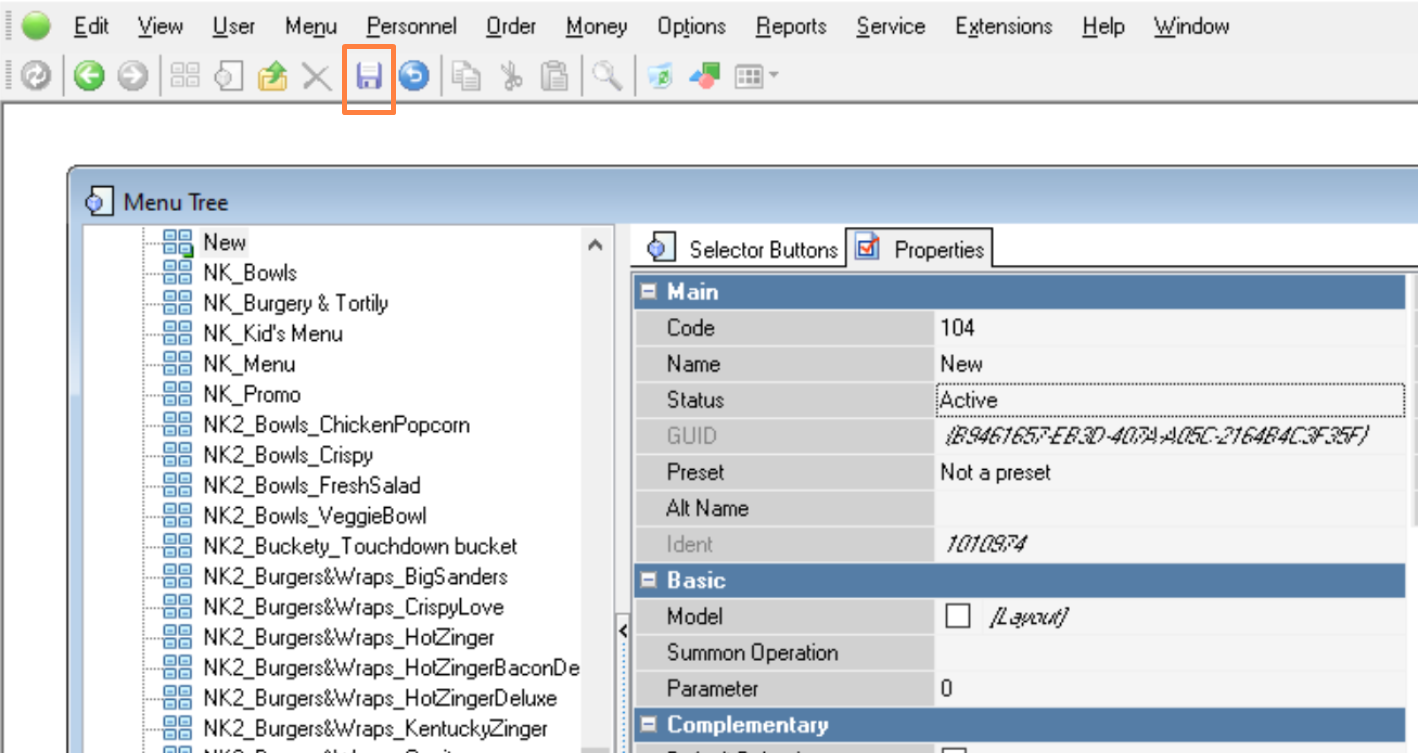
After this, the created selector page will be displayed in the list of selector pages in the Menu Tree.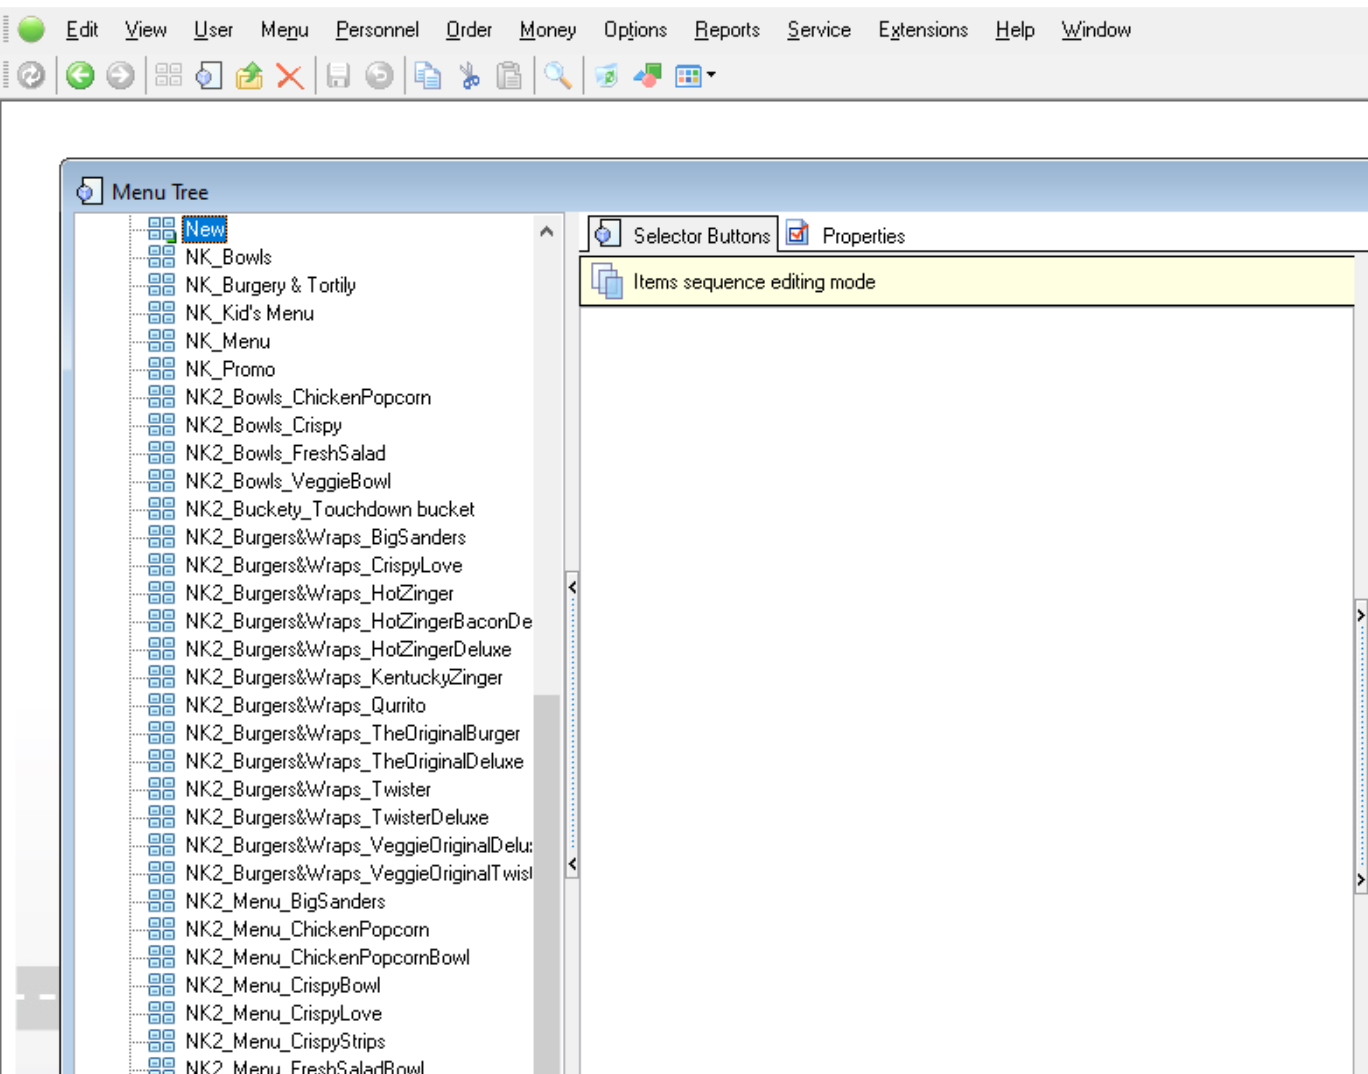
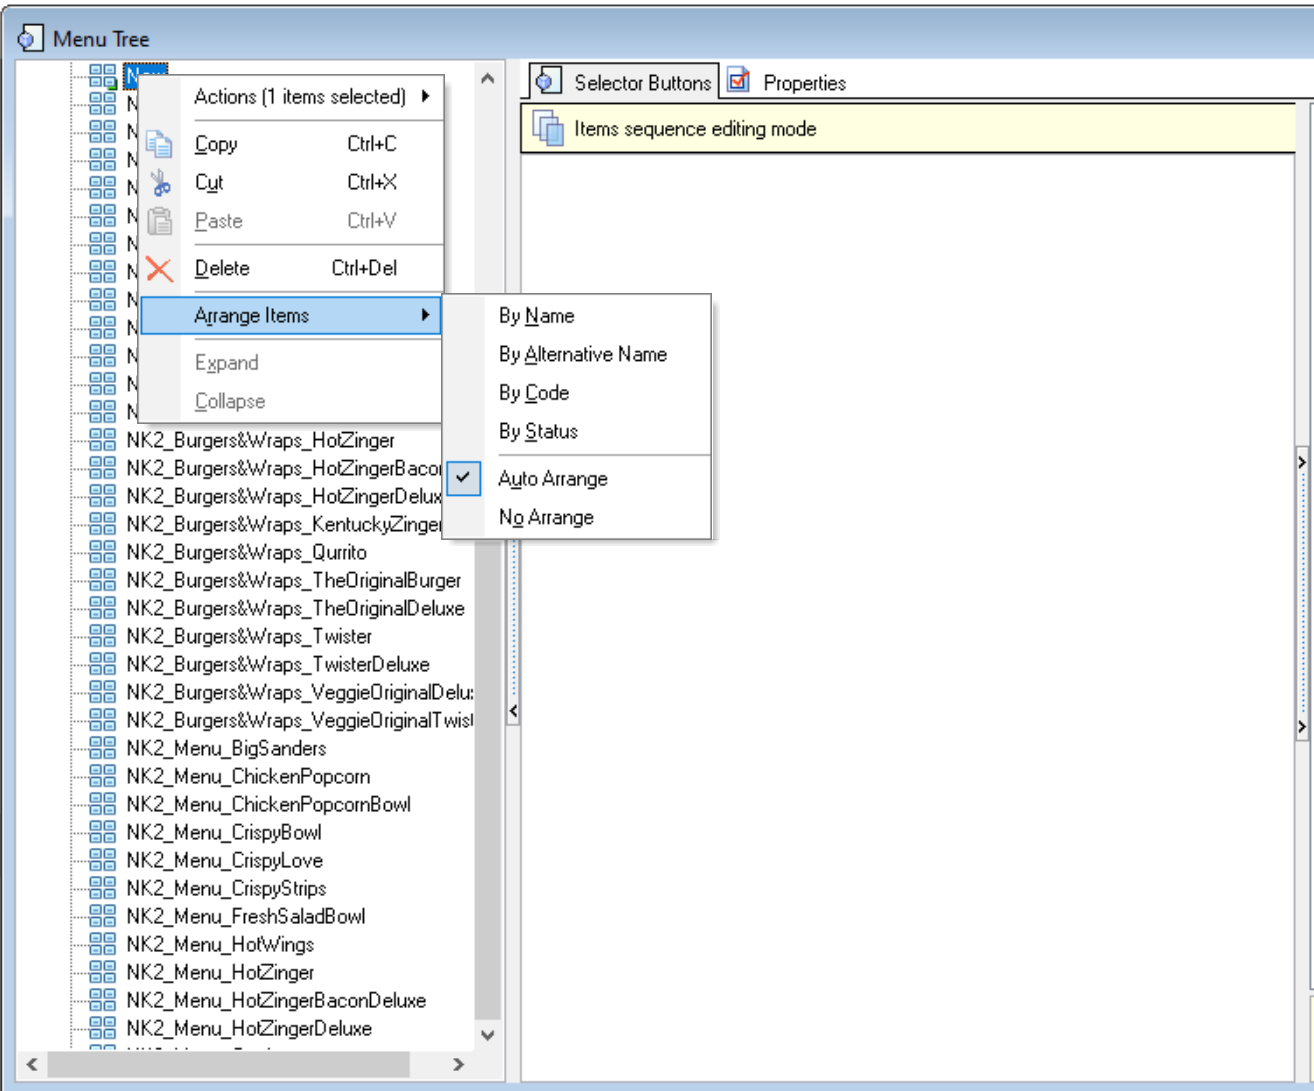
The order in which selector pages are displayed in the list depends on the selected sorting method (accessed via the context menu).
Thus, it is necessary to create pages for all first and second level selectors.
Structuring Selector Pages
All created selector pages (groups and subgroups of dishes) should be placed at the required levels according to the desired menu structure.
To form the first level of the menu, all necessary pages of first-level selectors should be included in the Initial Choice selector page.
To do this, drag and drop the desired selector page onto the Initial Choice selector page.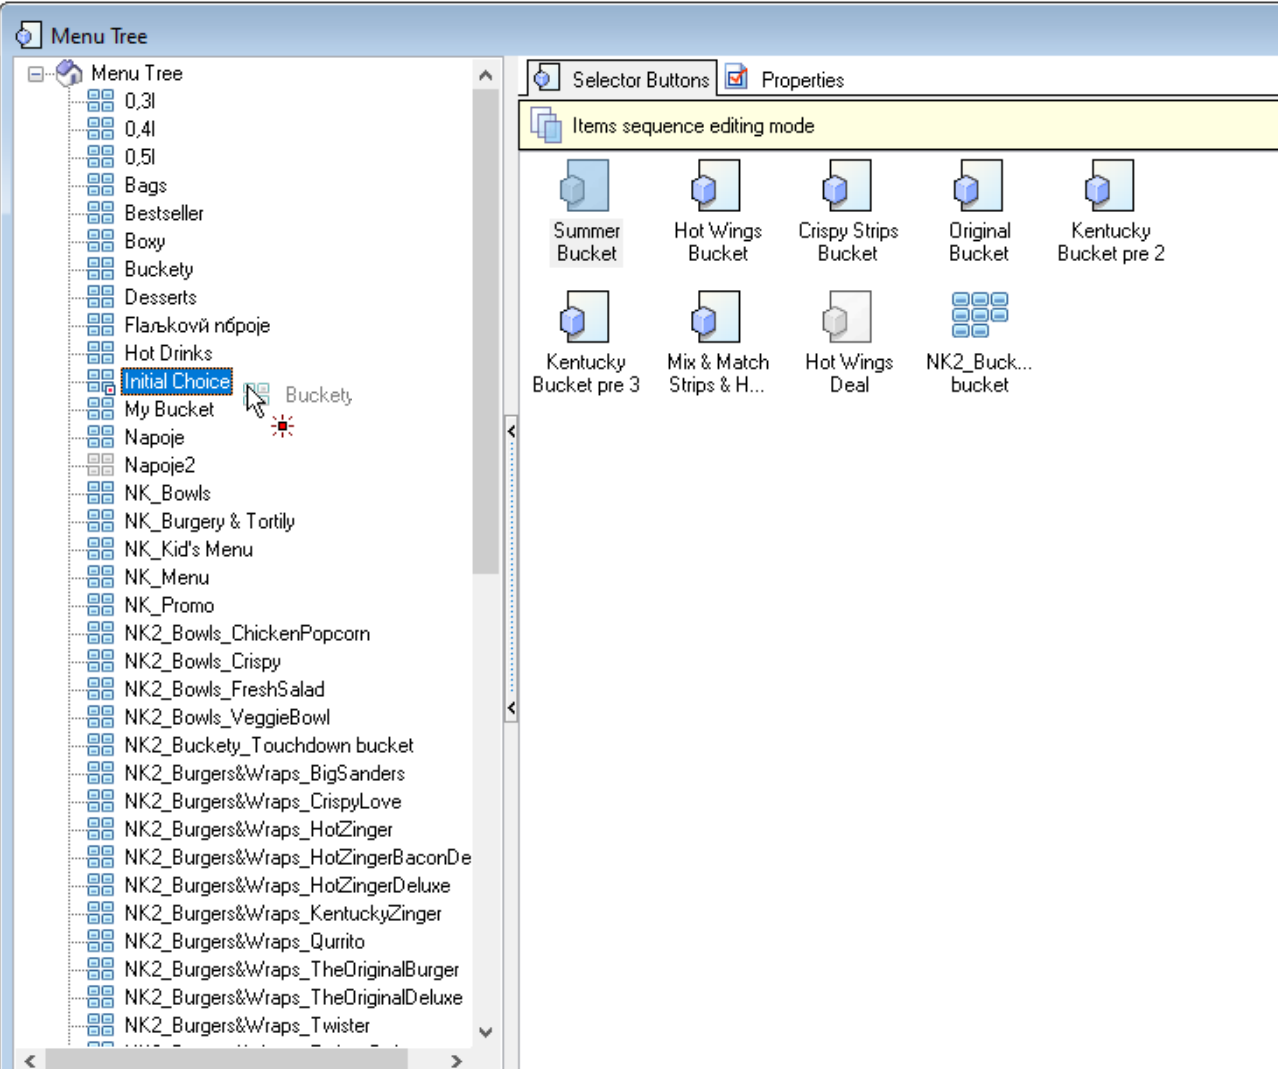
After this, on the Selector Buttons tab on the Initial Choice selector page, a selector button will be created with the name of the selector subpage. And the name of this button will be available to the guest as a menu group.
To form the second level of the menu, you need to embed all the necessary second-level selector pages into the first-level selector pages.
To do this, drag and drop the desired selector page onto the first-level selector page.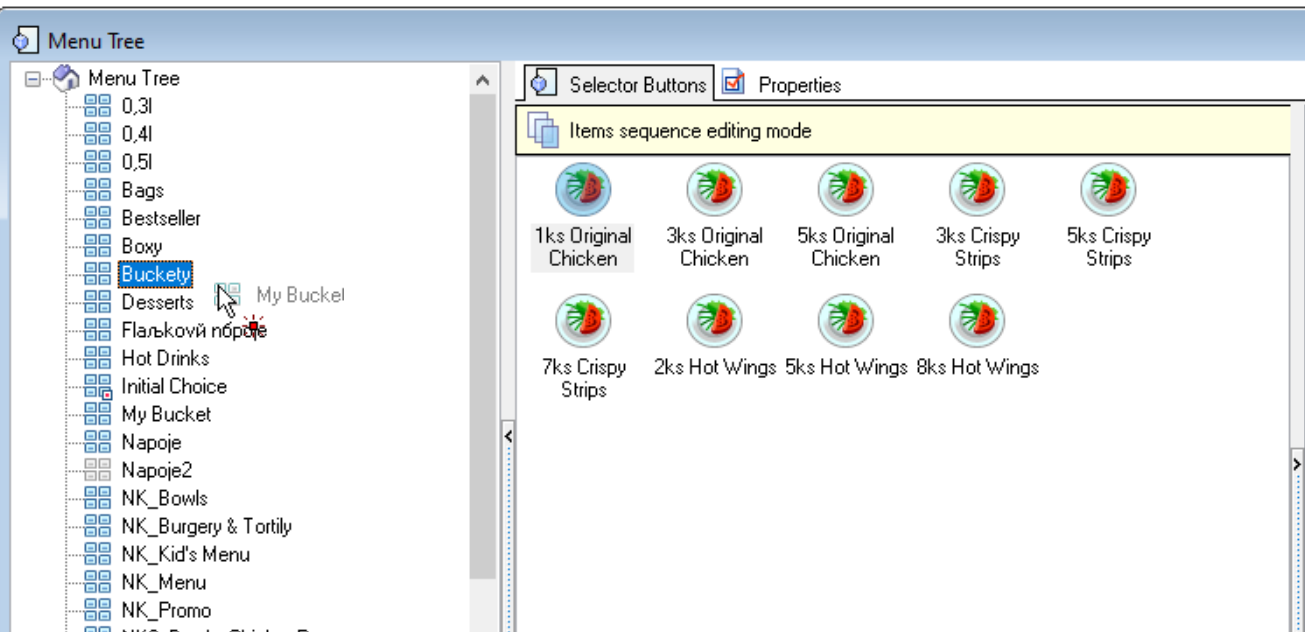
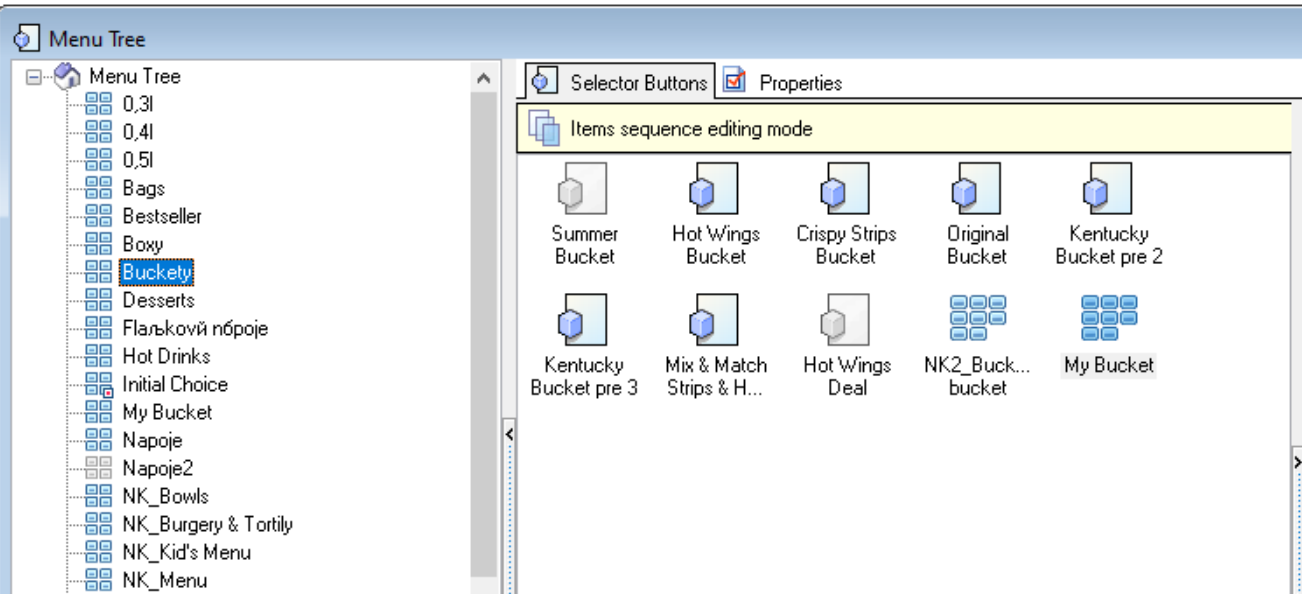
After this, on the Selector Buttons tab on the first-level selector page, a selector button will be created with the name of the sub-page of the second-level selector (dish group). And the name of this button will be available to the guest as a menu group.
Thus, a two-level menu structure will be formed: first-level menu groups, with second-level menu groups (subgroups) within them.
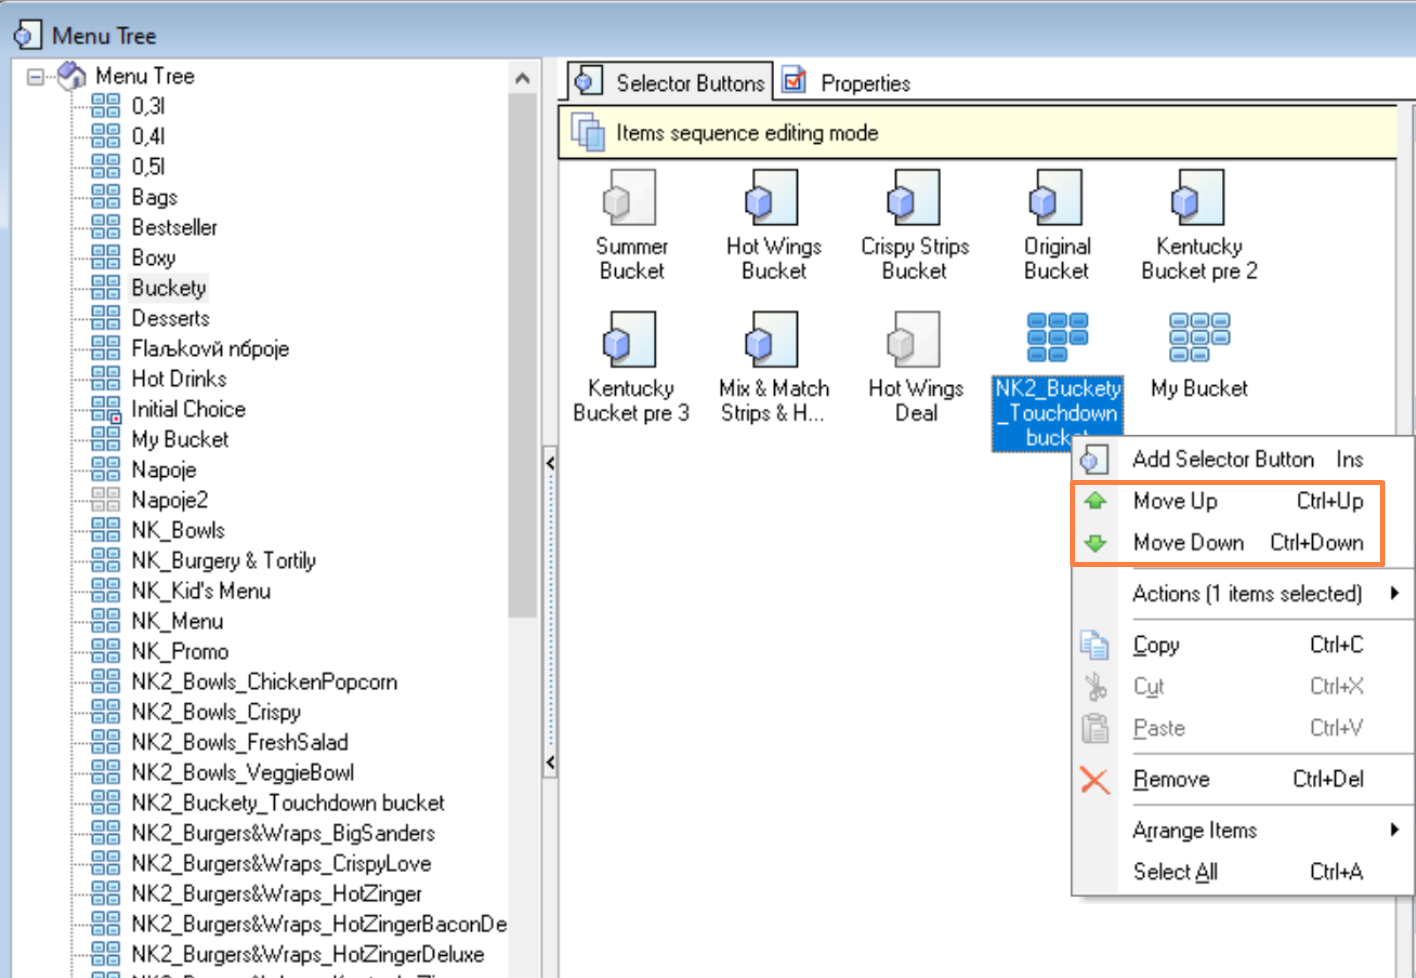
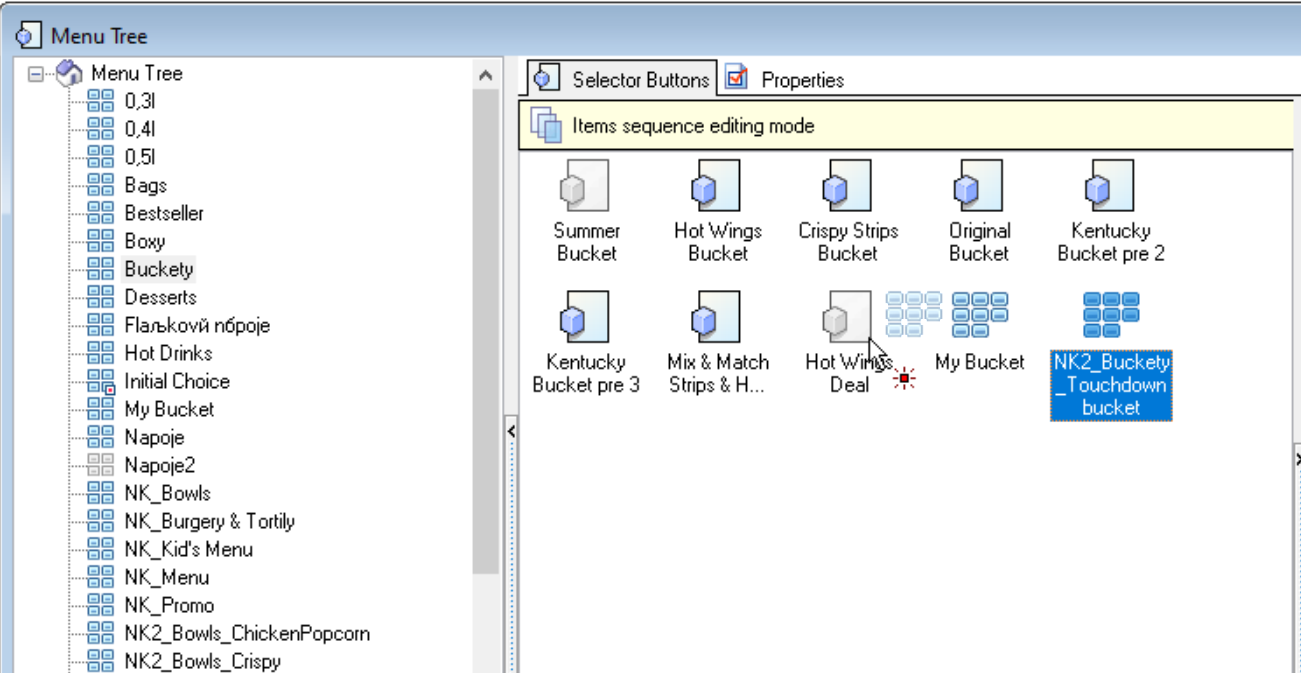
The order of displaying selector buttons in the list can be changed. To do this, either choose the object movement operation "Up" or "Down" in the context menu, or drag and drop the selector button to the desired location.
If the menu structure involves more than 2 levels of nesting, the remaining levels are arranged similarly to the second level. That is, the third one is in the second, the fourth one is in the third, etc.
Choosing dishes on the page
On the second-level selector pages (menu subgroups) you need to place the required dishes according to the required menu structure.
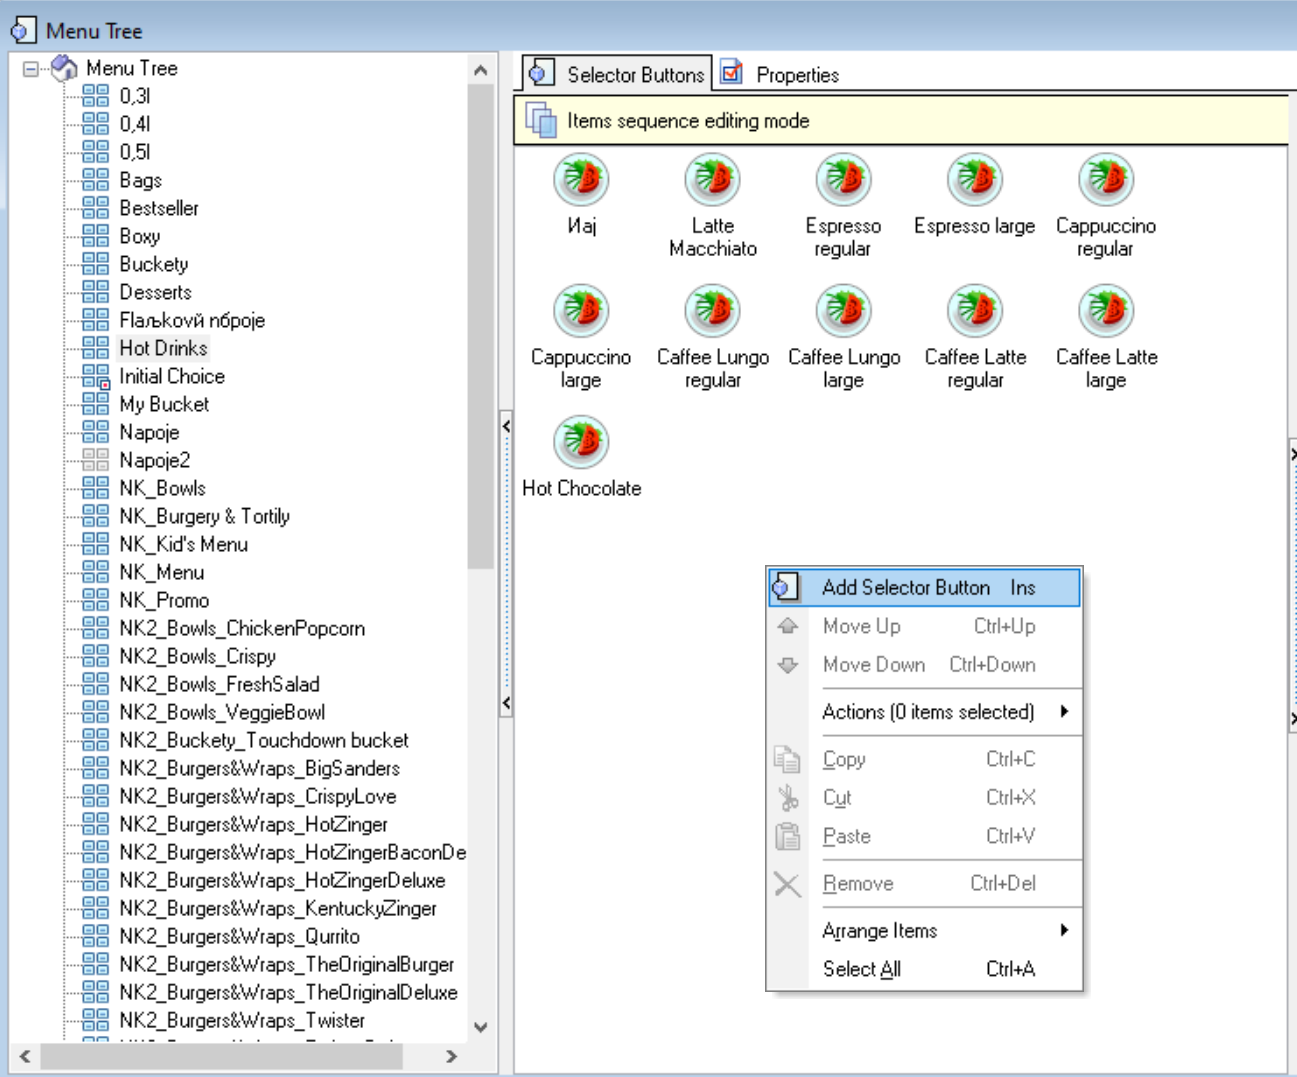
To select dishes for the selector page you need to:
- select the desired page of the second level selector
- Right-click on the Selector Buttons tab to open the context menu.
- select Add selector button
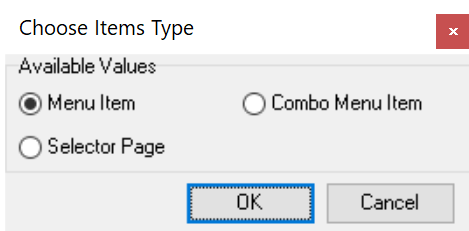
- Choose the object type Menu item.
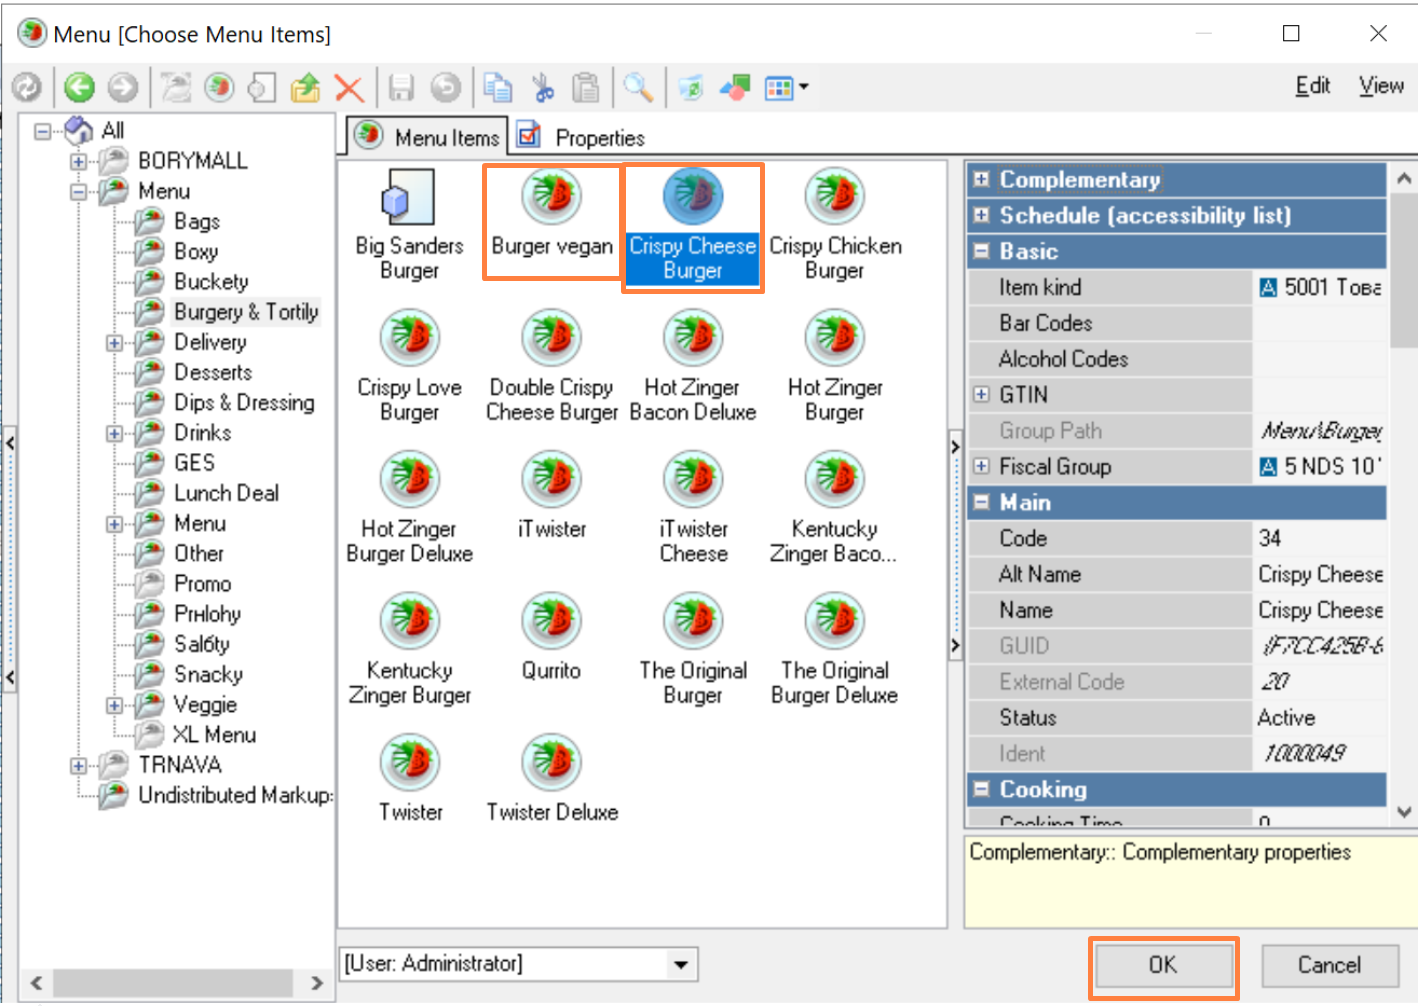
- Select the desired dish from the Menu reference that opens and press the OK button. To optimize your selection, you can simultaneously select several dishes from one menu group by selecting them using the Shift or Ctrl buttons.
After that, on the Selector Buttons tab, a selector button/buttons for dishes will be created on the selected second-level selector page.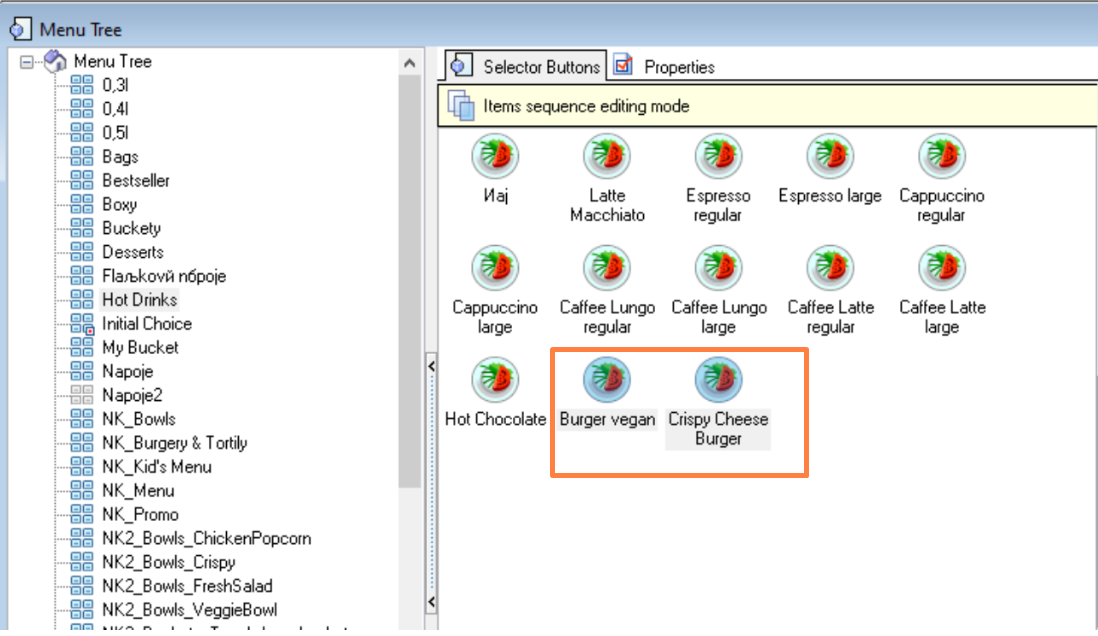
It will be necessary to form a list of dishes this way for each menu subgroup.
Additional options when forming a menu structure
In case of production necessity, it is possible to use a multilevel menu structure (not only a two-level one, but an infinite nesting of selectors). Including a mixed type, i.e., you can embed not only the pages of other selectors but also dishes on the selector page.
Thus, the guest will see not only dishes but also subgroups of dishes in the menu group.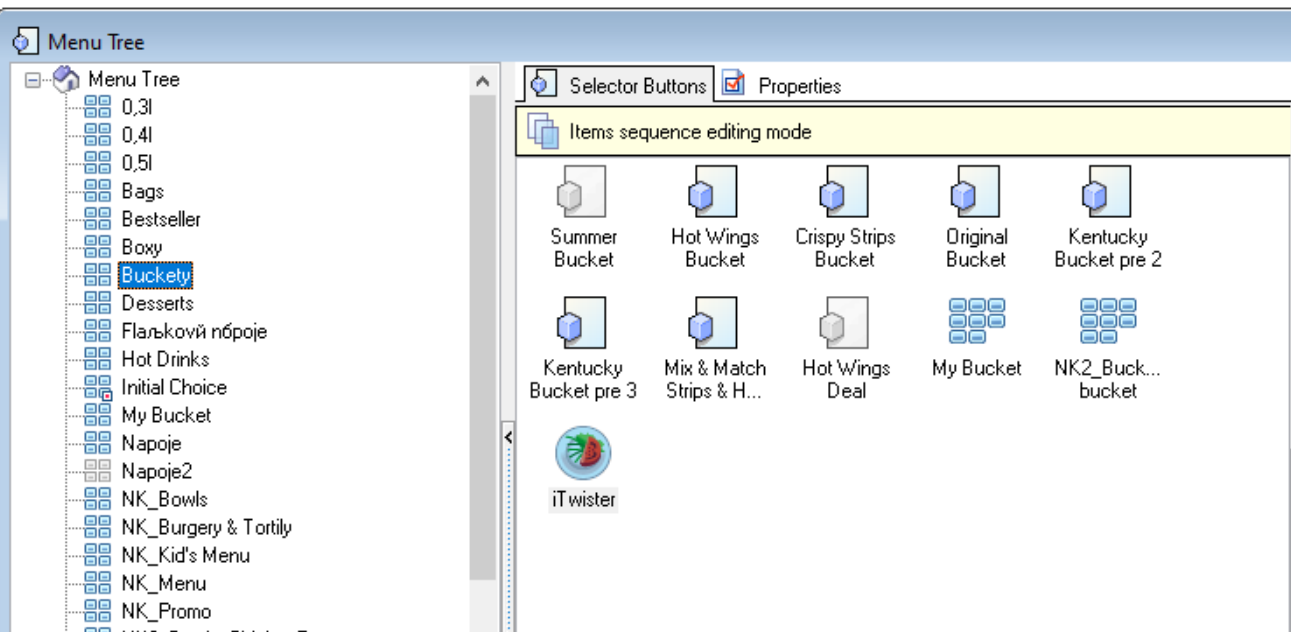
To do this, you need to use the itemParams extended property ({"isMixedView": "1"}).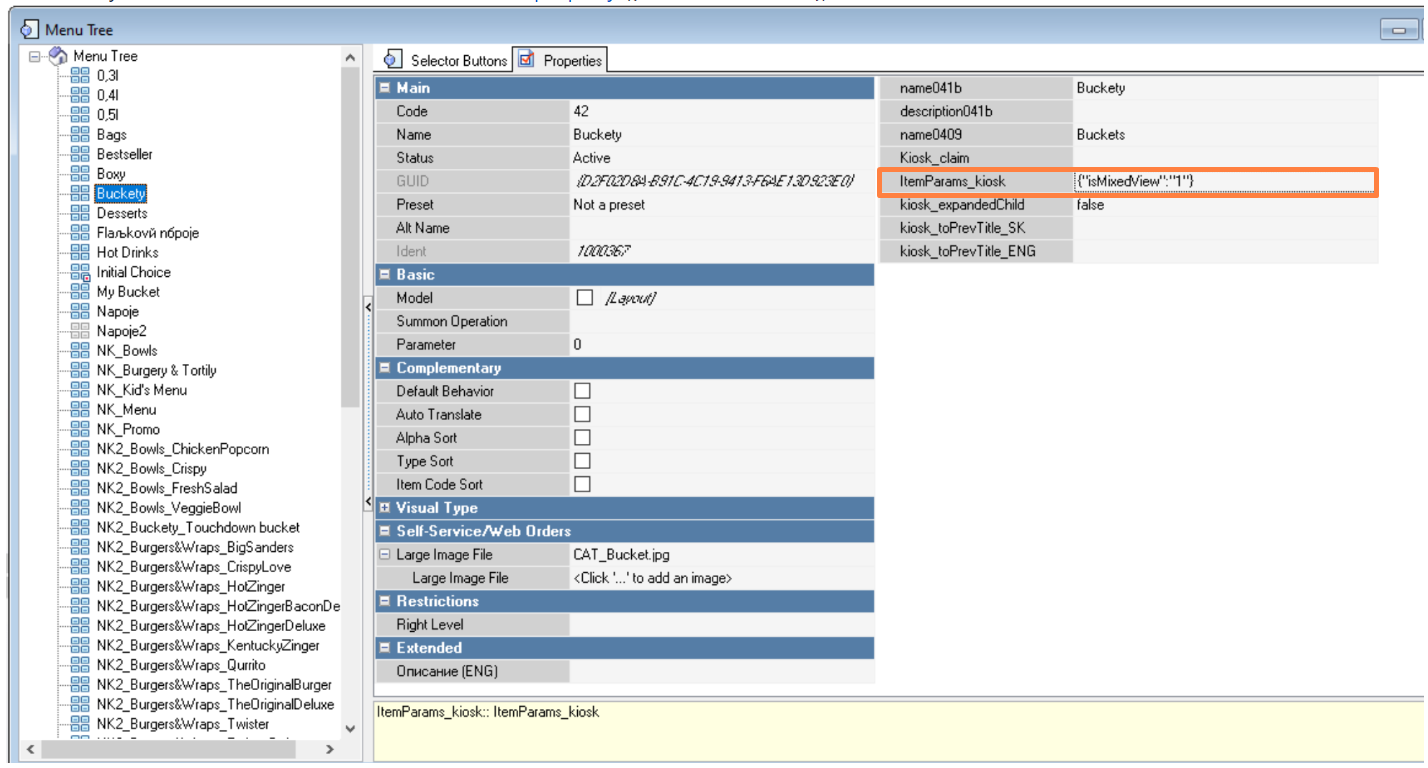
This extended property must be specified in the required “parent” selector (i.e., in the first-level selector), and then it will work for all its nesting levels.
"Hidden Dishes" Selector Page
Hidden dishes are dishes from the menu that appear on the terminal screen only after entering a code (usually these are promotional dishes).
The selector page Hidden dishes is created similarly to paragraph Creating selector pages. It is not linked to other selectors and filled with dishes in accordance with paragraph Selecting dishes on the selector page.
“Blocked dishes” selector page
Blocked dishes are dishes from the menu that should not appear on the terminal screen (usually these are promotional dishes).
The selector page Blocked dishes is created similarly to paragraph Creating selector pages. It is not linked to other selectors and filled with dishes in accordance with paragraph Selecting dishes on the selector page.
Coupons selector page
The Coupons selector page is created in the same way as in section Creating selector pages.
In the selector properties you need to fill in the following parameters:
- “Name” – the name of the selector
- {"isCoupon":"1"}. extended property itemParams – assign the value {"isCoupon":"1"}.
The remaining properties are filled in if necessary.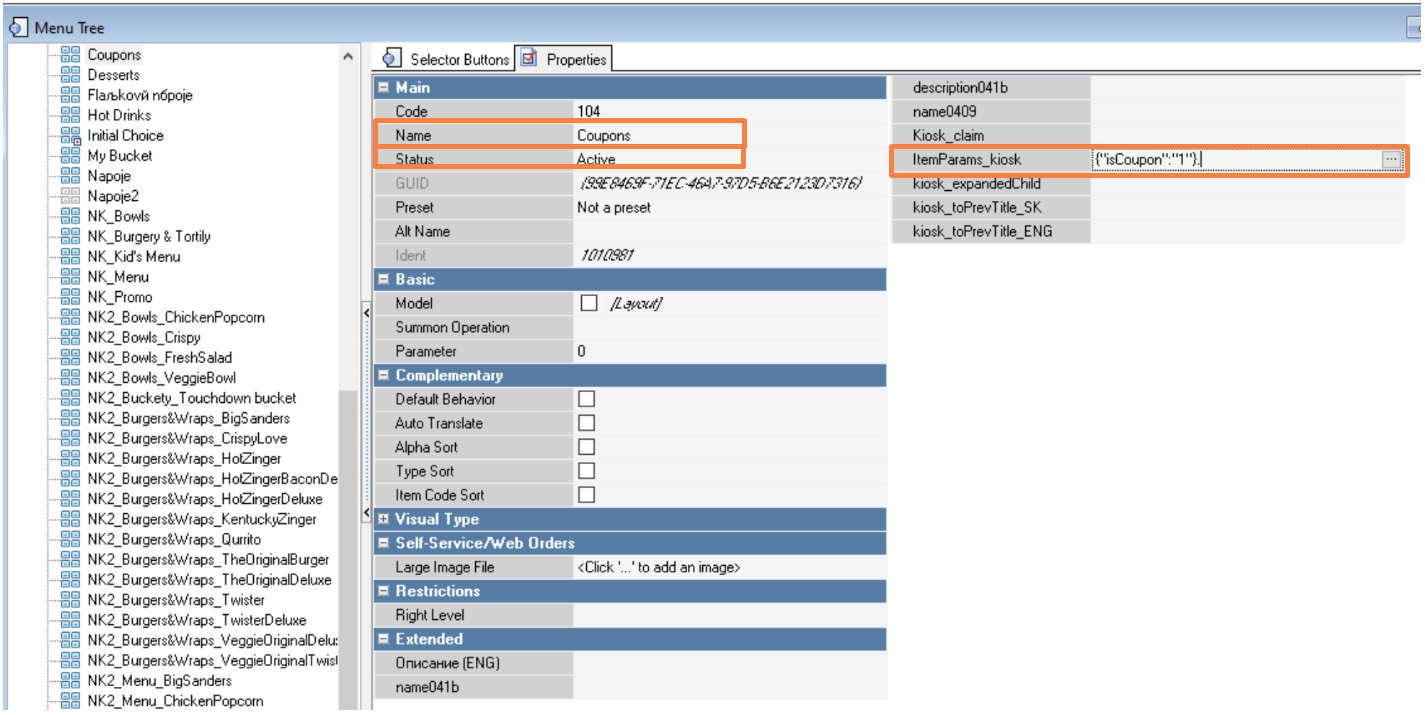
The Coupons selector is added to the Initial choice selector (or any other selector as intended by marketers). Nothing is added to the selector.
The Coupons selector does not appear in the kiosk menu if the USE COUPONS option in Settings > Main Settings in the kiosk service menu is set to No.