Delivery note
Introduction
The delivery note printing is available in two versions:
- On the receipt tape
- In A4 format
To select a format:
- Select Establishments from the menu
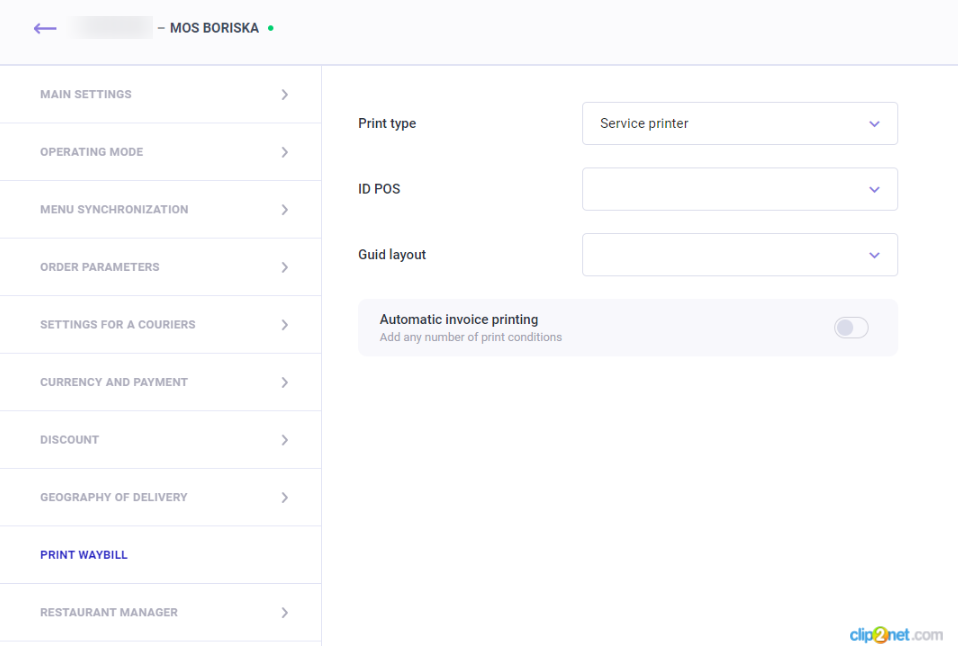
- Select the desired establishment and go to the Print Delivery note section
- In the Print Format field, select:
- Receipt tape, so that notes are printed on receipt tape
- A4 paper, so that the notes are printed on a regular sheet of paper
- In the Cash Station ID field, specify the cash station ID
- In the Document View Guid field, enter the document GUID.
- Print delivery note immediately after order is transferred to the kitchen — enable this setting so that the delivery note is printed automatically on the receipt tape after the order is transferred to the kitchen. The field becomes available only when the receipt tape is selected
- Save the changes.
Receipt tape
To print on a receipt tape, you must specify the layout view Guid.
You can download the layout template and find out more detailed information about it in the article Delivery note on receipt tape.
Adding an order number to the layout
To add an external order number from the r_k Delivery system to the layout:
- In the r_keeper manager station menu, go to Settings > Setup > Advanced Properties
- Select the Properties for orders group
- Right-click the Extended Property Types field and select New Extended Property Type
- Set the title and system name — extordername
Please note the case: the system name and title must be written in lowercase letters.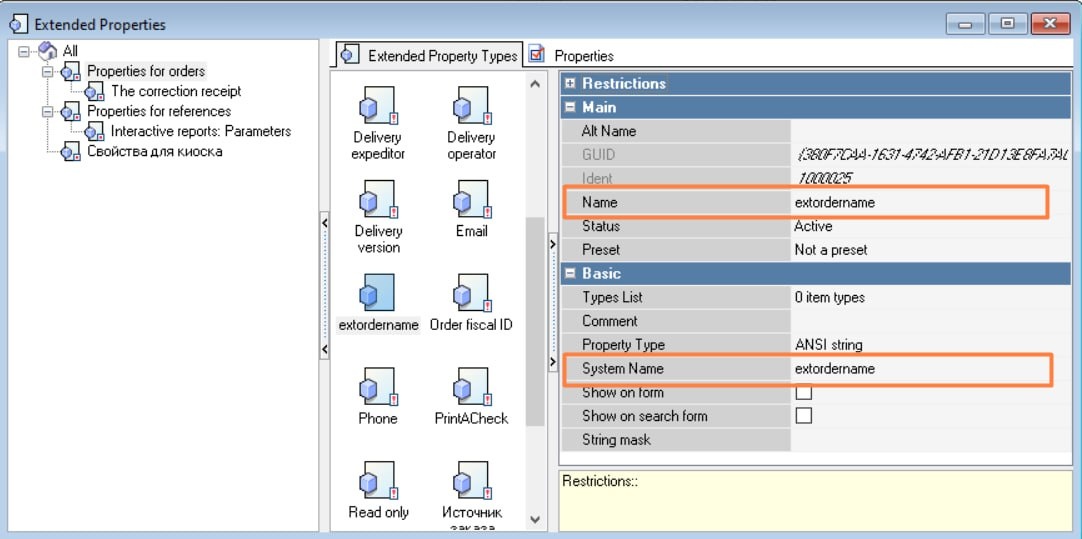
- Save the changes.
Done, the extended property is now available for selection in the layout under the name [Orders.extordername].
If the extordername property is missing, an error will be displayed in the delivery note on the receipt tape instead of the order number.
A4 format
The delivery note is set up according to a template for the entire corporation and is applied to each establishment.
When you start working with the system, there is already a pre-installed template main_template.html. You can customize it for yourself or create your own template.
If you changed the template, but it didn't work, you can restore the settings.
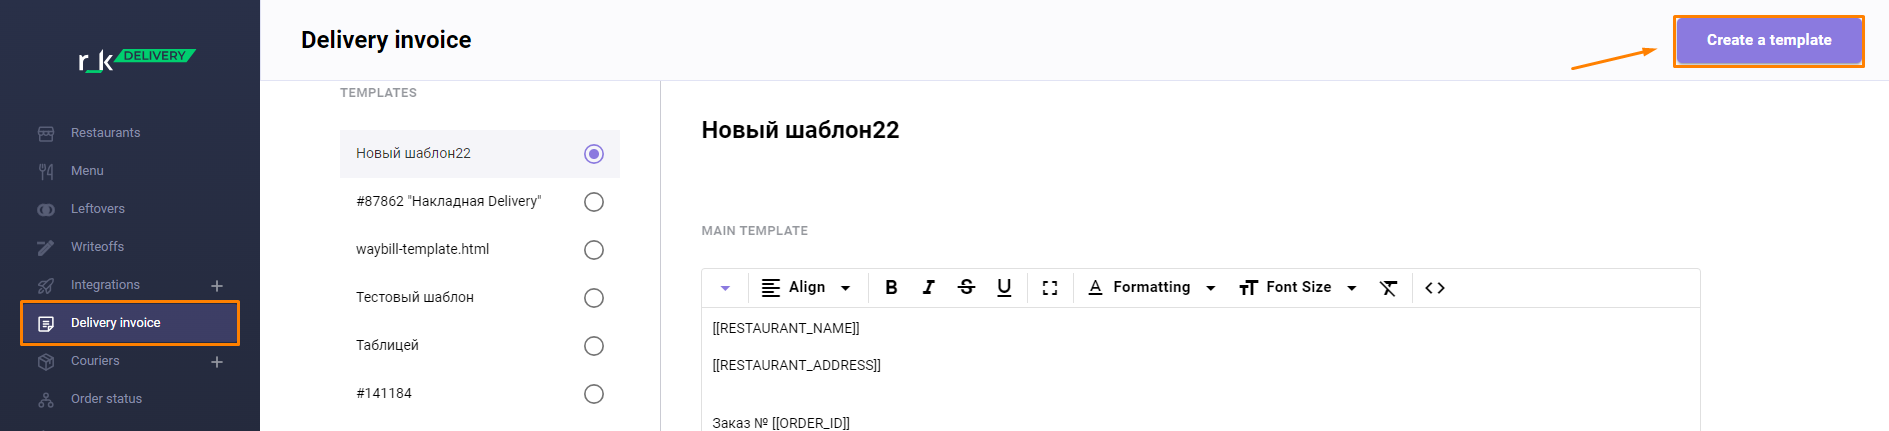
Create a template
In the Delivery Note menu of the admin panel, click the Create Template button.
The editing window for the new template will open.
Setting up a template
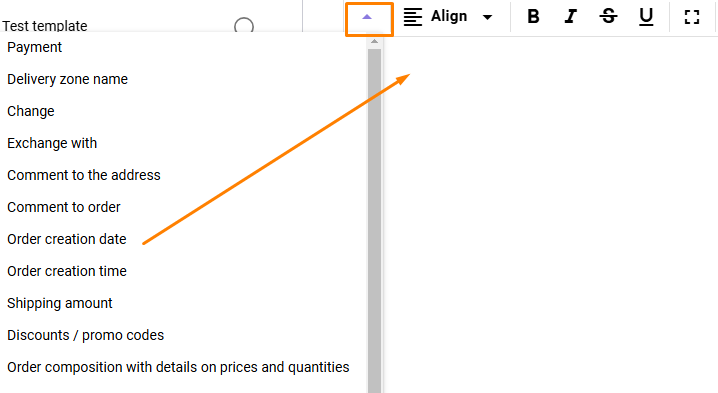
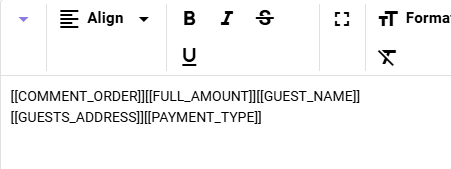
Click on the Variables list:
Select the names of the fields that should be displayed in the template. | The template body will list the selected fields in system format. |
|
|
In edit mode you can:
- Change the template name.
Enter a new name and click the check mark.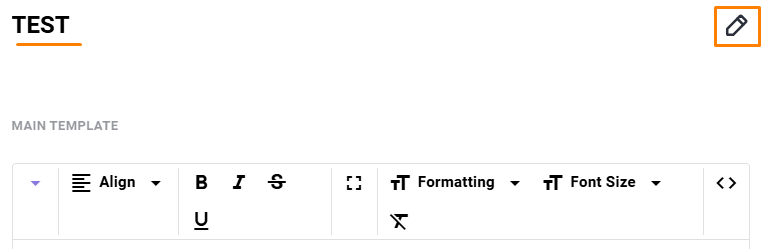
- Format some or all of the text using the available tools.

- Add custom text, for example, as a comment to the output fields.
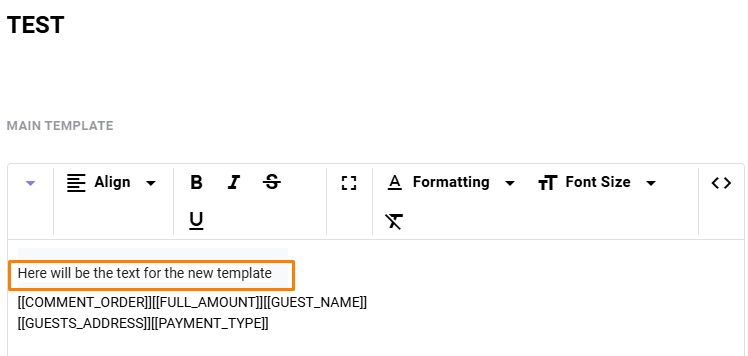
- If you need to delete the erroneous text formatting of the delivery note, click on the
 button
Click on the link  to see what the invoice text will look like.
If the template is ready, click the Save button at the bottom of the screen.
Set the template to be active.
If necessary, you can go back to the template and edit its parameters.
Template activation
Only one template can be active at a time.
The selection is made by pressing the ![]() button opposite the desired template.
button opposite the desired template.
After refreshing the page, the active template will be the first in the general list of delivery notes.
Printing the delivery note
By default, delivery note printing is enabled and is performed using the corresponding button in the establishment’s interface.
The information on the invoice depends on the fields selected when creating the fields template.
Example of a delivery note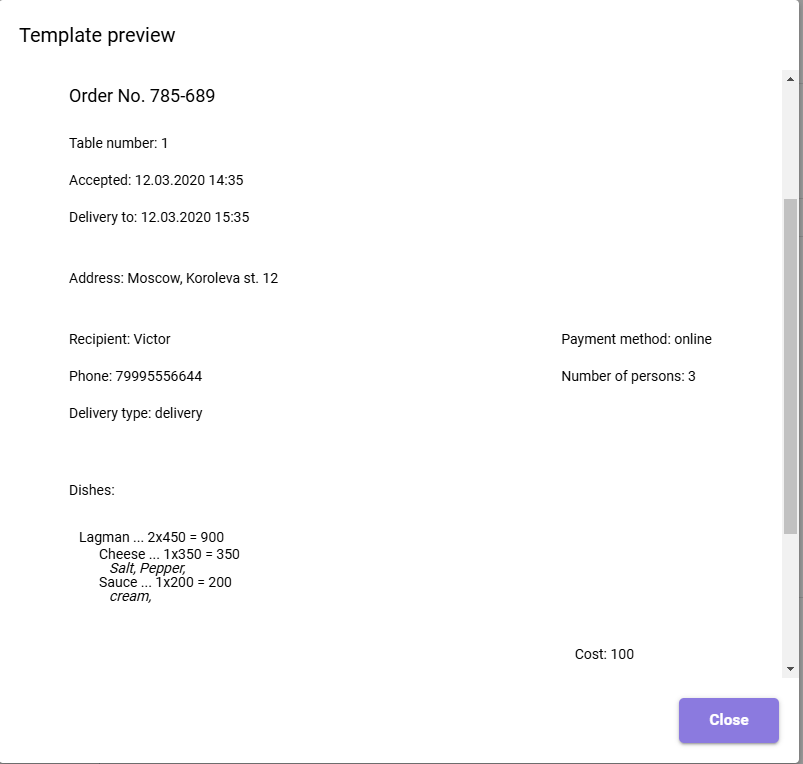
As part of the example, a delivery note template was generated with key fields:
- Delivery date and time
- Delivery address
- Contact details
- Order contents
- Payment method.