Creating pages on Tilda
Intorduction
After the initial setup of the site, you can start creating pages. To operate the delivery site, it is enough to create two pages - Home and Menu.
We have prepared ready-made templates that you can use for these pages:
- Home page — ID: 22924754
Menu — ID: 22932465
When using these templates, the connection between pages is established automatically.
Creating a home page
To create a Home page:
- Go to the My Sites tab and click on the name of your project
On the page that opens, click the Create a new page button
Scroll down the page that opens and click on the Specify Template ID button

If you have not paid for the plan, the Specify Template ID button will not be displayed.
In the Enter template ID field, specify the number of the finished template — 22924754 — and click the Select button
- The page editing tab will open. Edit the following blocks:
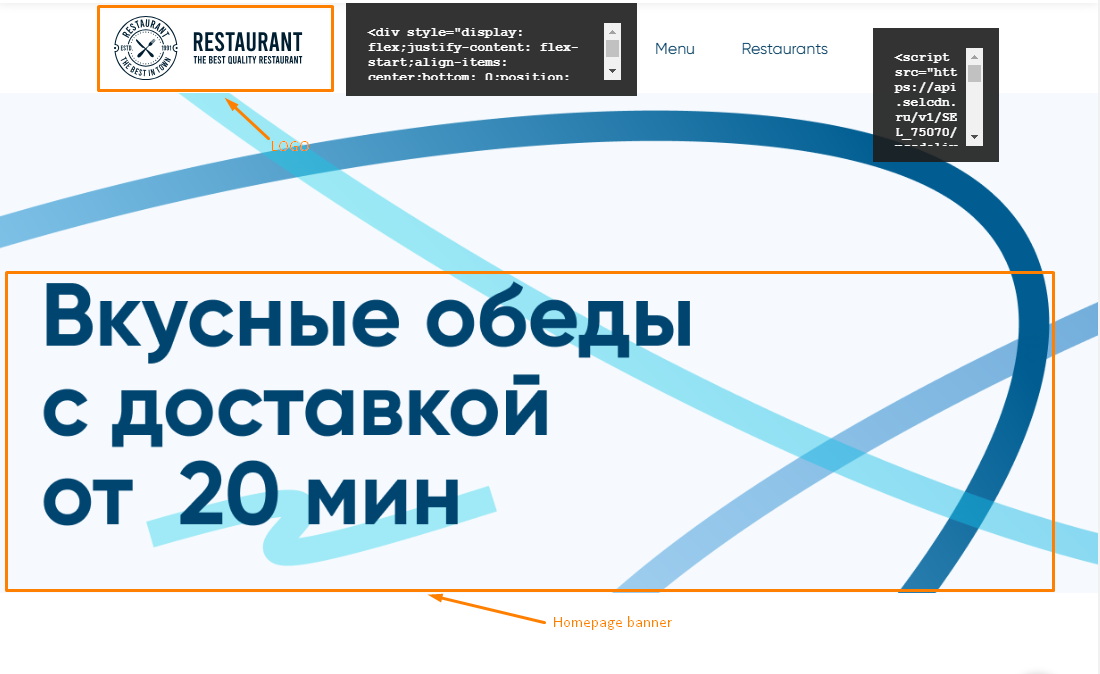
- Logo
- Homepage banner
- Map
- About us
- Contacts
- Social networks
Fill the template with your establishment's content.
Logo
Upload your establishment's logo. To do this:
- Click on the image in the top block of the template
- The image upload window will open. Upload the logo file
If necessary, the image can be downloaded via a link. To do this, click the Download via link button and paste the link.
Please note: the logo image must be no more than 80 px in height and no more than 300 px in width, and its weight must not exceed 5 MB.
Homepage banner
Homepage banner is the part of the site that guests see right away. Try to make it attractive, so as not to scare away guests, but also to attract them.
The banner consists of two parts - an image and text. To set up the banner:
- Click on the template image to display the image upload window.
- Upload your image. The size of the main banner is 1920x560 px, its weight should not exceed 5 MB.
Please note: choose the image carefully: if it is too bright or has too many elements, the text may get lost against this background. - Place the cursor on the template text. The text editor will open. Enter your text for the banner.
- Click anywhere on the screen to save your changes.
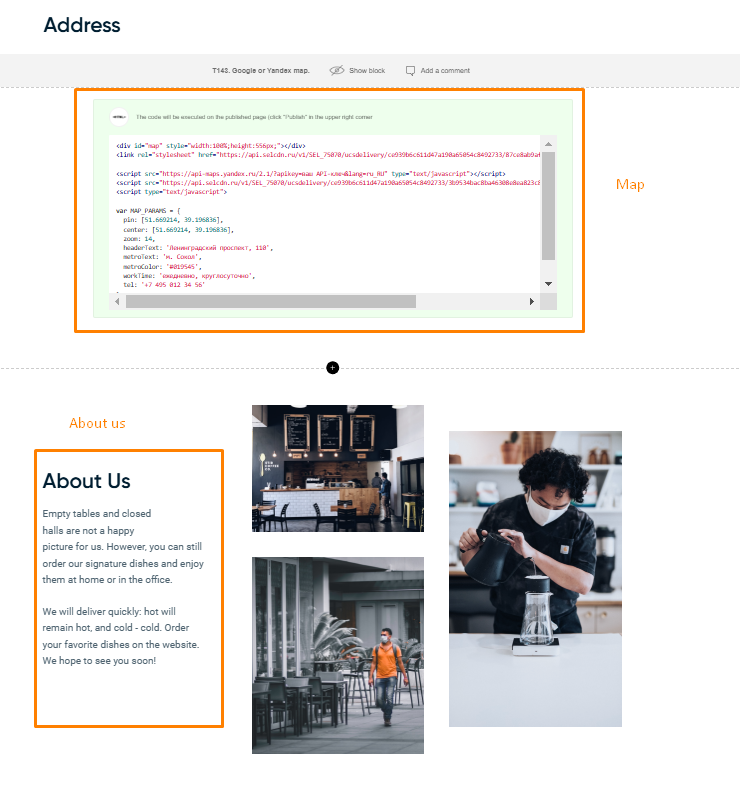
Map
Edit the Google or Yandex Map block so that guests can see the current address of your establishment on the map. To do this:
- Click on the Content button
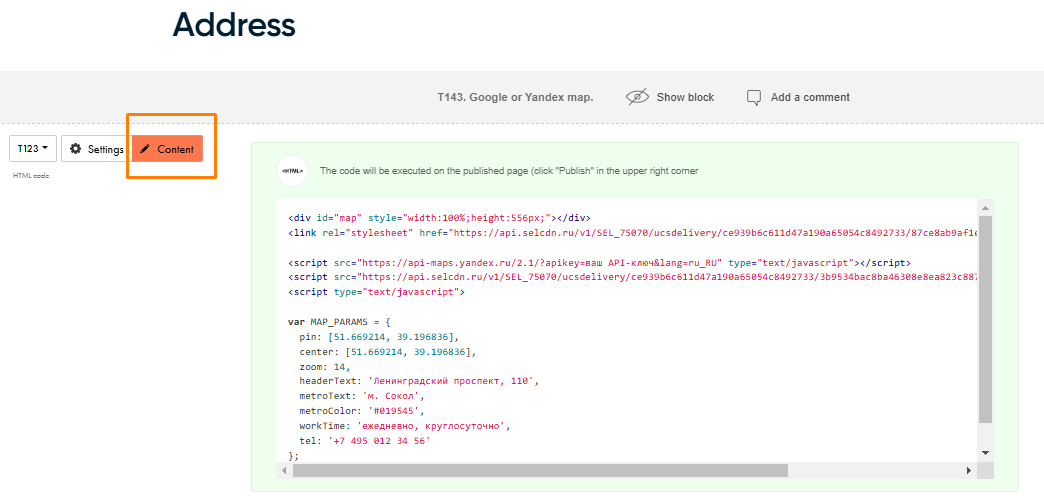
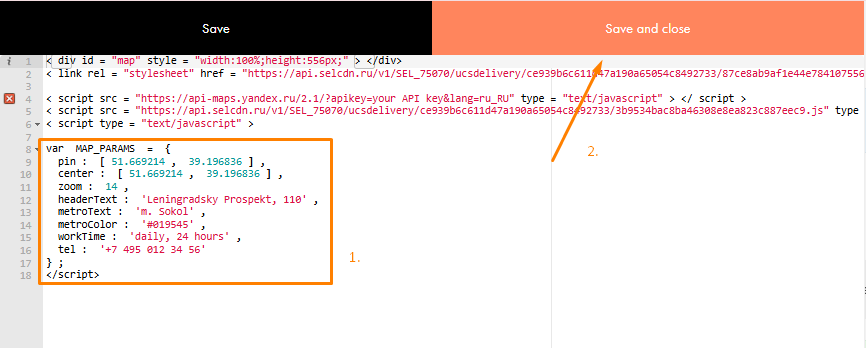
- In the HTML code / Widget code window that opens, enter information about your establishment:
- pin: latitude and longitude
- center: latitude and longitude (same data as in the pin item)
- zoom: leave the default value
- headerText: street and house number
- metroText: subway station
- workTime: work schedule
- tel: phone number
- Click the Save and Close button
About Us
In the About Us block, you can add information about your establishment: for example, about your achievements, differences from other establishments, or other information.
The About Us block, like the banner, consists of two parts: an image and text. To set up the block:
- Click on one of the template images to display the image upload window.
- Upload your image. Image dimensions must be as follows:
- for the top — 345х254 px
- for the bottom — 345х394 px
- for the right — 346х591 px.
Please note: the image size must not exceed 5 MB.
- Place your cursor on the template text
- A text editor will open. Enter the text of the About Us block.
- Click anywhere on the screen to save your changes.
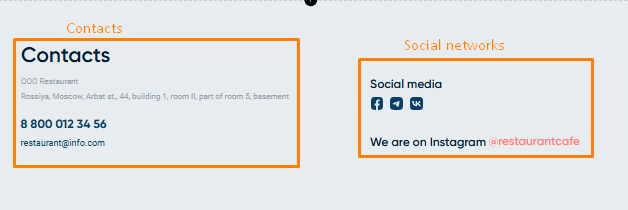
Contacts
Edit the Contacts block. To do this:
- Go to the Contacts block
- Click on the Edit Block button
- Place the cursor on the desired lines and enter your text
- Save the changes.
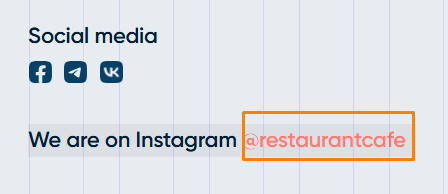
Social networks
Set up links to the establishment's social media accounts:
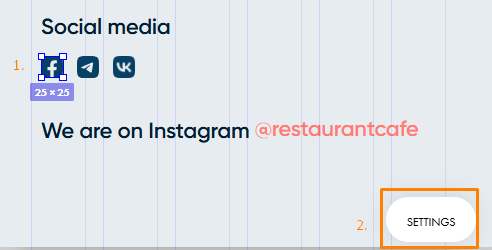
Go to the Contacts block and click the Edit Block button
- In the editing window that opens, click on the social network logo, then on the Settings button
- In the menu that appears, expand the Link section
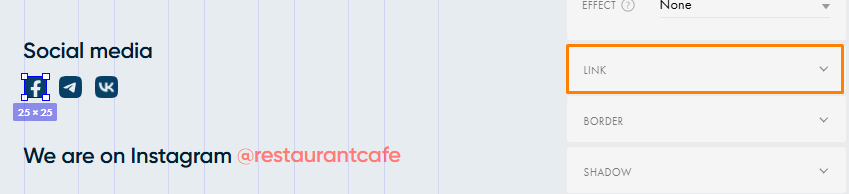
- In the URL field, enter the link to your account
Without leaving the Settings menu, specify links for other social networks
To set up an Instagram link without leaving the editing page, double-click on @restaurantcafe
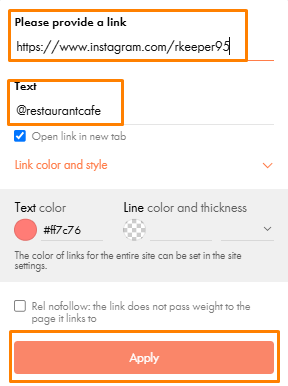
In the top settings panel, click on the Insert Link button

In the Enter a link field, enter the link to the establishment's Instagram account, and in the Text field, enter its name after the @ sign. Click Apply
- Click the mouse button in the free space of the editing window to exit the settings
- Click the Save button
- After saving your changes, return to the previous page by clicking the Close button.
Done, the Home page of the delivery site is set up and ready to be published.
Publishing a page
The configured page must be published so that it becomes accessible to everyone. To do this:
Click the Publish button in the upper left corner of the page
- A page address editing window will open. Leave the address the system suggested or enter your own using Latin characters.
Then click the Save and Continue button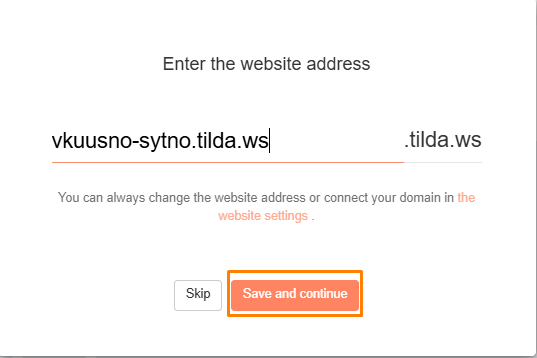
A notification about successful publication will appear. Click on the Close or Open Page button if you want to view the published page.
- Return to your project page
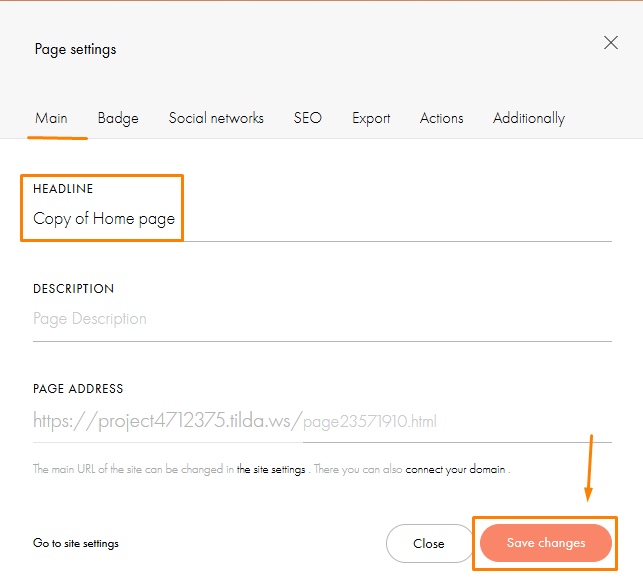
- By default, the new page will be called Copy of.... Click the Settings button to change the title.

- On the page that opens, enter the page name in the Title field. You can also edit the Page Address here.
- Click the Save Changes button
The Home page is ready. Now we need to create the Menu page.
Creating a menu page
- On your project page, click the Create New Page button
- At the bottom of the page, click the Specify Template ID button
- In the Enter template ID field, specify the number of the finished template — 22932465 — and click Select
- In the opened page editing tab, upload the establishment logo and edit the Contacts and Social Networks blocks, as on the Home page
Once you've finished editing, publish the page. Enter its URL and change the title, similar to the steps for the Home page.
Creating and editing pages is complete. Now you need to configure the integration on the r_k Delivery side.
Fixing the page header
If you want to fix the page header so that the menu and cart panel does not disappear when you scroll the page, make the following settings:
- Go to the website page
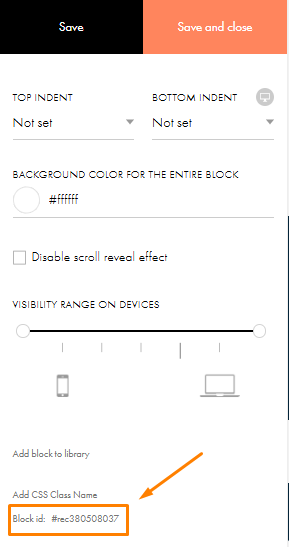
- Hover over the header block and click on the Settings button
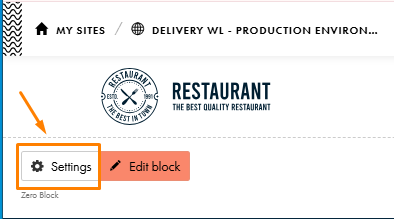
- In the menu that opens, copy the Block Id
- Close the side menu, hover over the header block and click the Edit Block button
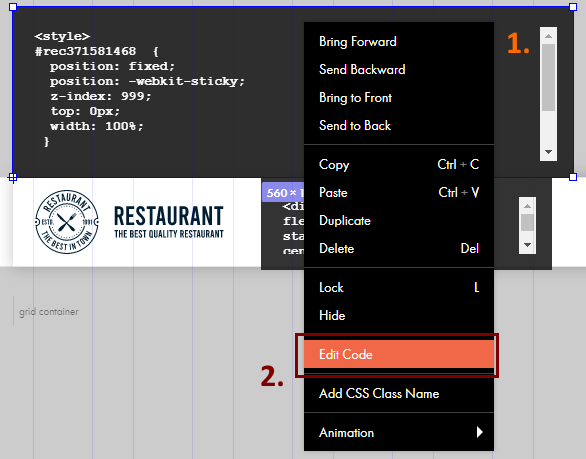
- In the field above the logo, right-click to bring up the context menu and select Edit Code
- In the second line of the opened window, instead of “rec371581468”, enter the Block id from point 3
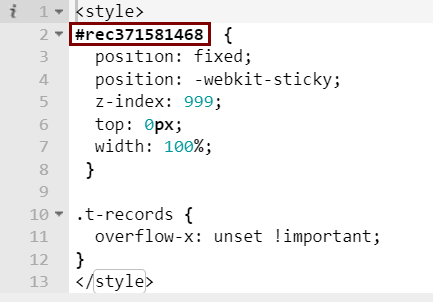
- Click on the Close&Update button
- Click the Save button and then the Close button
- On the website page preview, click the Publish button.
Done, the header is fixed. Now the menu, address and cart will always be displayed on the page.
Repeat the steps for each page you create.