Default Settings for Receipt Notes
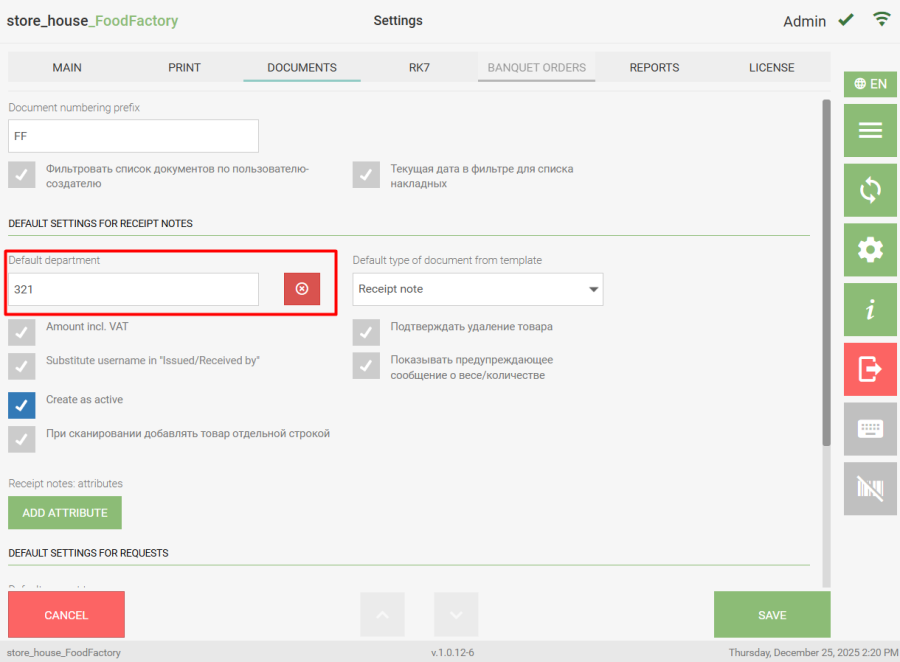
In the "Default Settings for Receipt Notes" area, preliminary settings must be made if it is necessary to fill some delivery note fields with default values.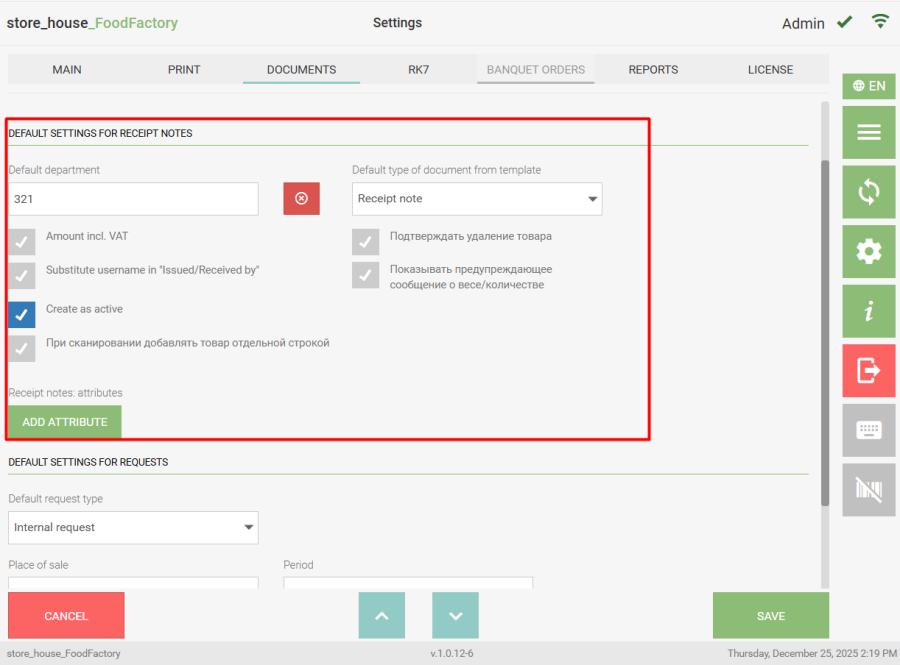 In the "Default Department" field, you can select a department that will be automatically inserted into the corresponding field when creating a new delivery note. To select a department, click the "Default Department" field. The department selection mode will open.
  The list will display departments from the r_k StoreHouse Pro departments dictionary according to the permission settings of the authorized user. Department selection can be done in two ways:
- click on the required department in the opened list
- enter part of the department name in the search bar and select the required department from the filtered list.
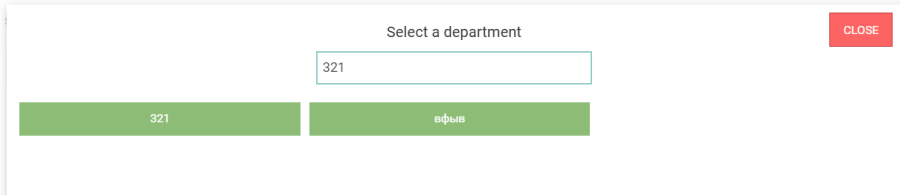
If the search finds only one department, it will be immediately inserted into the "Default Department" field. |
The "Amount Incl. VAT" flag is set if amounts in delivery notes need to be displayed including VAT. The "Substitute User Name in 'Issued/Received by'" flag is set if certain fields in delivery notes need to be filled with the name of the authorized user:
- in receipt notes — the Received by field;
- in expenditure delivery notes — the Issued by field;
- in internal transfers — the Issued by field, if the user creates an internal transfer;
- in processing notes — the Issued by field, if the user creates a processing note.
The "Create as Active" flag is set if the flag in the "Activate" field needs to be set by default when creating a delivery note.
The "Add Scanned Goods Item as Separate Line" flag is set if it is necessary for a scanned goods item (with the same code, name, unit of measurement) to be added as a separate line in the delivery note. To merge lines with the same goods item, click the [PACK] button. In r_k StoreHouse Pro, documents will be uploaded with the number of lines specified when creating the document in FoodFactory.
The "Confirm Goods Item Deletion" flag is set if a warning message should appear when deleting a selected goods item.
The "Show Warning Message about Weight/Quantity" flag is set to control the input of quantity in the document. On the r_k StoreHouse Pro product card (see the r_k StoreHouse Pro User Guide for details) on the "Stock" tab, you can define the maximum stock of the goods item by departments. If a quantity greater than the maximum stock is specified in the document, a warning message will appear.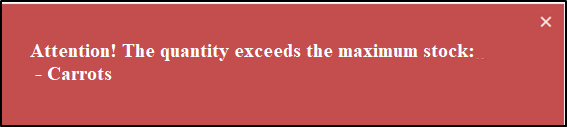
In the "Receipt Notes: Attributes" field, you can select "Invoice Header Attributes" and "Invoice Specification Attributes" created in r_k StoreHouse Pro (see the r_k StoreHouse Pro User Guide for details). The selected attributes will be displayed in the created delivery note after saving the settings.
"Invoice Header Attributes" can be selected from attributes of text and enumerable formats. "Invoice Specification Attributes" can be selected in any format.
To select an attribute, click the "Add Attribute" button. The attribute selection window will open.
Select the invoice header attributes that need to be filled in the delivery note when creating it — set the flags in the "Select Attributes" area. The selected attributes will be available for filling on the document title page. After selecting attributes for filling in delivery notes, you can define which of the selected attributes to display in the "Document Lists". To do this, in the "Attributes in the Invoice List" area (in the green fields), select the necessary attributes.
Select the "Invoice Specification Attributes" that need to be filled in the delivery note when creating it — set the flags in the "Select Attributes" area. The selected attributes will be available for filling on the document goods page. After selecting all necessary attributes, click the "Close" button.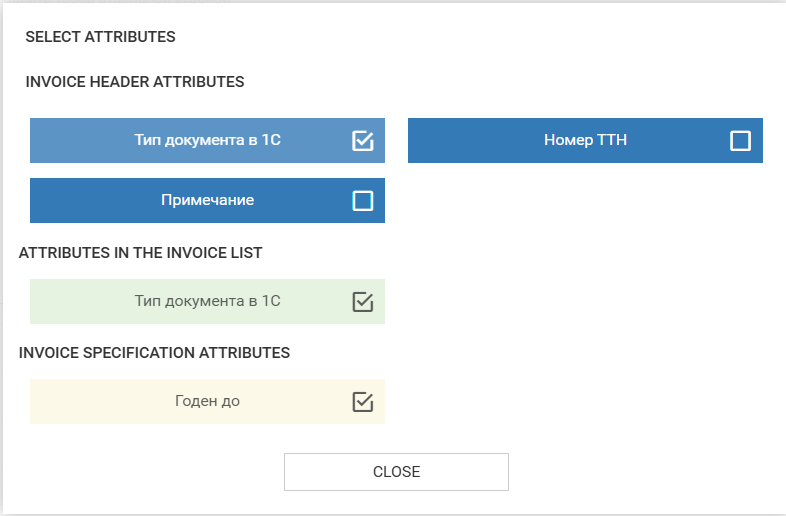
If attributes in the lists were selected, columns for these attributes will be displayed in the delivery notes list regardless of whether these fields are filled in the delivery note.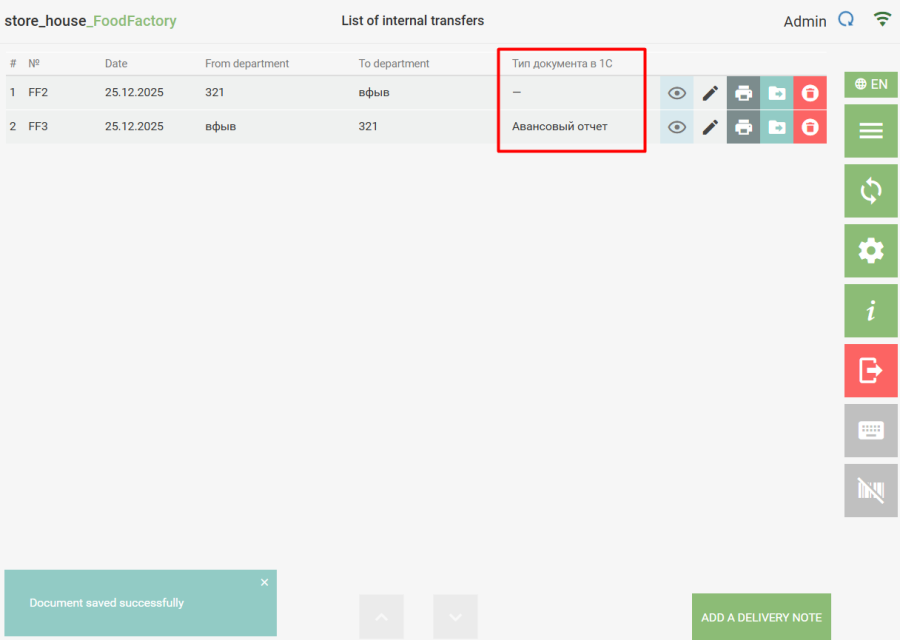
The selected attributes will be displayed to the right of the "Add Attribute" button in the "Selected Attributes" field.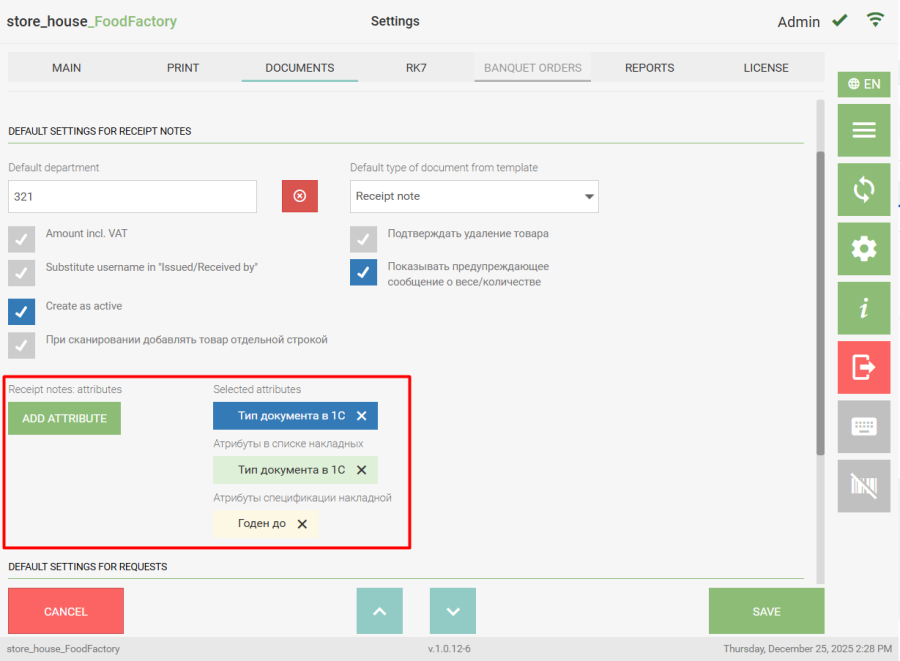
To delete an attribute, click the cross to the right of the attribute name or click the "Add Attribute" button and clear the flag from the attribute, then click the "Close" button. In the "Default Type of Document from Template" field, you can select the document type that will be automatically inserted into the corresponding field when creating a document from a template.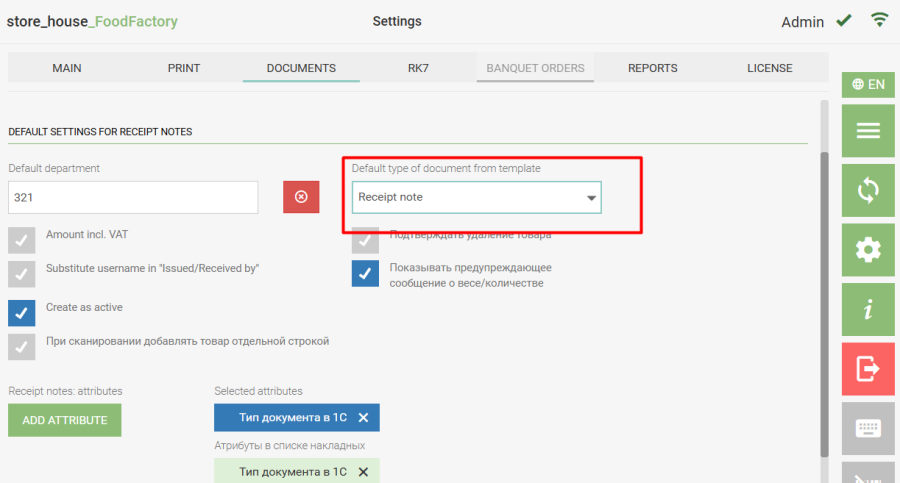
Initially, the Receipt note document type is selected by default. To select a document type, click the "Default Type of Document from Template" field. A list will open where you need to select the required document type.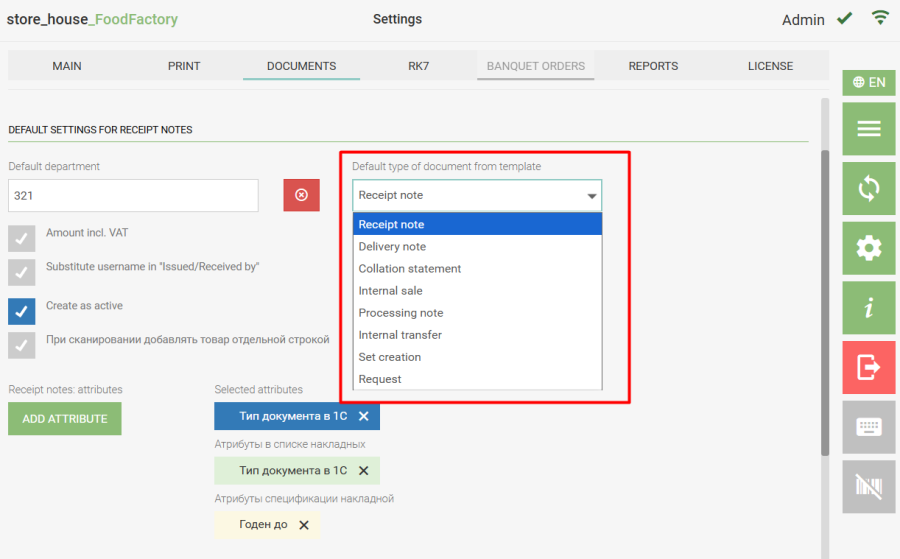
To save the changes made, click the "Save" button; to cancel saving, click the "Cancel" button.