In the "Default Settings for Requests" area, preliminary settings must be made if it is necessary to have the ability to fill some request fields with default values.
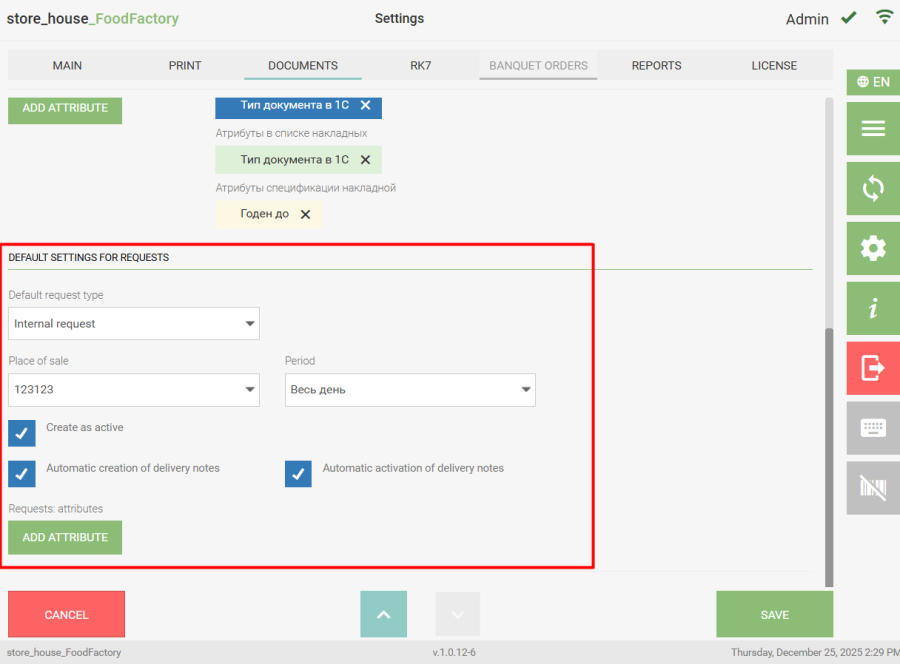 In the "Default Request Type" field, you can select the request type that will be automatically inserted into the corresponding field when creating a request.
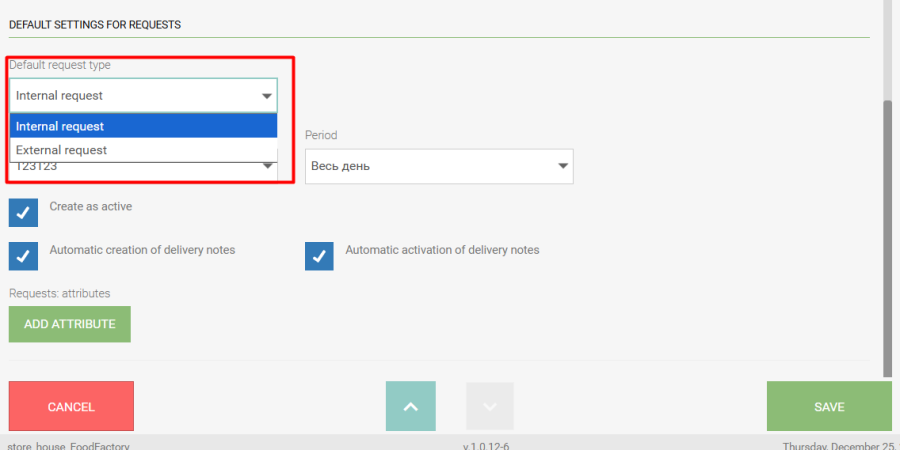
Initially, the Internal Request request type is selected by default. To select a request type, click the "Default Request Type" field. A list will open where you need to select the required request type.
In the "Place of Sale" field, you can select a Sale Location from the r_k StoreHouse Pro dictionary. This value will be automatically inserted into the corresponding field when creating a new request. To select a Sale Location, click the "Place of Sale" field. The sale location selection mode will open. Also, for the convenience of forming a request, the "Period" field can be automatically filled. To do this, select the corresponding value in the settings. The "Create as Active" flag is set if the flag in the "Activate" field needs to be set by default when creating a request. The "Automatic Creation of Delivery Notes" flag is set if delivery notes need to be automatically generated for requests after they are transferred to r_k StoreHouse Pro. The "Automatic Activation of Delivery Notes" flag works if the "Automatic Creation of Delivery Notes" flag is set and determines that delivery notes for uploaded requests will be generated as active. In the "Requests: Attributes" field, you can select request title attributes created in r_k StoreHouse Pro (see the r_k StoreHouse Pro User Guide for details), in the field of which, after data is uploaded from FoodFactory to r_k StoreHouse Pro, the comment entered during request creation will be displayed, as well as attributes for the list that will be displayed in the requests list. The selected attribute will be displayed in the created request after saving the settings. Attribute selection is performed in a manner similar to selecting an attribute for delivery notes.
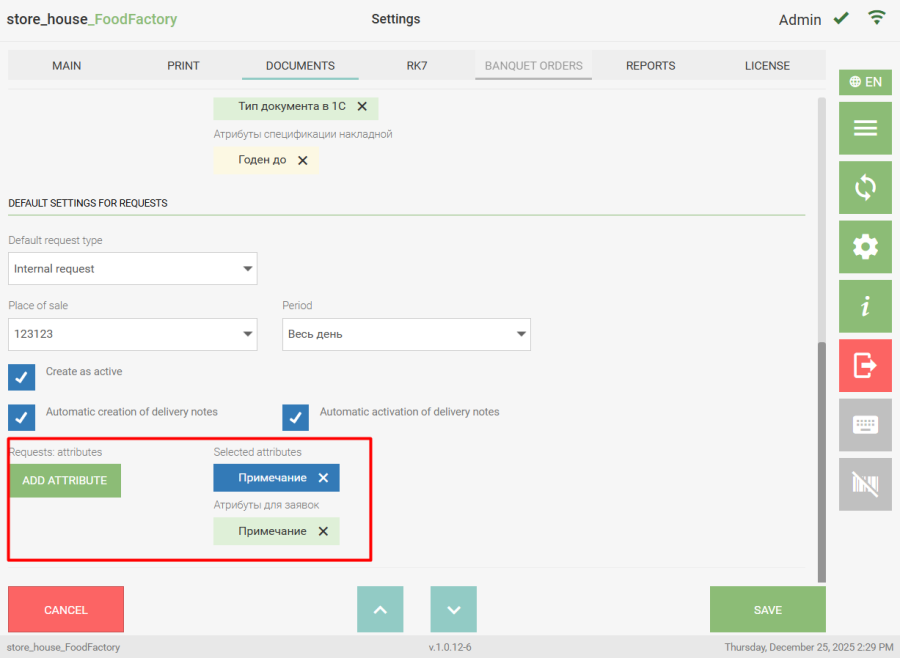
The selected attributes will be displayed to the right of the "Add Attribute" button in the "Selected Attributes" field.
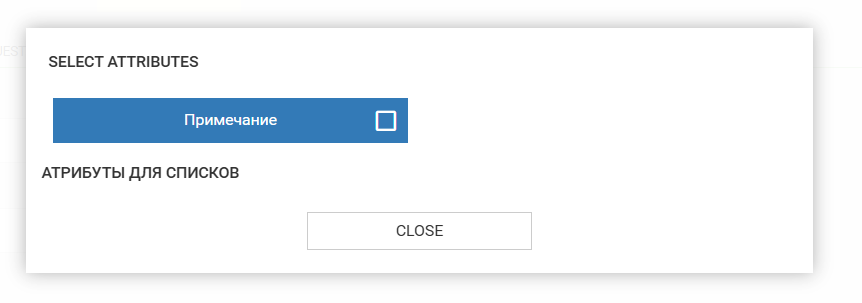
To delete an attribute, click the cross to the right of the attribute name or click the "Add Attribute" button and clear the flag from the attribute, then click the "Close" button. To save the changes made, click the "Save" button; to cancel saving, click the "Cancel" button.