Introduction
After setting up the delivery site, you need to make the final settings in r_k Delivery:
- Set up menu
- Set up order processing
- Set up integration.
The delivery menu may differ from the menu used in the establishment itself.
Set up a separate menu for delivery by creating a separate set:
- In the r_k Delivery admin panel, go to Menu
- Click the New button to set up a menu for delivery
- Enter the menu name and add dishes
- To display dishes on the site, upload an image to the dish card
- Optionally, add a description of the dishes and CPF parameters. This data will be uploaded to the dish card on the site
- Publish the menu set by clicking the Publish menu for establishments button
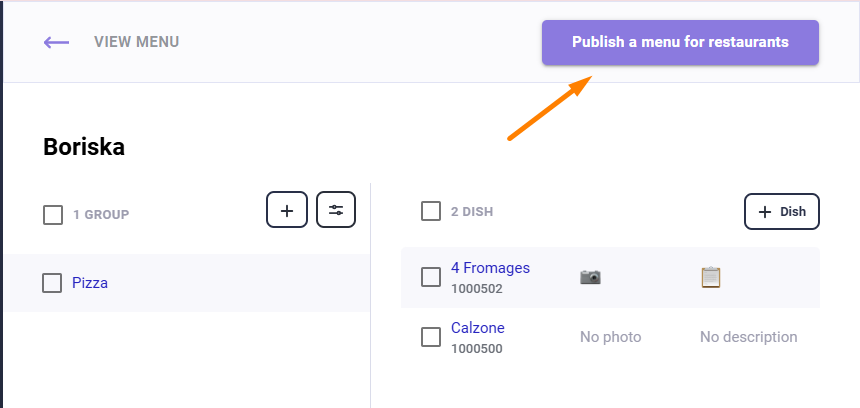
Done. Delivery menu created.
Please note: the site menu page will display all the menu dishes. The menu tree will display the name of the menu group to which you can go. They display:
- Dishes of the upper-level group, if any
- Dishes from all groups that have this group as a parent.
If a group does not contain any dishes, it will not be displayed.
Setting up order processing
Customize order processing to suit your establishment:
In the r_k Delivery admin panel, go to the Settings tab
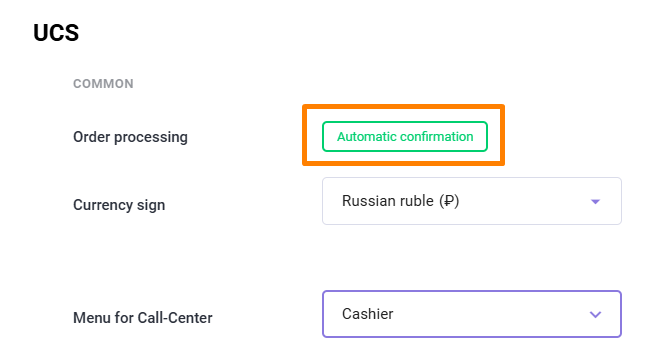
If the call center is not connected, then for the delivery to work correctly, in the Order Processing section, select Automatic confirmation.
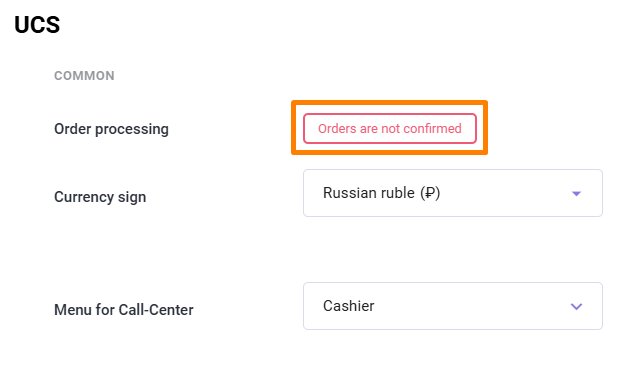
If the call center is connected, it is recommended to select Orders are not confirmed - in this case, orders will be accepted by the call center
- Click the Save button
- Go to Establishments and select the desired restaurant
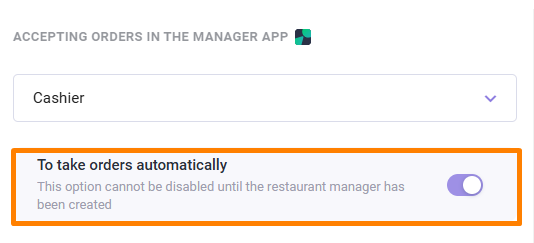
- Select the Establishment Manager tab and find the setting Accept orders automatically:
- Turn off the switch if you want the establishment's employee to call guests to confirm their order.
- Turn on the switch if you want orders to be confirmed immediately
The order processing setup is complete. All that remains is to set up the integration.