Installing r_keeper 7 and r_k Delivery from scratch
This article describes how to install r_keeper 7 from scratch and connect to r_k Delivery. Our example uses a silent installation of r_keeper.
Connecting to the system
In order to connect to the system, you need to perform a number of actions:
- Obtain licenses
- Install and configure r_keeper 7 with WSA v2
- Get access to r_k Office
- Make settings in r_k Delivery.
Only one corporation and r_k Office account can be linked to one licensing account.
If several corporations or personal accounts in r_k Office are linked to one account, it will not be possible to configure r_k Delivery.
Obtaining licenses
Before you start working, you should obtain licenses for the products. Both r_keeper 7 and r_k Delivery require licensing. For details on licensing r_keeper, see the articles Licensing the Cash Server and Setting Up the Directory Server.
To operate the delivery system, a minimum of 3 licenses are required:
R-Keeper Interface to r_keeper Delivery module
- R-Keeper Delivery_Base module
R-Keeper Delivery_Filial module
- R-Keeper XML-interface for WSA SW module
For other licensing options, see the Licensing article.
Installing r_keeper 7 with WSA v2
Silent installation is available since r_keeper version 7.6.5.452.6. For earlier versions, WSA v2 should be installed manually.
During the silent installation, all necessary components of r_keeper 7 and WSA v2 will be installed on your computer. Follow the instructions.
Make sure you complete any additional settings after completing the installer.
Settings in the manager station after installation is complete
After installation, you need to perform a number of standard steps to configure the system.
Specifically:
- Set the enterprise code, create and license the cash register server
- Create and configure a cash register, menu, and floor plan
- Set up an employee to work with the cash register
After successful installation of r_keeper, to run WSA, you need to make additional settings in the manager station:
- Open the manager station and go to the menu Settings > OLAP reports > Report servers
- Select the desired report or reference server
- In the XML interface section, specify the binding port. The port must be free and accessible over the network.
- In the HTTP Server section, specify a free port in the HTTP Data Port field, while the Use Free Listen Port setting should be disabled.
- Save the changes and accept the warnings that the server needs to be rebooted.
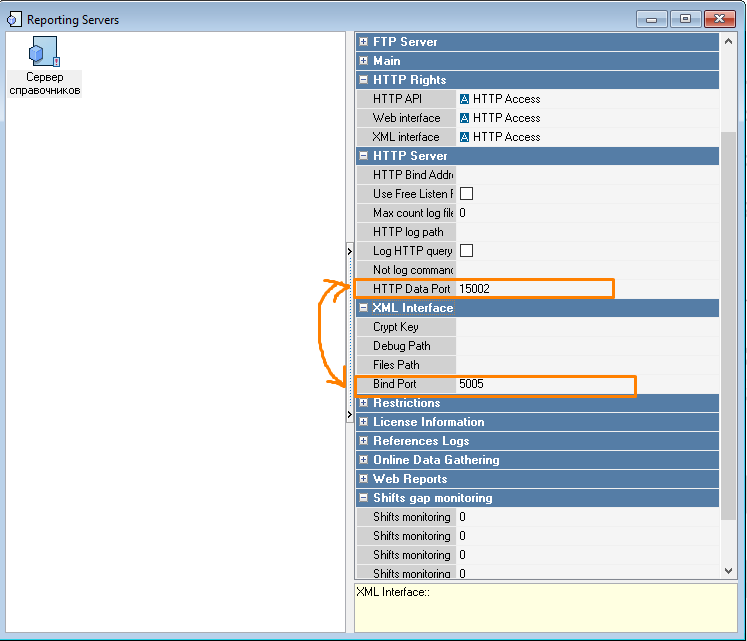
- In the HTTP Restrictions section, specify the HTTP Access right in all fields.
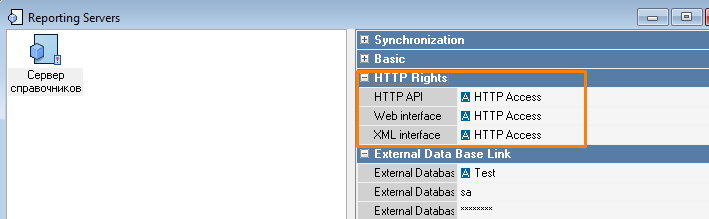
If the HTTP Access privilege does not exist, create a new privilege with that name.
- Restart the reference or reporting server. After the server is restarted, the settings in the WSA v2 json file will be updated.
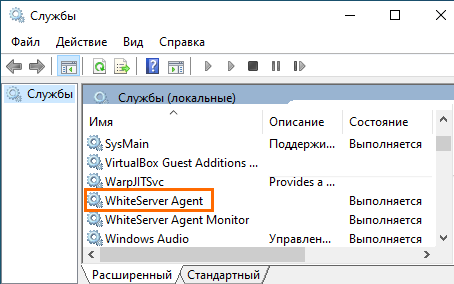
- If the settings are not updated for a long time, restart the WhiteServer Agent service.
WSA settings
The delivery system requires a configured connection with r_keeper WSA v2.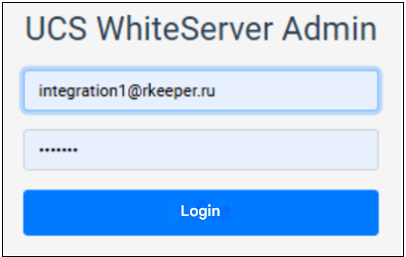
- Go to the WhiteServer admin panel. Use the dealer login and password to access it
- Go to the Restaurants section
- Enter the full object code in the ObjectId field and click the Find button
- Go to the restaurant edit menu by clicking on the gear icon
 . The restaurant card will open.
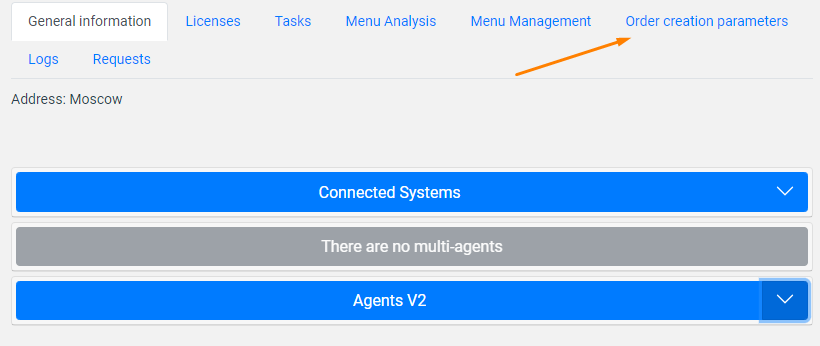
 - Make sure the Connected Systems section is blue and the enabled agent for RKMid is selected
- Go to the Order Creation Options menu
- Click the Update directories button to download the parameters from the cash register server.
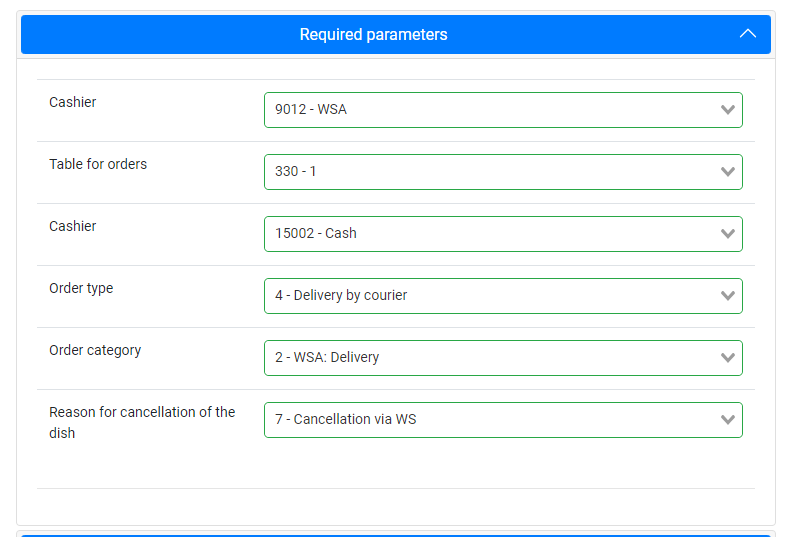
- The necessary settings for connecting to Delivery will be filled in automatically. Detailed descriptions of the parameters are in the table below:
- Cashier ID
- Table code
- Cash register ID
- Order type code
- Order category code
- In the Optional parameters block:
- Select Order Currency. Specify the currency used for online payments.
- Menu Selector Code - Leave empty
- Indicate the Reason for order cancellation
- In the Order confirmation time in seconds field, enter 0
- Enable the Create unconfirmed order setting
Turn off the Create order as draft setting

Attention!
If you skip the Optional parameters setting, r_k Delivery may not work correctly.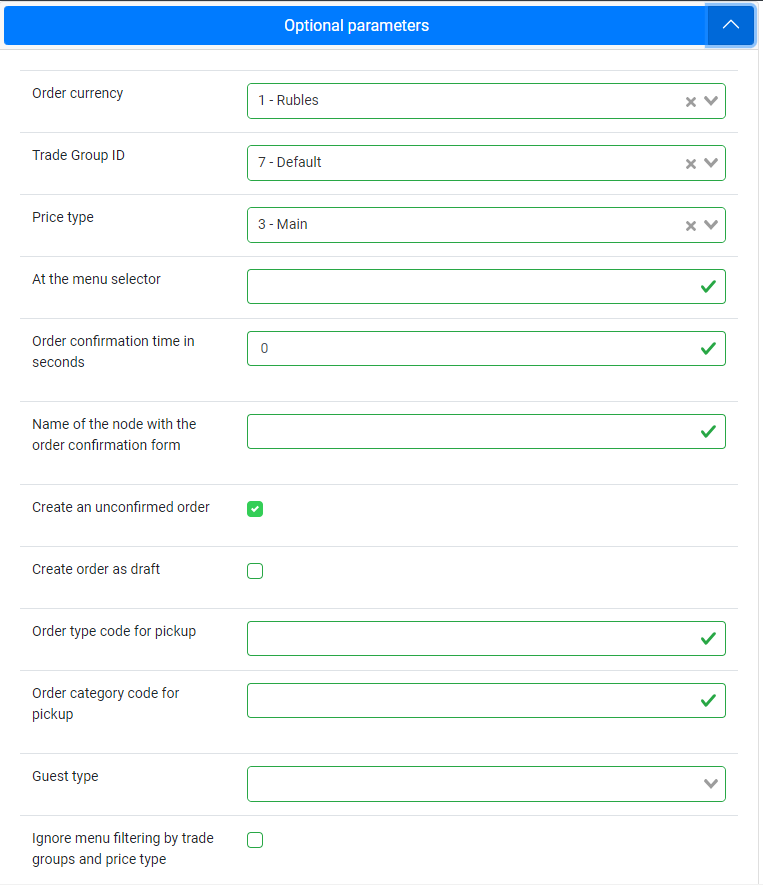
- Save your changes by clicking the Save button
- The new settings will be applied to the agent with the RkMid role.
The r_keeper 7 and r_k Delivery systems are connected and ready to work.
Getting access to r_k Office
To access the r_k Delivery admin panel, you must first access the r_k Office system.
Access to the r_k Office personal account is provided by the dealer.
To connect, the following data is required:
- User's phone number
User's full name (name, last name, patronymic)
- Corporation code
- Object code
- Specify that access to r_k Delivery is required.
Once the application is completed, you will receive a login and password by email to access r_k Office:
Settings in the admin panel
Now you need to set up several delivery parameters, such as the establishment's menu, employees, and reasons for order cancellation.
There are several subsystems in r_k Delivery:
- Administrative panel - this is where settings are made.
- The establishment's interface is where the establishment's employees work
- Call center - where call center operators work.
Log in to r_keeper Office using the data from the received email and go to r_k Delivery.
When you first log into the admin panel, you will be asked to enter your corporation code.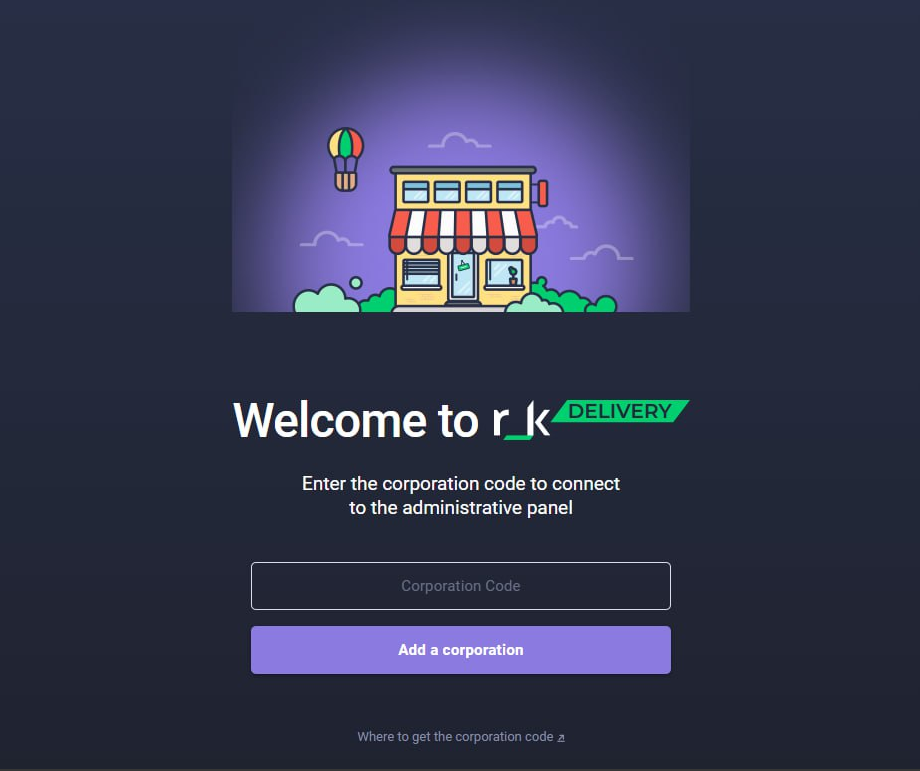
The corporation code is the same code that was provided in the application for access to the r_k Office.
The corporation name will appear above the exit button.

After specifying the corporation, the loading of establishments with an active license for r_k Delivery will begin. The process will take no more than 5 minutes.
If you have not specified the corporation code and the page has disappeared somewhere, follow the link https://delivery.ucs.ru/adminka/corporations/import.
Filling in the establishment details
After entering the corporation code, the system will load the menu from r_keeper 7 without filters. If the menu does not load, see the corresponding article.
Go to the Establishments menu and select yours from the list. Click on it and specify:
- Actual address
- Legal address
- Time zone
- set restrictions for menu upload. We recommend specifying the order category.
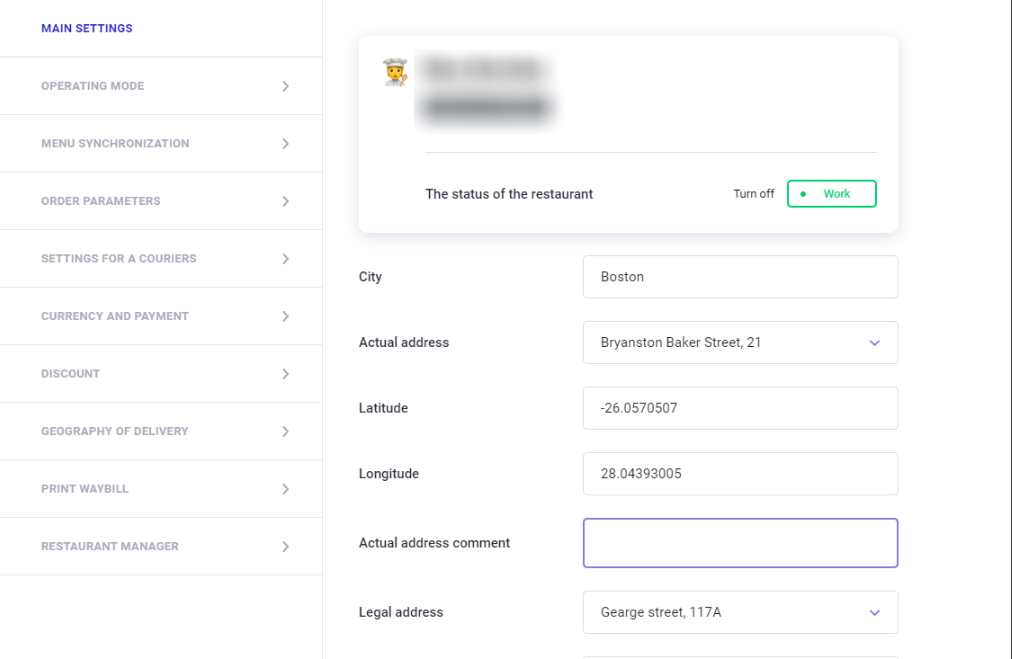
Save the changes.
Creation of employees
No delivery system can work without employees. In r_k Delivery there are 2 employee roles:
To work in the establishment interface, you need to create at least 1 employee with the Delivery Manager role.
Delivery zones and couriers
By default, r_k Delivery only offers pickup. To deliver orders, you need to set up delivery zones and couriers.
When creating a delivery order, the system checks the guest's address and determines a suitable establishment based on the delivery zone.
- Delivery zones
- Creating couriers
When working in the administrative panel, do not go to the call center or the establishment's interface. To work in these systems, you need the appropriate role: establishment manager or call center operator. Use private mode in Google Chrome for this purpose.
Order statuses
The system already has preset Order Statuses. If they are not enough, add your own. Here you can also set up reasons for order cancellation.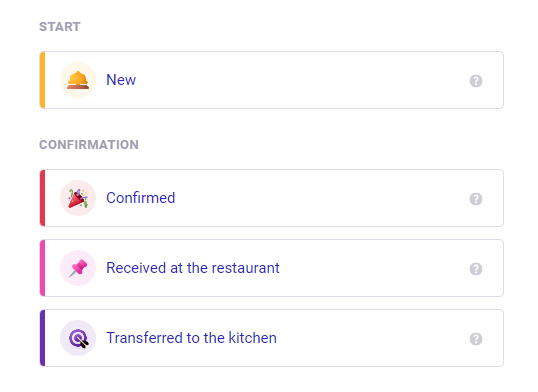
If you experience time constraints when creating an order, set the execution time according to the instructions in Settings.
For more information about other possible systems, please refer to the user manual.
Creating a test order
The last thing you need to do is create a test order.
- Go to the establishment's interface
- Click the button

- Please provide your name, phone number, address and other details.
- Add dishes from the menu to your order
- Select payment method
- Done, the order is created, everything is set up correctly.